- 41 -
2. Parameter setting
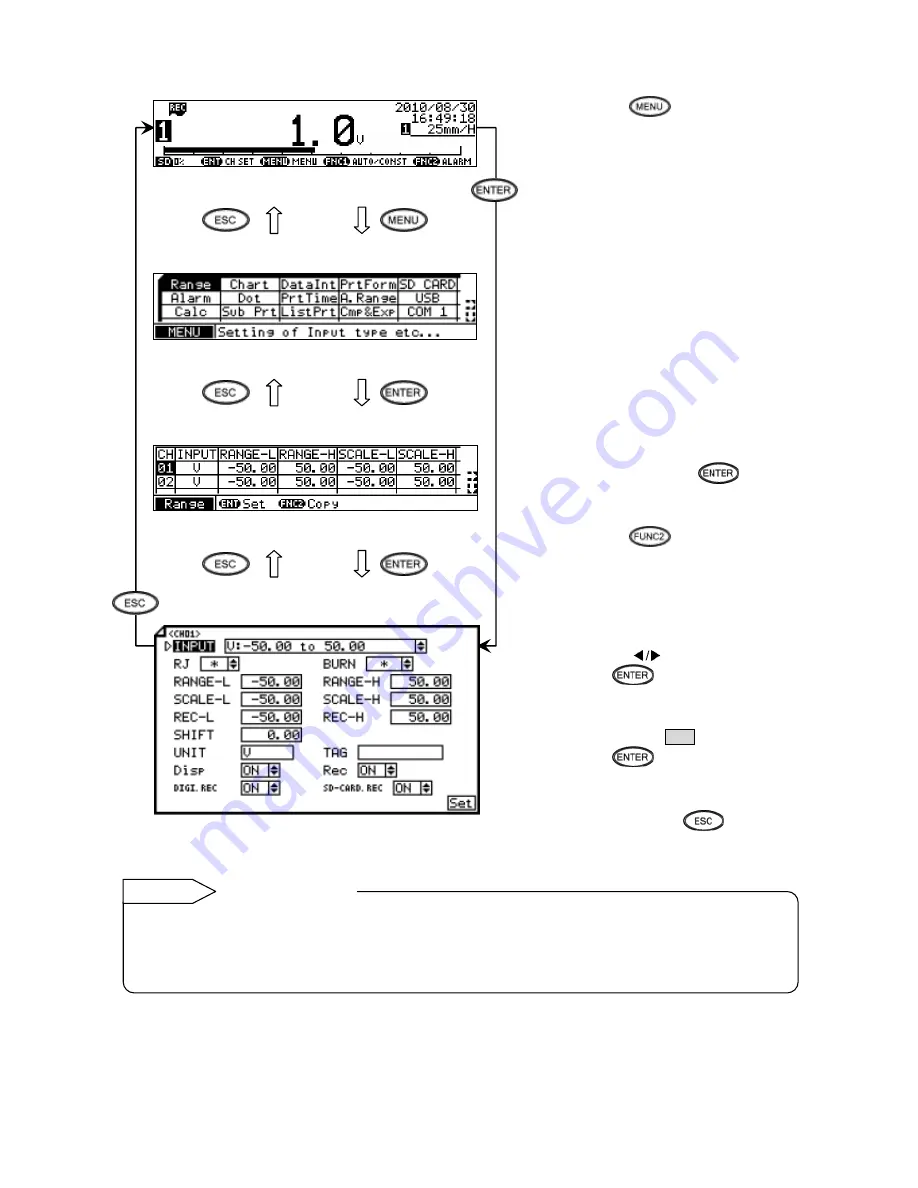
(1) Pressing the
key displays the
menu window (list of setting items).
(2) Select
“Range”.
(Set contents of all channels will be
displayed.)
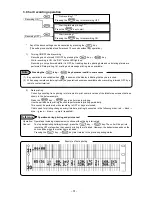
(3) Move the cursor to the target CH with the
▲/▼ keys and press the
key. The
cursor does not move to parameters other
than CH.
Pressing the
key on this window
displays the copy window for input type
settings. (See the next page for
“Copying
settings
”.)
(4) Move the cursor to a parameter to be set
with the
▲/▼/
keys.
(5) Press the
key to make it available
for setting and then select or enter a value.
(6) After completing the settings of this item,
move the cursor to Set .
(7) Press the
key to register the
settings (when chart recording is ON, a
setting change mark is printed). To cancel
the settings, press the
key.
Note:
Actual windows are separated. Use the ▲/▼ keys to
scroll and continue settings.
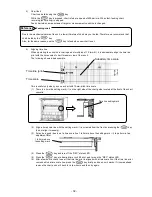
CH NO. is fixed to the one selected from the list of set contents. The input type, RJ, burnout and ON/OFF of each
display/recording are set by selecting a value from options with the
▲/▼ keys. The upper/lower limit of range, scale
and chart recording, and sensor correction are set by selecting a numeric value at each digit with the
▲/▼ keys.
The unit and tag are set by selecting arbitrary characters on the window.
Parameter settings
Reference

