Kinetec Kinevia™ / Kinetec Kinevia Duo™
EN
17/44
Grip height setting
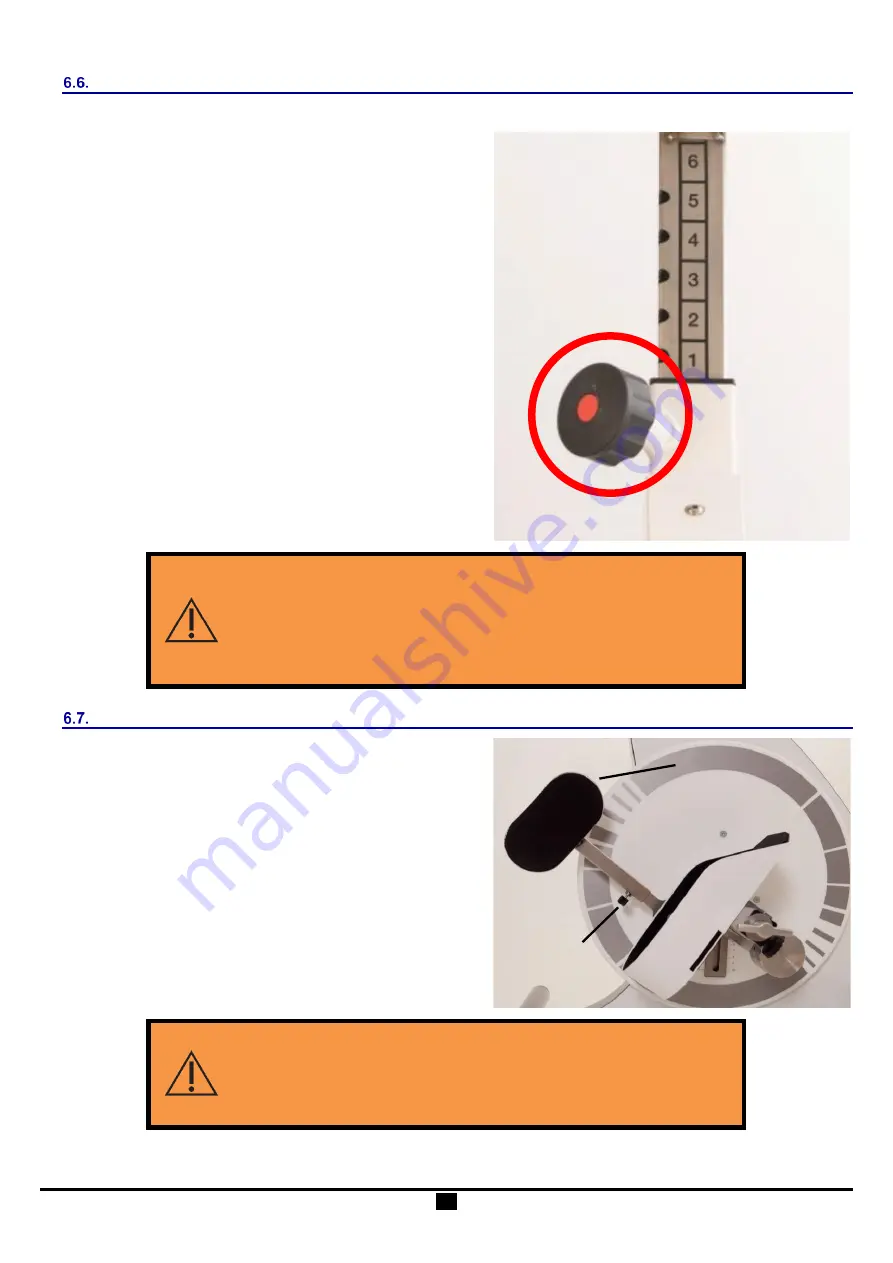
The arm trainer support/transport grip height can be set to 6 different positions using the indexing button (3)
a) Unscrew the indexing button (3) by about a ½ turn and
pull the anchoring pin out of the hole.
b) Raise or lower the grips to the required position until the
anchoring pin returns to the hole
c)
Screw the indexing button (3).
The red safety button indicates whether the
anchoring pin is properly anchored in one of the
holes.
The indexing button (3) can only be tightened if the
red safety button is not deployed.
WARNING
RISK OF INJURY CAUSED BY UNTIGHTENED INDEXING BUTTON
Before each training session, check that the indexing button is anchored
and tightened.
Make sure the grips do not collide with the legs when setting their height.
Calf support height setting
a) Unscrew the locking screw by about a ½ turn.
b) Raise or lower the calf support to the required height.
c)
Re-tighten the locking screw.
d) Before starting to train, pass the leg hook and loop strap
and attach it to the calf support.
Make sure the calf support fixings are attached at the
most at a
hand’s width below your knee.
Make sure that the hook and loop band is not too
tight so that it does not cut off your blood flow.
WARNING
DANGER DUE TO A LACK OF AUTONOMY
Patients who are unable to remove the calf fixing themselves must not
train without supervision.
Hook and loop
strap
Locking screw


