4-24
J Series 1000W and 1200W Service Manual
020-100725-04 Rev. 1 (07-2015)
Section 4: Parts and Module Replacement
4.9 PCBs and Electronics
OBSERVE ALL ELECTROSTATIC PRECAUTIONS! Use a grounded wrist strap
when handling electronic assemblies.
4.9.1 Remove the LCD/Keypad Assembly
(10 minutes)
1. Remove the top cover. See
.
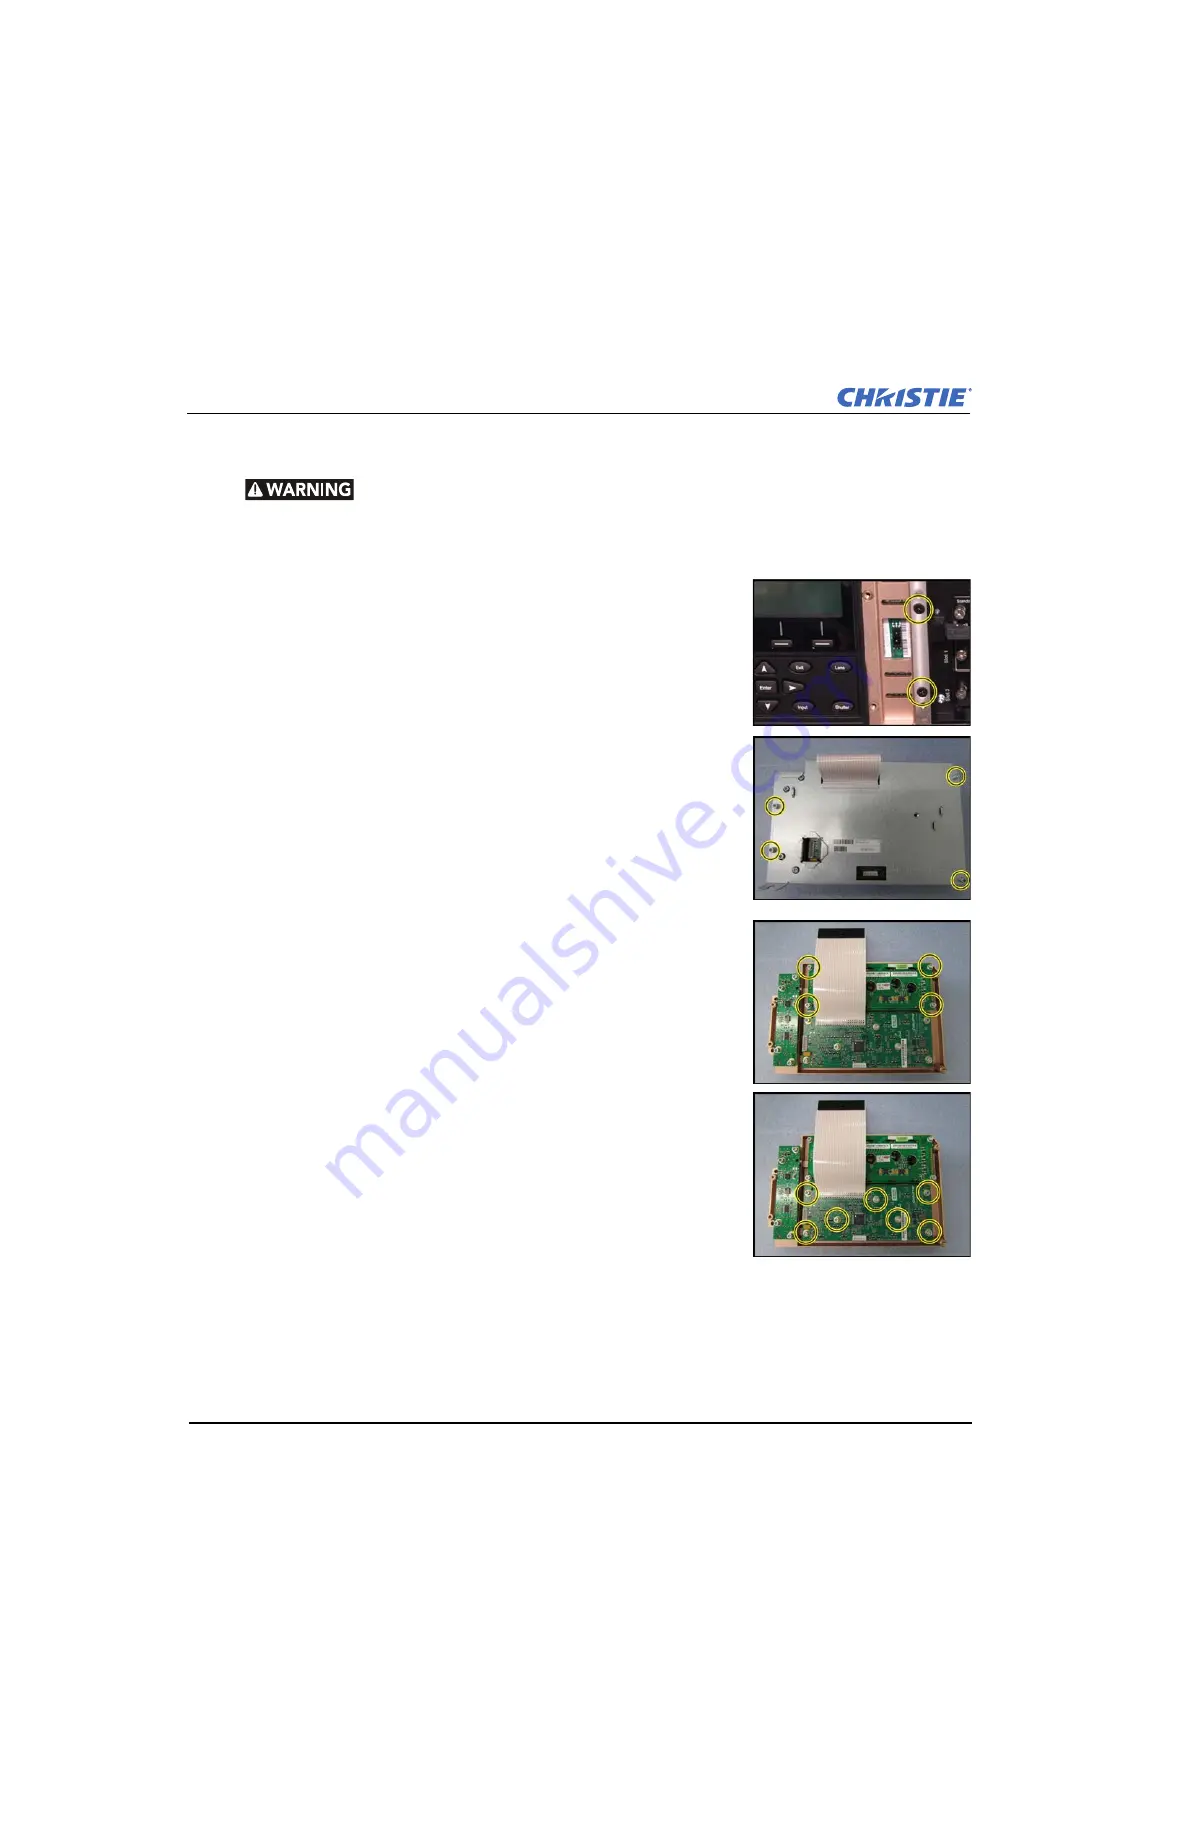
2. Remove (2) black #2 Phillips® screws, which secure the keypad to the
card cage.
3. Remove (1) 3 mm hex screw from the rear of the assembly.
4. Remove (4) #2 Phillips® screws, which secure the backing plate
bracket to the rear of the assembly.
5. Remove the IR sensor harness and the keypad harness to remove the
whole module from the projector.
4.9.2 Remove the LCD Display
(12 minutes)
1. Remove the LCD/Keypad Assembly. See
.
2. Remove (4) #2 Phillips® screws from the LCD display.
3. Disconnect the LCD flex cable harness. Remove the LCD.
4.9.3 Remove the Built-In Keypad
(12 minutes)
1. Remove the LCD/Keypad Assembly. See
.
2. Remove (7) #2 Phillips® screws from the keypad assembly.
3. Remove the keypad PCB.
Summary of Contents for Christie DS+10K-J
Page 1: ...J Series 1000W and 1200W Service Manual 020 100725 04...
Page 56: ......
Page 58: ......
Page 72: ......
Page 76: ......


