M Series User Manual
2-1
020-100009-05 Rev. 1 (09-2010)
2 Installation and Setup
This section explains how to install, connect and optimize the projector for delivery of superior image
quality. Illustrations are graphical representations only and are provided to enhance the understanding of
the written material.
2.1
Projector Quick Setup and Installation
The following instructions are for those preferring a quick setup. Refer to the remaining subsections for
detailed setup instructions.
Always power down the projector and disconnect all power sources before servicing or
cleaning.
Refer to Safety Warnings and Guidelines in
Section 5 Maintenance
.
STEP 1 - Installing a Projection Lens
The projection lens, shipped separately from the projector, must be installed prior to setting up the projector.
Remove the lens plug from the lens opening in the projector before installing the lens.
Retain the lens plug for projector transportation to protect the projector’s optical
components from dust and debris.
IMPORTANT!
The lens seals the projector, preventing contaminants from entering the interior of the
projector. Never operate a projector without a lens.
LENS INSTALLATION
IMPORTANT!
Remove the rear lens cap from the lens. Keep the front lens cap on the lens to protect it
during installation.
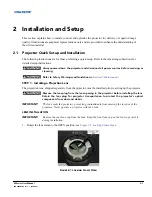
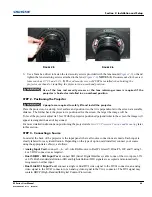
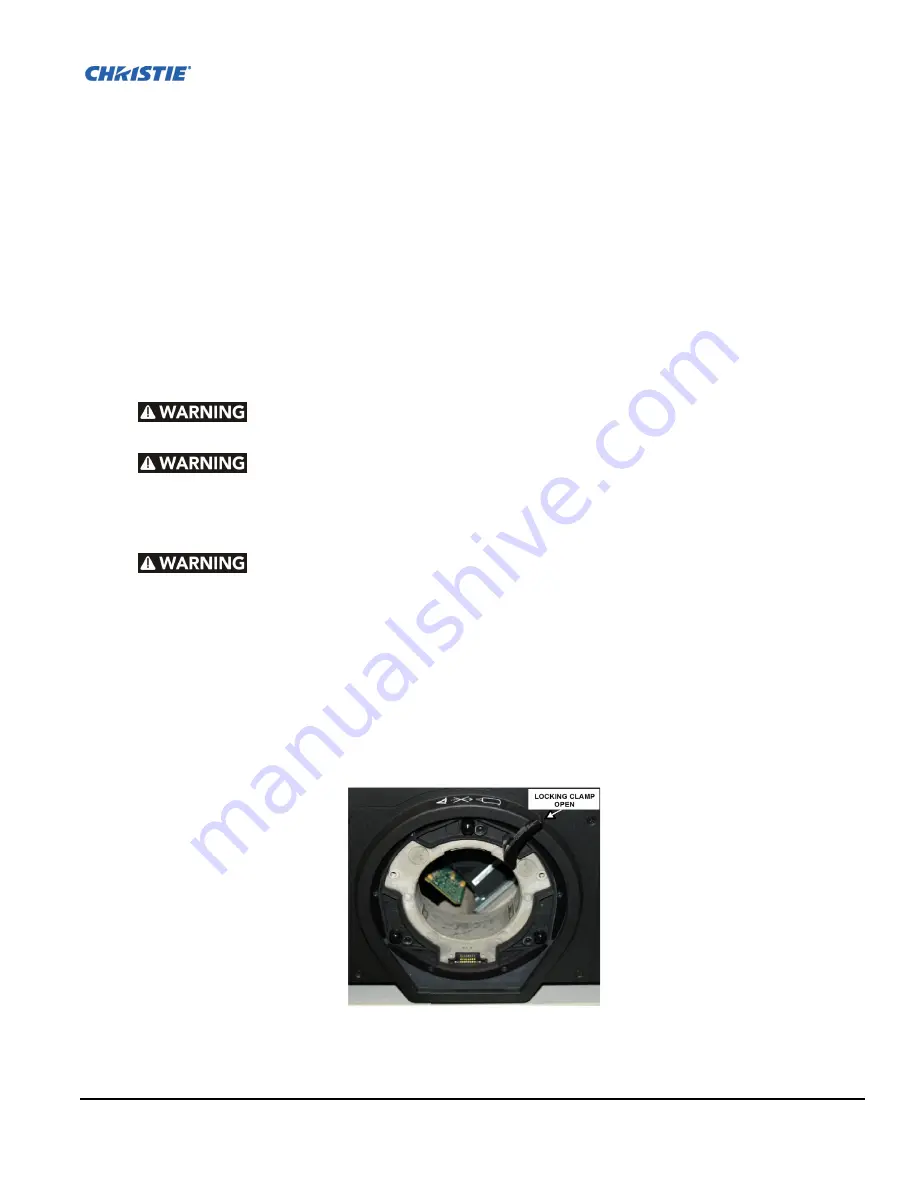
1. Rotate the lens clamp to the OPEN position, see
Figure 2-1 Locking Clamp Open
.
F
IGURE
2-1 L
OCKING
C
LAMP
O
PEN
Summary of Contents for M Series
Page 1: ...M Series U S E R M A N U A L 020 100009 05 ...
Page 2: ......
Page 3: ...M Series U S E R M A N U A L 020 100009 05 ...
Page 14: ......
Page 46: ......
Page 120: ......
Page 131: ...Section 6 Troubleshooting M Series User Manual 6 7 020 100009 05 Rev 1 09 2010 FIGURE 6 1 ...
Page 132: ......
Page 148: ......
Page 152: ......
Page 167: ......


