3-44
M Series User Manual
020-100009-05 Rev. 1 (09-2010)
Section 3: Operation
EDGE BLENDING - S
UBMENU
The
Edge Blending
submenu provides a range of controls for smoothing together the overlapping bright edges
of multiple adjacent projected images to create a single larger “seamless” image. These controls, which
primarily affect white levels, are typically used in conjunction with mechanical lens blinders (optional), which
are installed on the front of the projector and which primarily affect black levels. Brightness uniformity
adjustment, if desired, should be performed first. The
Edge Blend
or
Grid
Test Patter
n is useful for the
mechanical setup of the projectors. If necessary, adjust
Black Level Blending
first with the
Black
test pattern,
then use the
White
test pattern to blend the white levels on the blend edges. The final step is to check the
blended image with an external source.There is a centerline (both horizontal and vertical) in the Edge Blending
test pattern. The intersection of these lines is the true center of the projector’s display area.
The
Show Blending Overlap
control enables or disables edge blending overlap. When enabled, this will make
the size of the Edge Blending regions obvious. This control should only be used during setup.
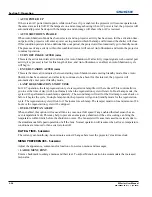
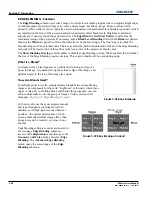
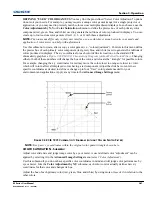
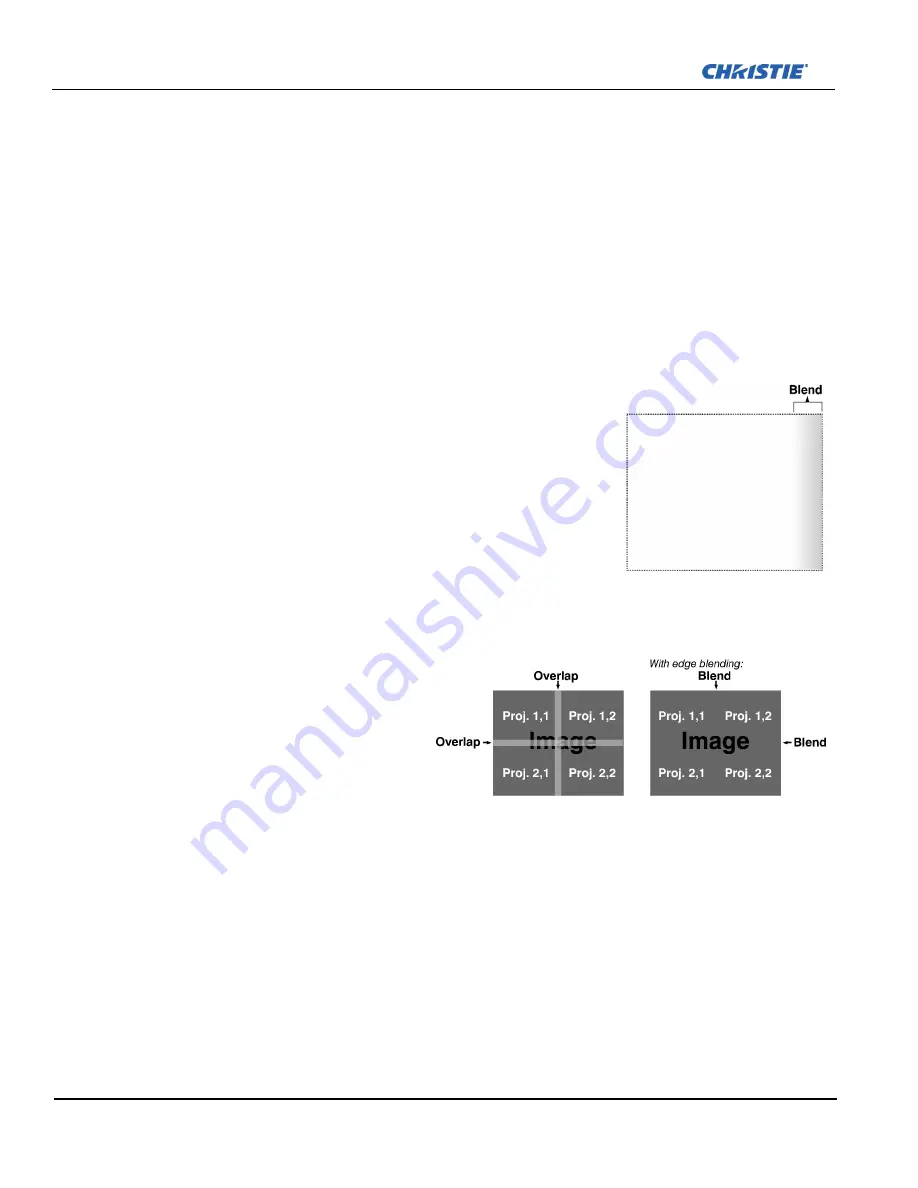
What is a Blend?
In simple terms, a blend appears as a gradient strip along an edge of a
projected image. It is darkest along the extreme edge of the image, and
lightens nearer to the rest of the image (see right).
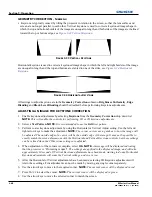
How Are Blends Used?
In multiple-projector walls, complementary blends between neighboring
images can compensate for the extra “brightness” or intensity where these
edges overlap. By controlling blend width and other properties, you can
achieve uniformity across the group of images. Visible overlaps will
disappear,
Figure 3-37 Edge Blending Concept
:
For best results, use the same projector model
and type throughout your display wall. In
addition, avoid high-gain screens whenever
possible—the optical performance of such
screens demands minimal image offset, thus
projectors must be located very close to one
another.
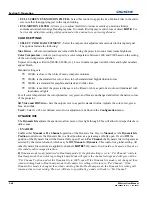
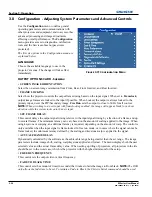
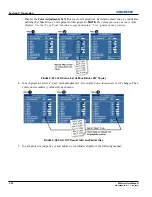
Edge blending software controls are located in
the two-page
Edge Blending
submenu—
access via
Configuration
menu, then go to the
Geometry and Color
menu and select
Edge
Blending
. The
Advanced Edge Blending
option opens the second page of the
Edge
Blending
submenu.
F
IGURE
3-36 E
DGE
B
LENDING
F
IGURE
3-37 E
DGE
B
LENDING
C
ONCEPT
Summary of Contents for M Series
Page 1: ...M Series U S E R M A N U A L 020 100009 05 ...
Page 2: ......
Page 3: ...M Series U S E R M A N U A L 020 100009 05 ...
Page 14: ......
Page 46: ......
Page 120: ......
Page 131: ...Section 6 Troubleshooting M Series User Manual 6 7 020 100009 05 Rev 1 09 2010 FIGURE 6 1 ...
Page 132: ......
Page 148: ......
Page 152: ......
Page 167: ......

