3-46
M Series User Manual
020-100009-05 Rev. 1 (09-2010)
Section 3: Operation
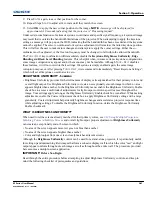
5. Re-adjust width (both projectors) until the overly bright band at the midpoint of the overlapping blends
disappears or
just
changes to very light grey. For the shared edge, use the same
Blend Width
setting on
each projector.
NOTE:
If the best blend appears to be between two settings, choose the wider setting for
both projectors.
6.
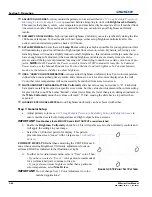
CHECK BLEND
If the blended region appears too dark or light in relation to the rest of the image:
a. Increase
Blend Midpoint
in both projectors to “lighten” the overall blend, decrease to “darken” the
overall blend.
b. Adjust
Blend Shape
in both projectors to fine-tune change the amount of mid-grey intensity (as
opposed to black/white) in the blend.
7. Repeat with remaining projectors / overlaps.
8. Check completed display wall with the desired external signal.
9. If necessary, adjust the mechanical alignment to maintain perfect pixel-on-pixel alignment over time.
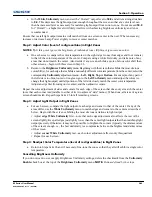
In applications where you are projecting only white or light images, the
Blend Width
may be slightly higher—
set according to how much overlap you have between images. Use the following as a guide (examples show
overlapping width only—values for overlapping height will differ).
NOTE:
Recommended overlap is 12.5% -
25%.
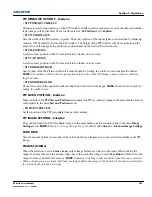
COLOR ADJUSTMENTS BY X/Y - S
UBMENU
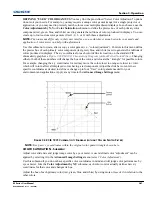
Enter known x/y coordinates from the chromaticity graph
NOTES: 1)
For defining or changing a User 1, 2, 3, or 4 color
performance or “gamut”. Sometimes known as Comprehen-
sive Color Adjustment™.
2)
Factory-defined primary color
levels, which ensure a specific color performance from
projector-to-projector, can be calibrated in the Service menu
only. The factory settings can be recovered with selection of
“Reset to Factory Defaults?” in the Color Primary Settings
submenu accessed via the Service menu (password-
protected).
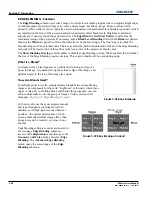
From the factory, the projector can utilize any of the three pre-defined color performance settings identified at
right (default=Max Drives), or colors can be driven on the basis of color temperature. For most applications,
one of these gamuts will produce accurate and realistic colors from a variety of sources. They can be applied at
any time in the
Advanced Image Settings
menu (“Select Color Adjustment”), and are not adjustable.
Summary of Contents for M Series
Page 1: ...M Series U S E R M A N U A L 020 100009 05 ...
Page 2: ......
Page 3: ...M Series U S E R M A N U A L 020 100009 05 ...
Page 14: ......
Page 46: ......
Page 120: ......
Page 131: ...Section 6 Troubleshooting M Series User Manual 6 7 020 100009 05 Rev 1 09 2010 FIGURE 6 1 ...
Page 132: ......
Page 148: ......
Page 152: ......
Page 167: ......

