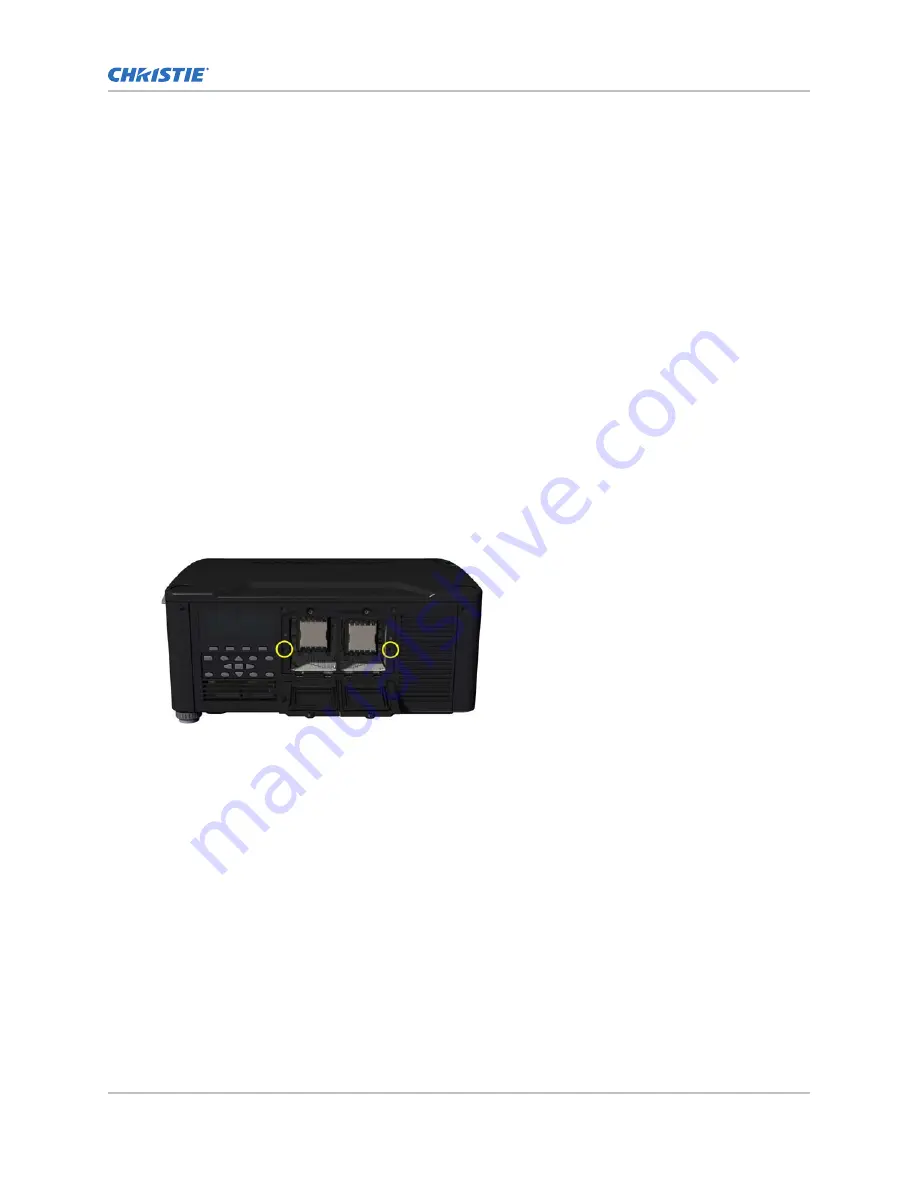
1. Remove the top cover (on page 45).
2. Remove the remote temperature sensor module (RTSM) #2 (on page 90).
3. Remove the card cage lid (on page 59).
4. Remove the card cage (on page 61).
5. Remove the three screws on top of the rear cover.
6. Place the projector on its side.
7. Remove five screws on the bottom of the projector along the rear cover.
8. Remove the rear panel.
9. To install the rear panel, complete these steps in reverse order.
Removing the lamp side panel
The lamp doors are located on the lamp side panel and are removed with the cover. The lamp side
panel is an assembly kit that includes the following: side panel, doors, hinges, and pipe light lamp
doors.
Estimated replacement time: 20 minutes.
1. Remove the lamps (on page 81).
2. Remove the two screws, located inside the lamp door compartment.
3. Remove the top cover (on page 45).
4. Remove the front cover (on page 48).
5. Remove two captive screws securing the corner through a silver metal bracket.
6. Place the projector on its side.
7. Remove the five screws from the bottom of the projector on the lamp side.
Projector covers and feet
M Series Service Guide
46
020-100551-11 Rev. 1 (01-2019)
Copyright
©
2019 Christie Digital Systems USA, Inc. All rights reserved.
Summary of Contents for M Series
Page 1: ...Service Guide 020 100551 11 M Series ...
Page 95: ......


