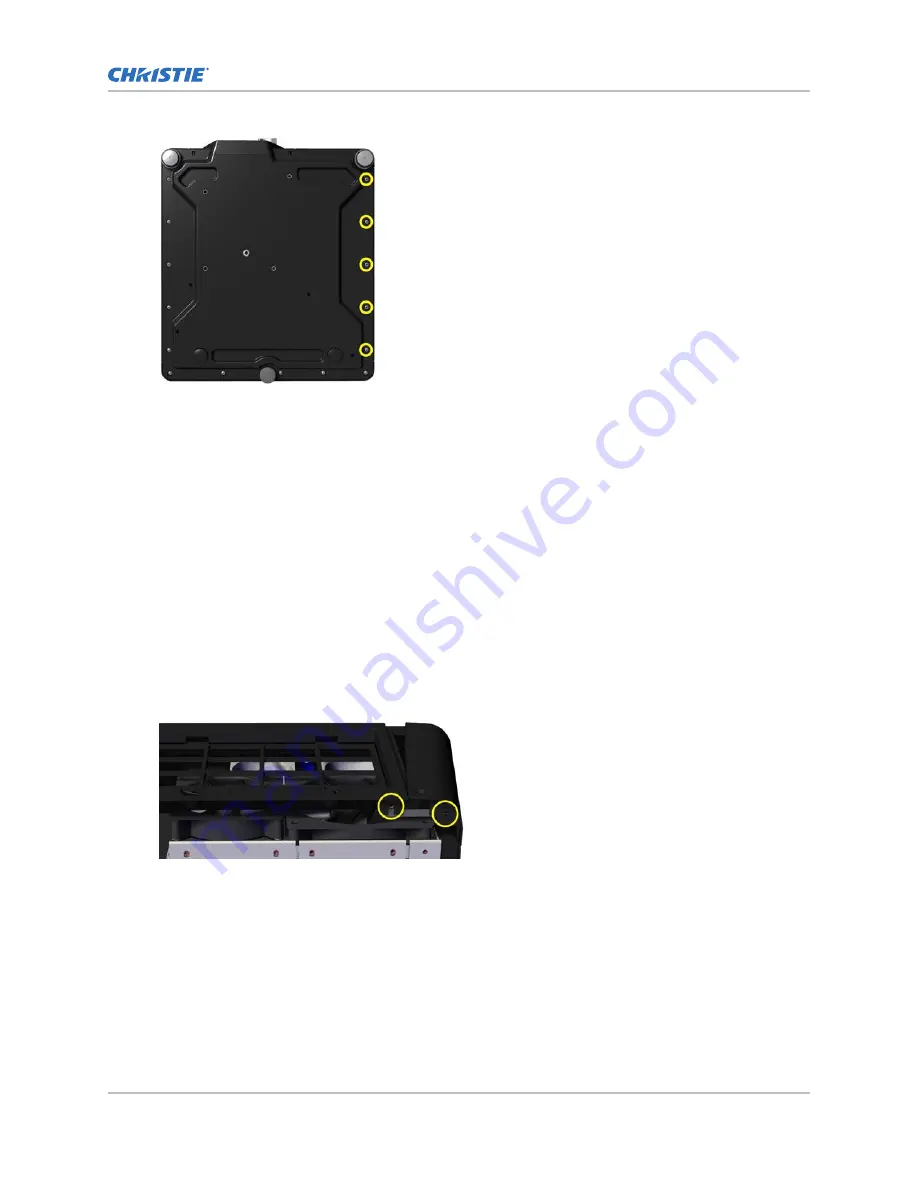
8. Disconnect wire (J78) from the status display control panel.
9. Slide the panel up until the lower corner is cleared, release pressure and remove panel.
The panel must be tilted one way and then the other to fit around modules (card cage).
10. To install the lamp side panel, complete these steps in reverse order.
Removing the intake side panel
Complete this procedure to remove the intake side panel.
Estimated replacement time: 20 minutes.
1. Remove the top cover (on page 45).
2. Remove the front cover (on page 48).
3. Loosen the two captive screws at the top of each filter door. and remove the air filter covers.
4. Place the projector on its side with the filter side facing up.
5. Remove the two screws securing the corner through a silver metal bracket.
6. Remove the five screws on the bottom of the projector on the intake side.
7. Remove the bottom of the panel by raising it until the bottom lip is cleared and gently push the
silver clip.
The panel must be tilted one way and then the other to fit around the card cage.
Projector covers and feet
M Series Service Guide
47
020-100551-11 Rev. 1 (01-2019)
Copyright
©
2019 Christie Digital Systems USA, Inc. All rights reserved.
Summary of Contents for M Series
Page 1: ...Service Guide 020 100551 11 M Series ...
Page 95: ......


