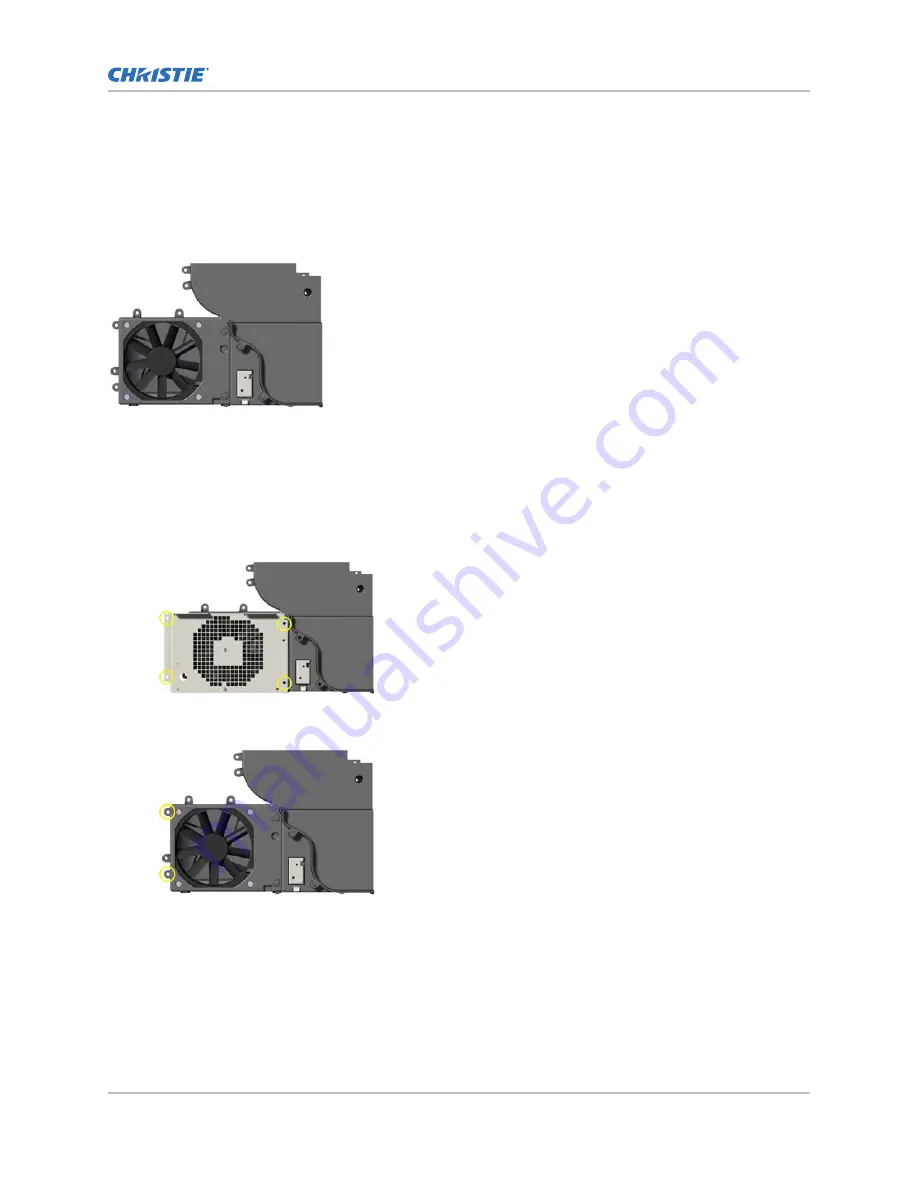
Removing the lamp exhaust fan (#4)
Fan #4 is directly underneath the lamp compartment. It sits inside a duct system that reaches all the
way to the power supply. The duct system consist of two pieces assembled together an upper portion
and a lower portion.
Estimated replacement time: 80 minutes.
1. Remove the top cover (on page 45).
2. Remove the card cage lid (on page 59).
3. Remove the bridge (on page 60).
4. Remove the card cage (on page 61).
5. Remove the optical assembly (on page 78).
6. Remove the four screws from the bottom of the lamp cage.
7. Remove the lower section of the lamp cage.
8. Remove the two screws from the card cage exhaust duct.
9. Disconnect J53 from the panel driver.
10. Remove the exhaust duct.
11. Remove the remote temperature sensor module #4 (on page 89).
12. Disconnect fan #4 wire from the quick disconnect.
13. Remove the five screws securing the lamp exhaust duct to the base.
One screw holds a wire clip to the base.
Ventilation and cooling
M Series Service Guide
55
020-100551-11 Rev. 1 (01-2019)
Copyright
©
2019 Christie Digital Systems USA, Inc. All rights reserved.
Summary of Contents for M Series
Page 1: ...Service Guide 020 100551 11 M Series ...
Page 95: ......


