Installation & Setup
2-12
Roadster & Mirage S+/HD User Manual
020-100002-04 Rev. 1 (12-2008)
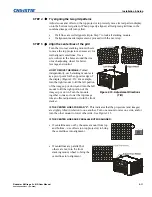
Align the edges of the grid
With centerlines aligned, adjust zoom (top projector) to align the edges of its image
with the other image. Then adjust focus. When aligned, all lines from the combined
red/green grids will be yellow.
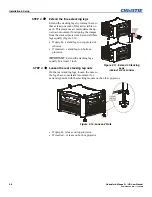
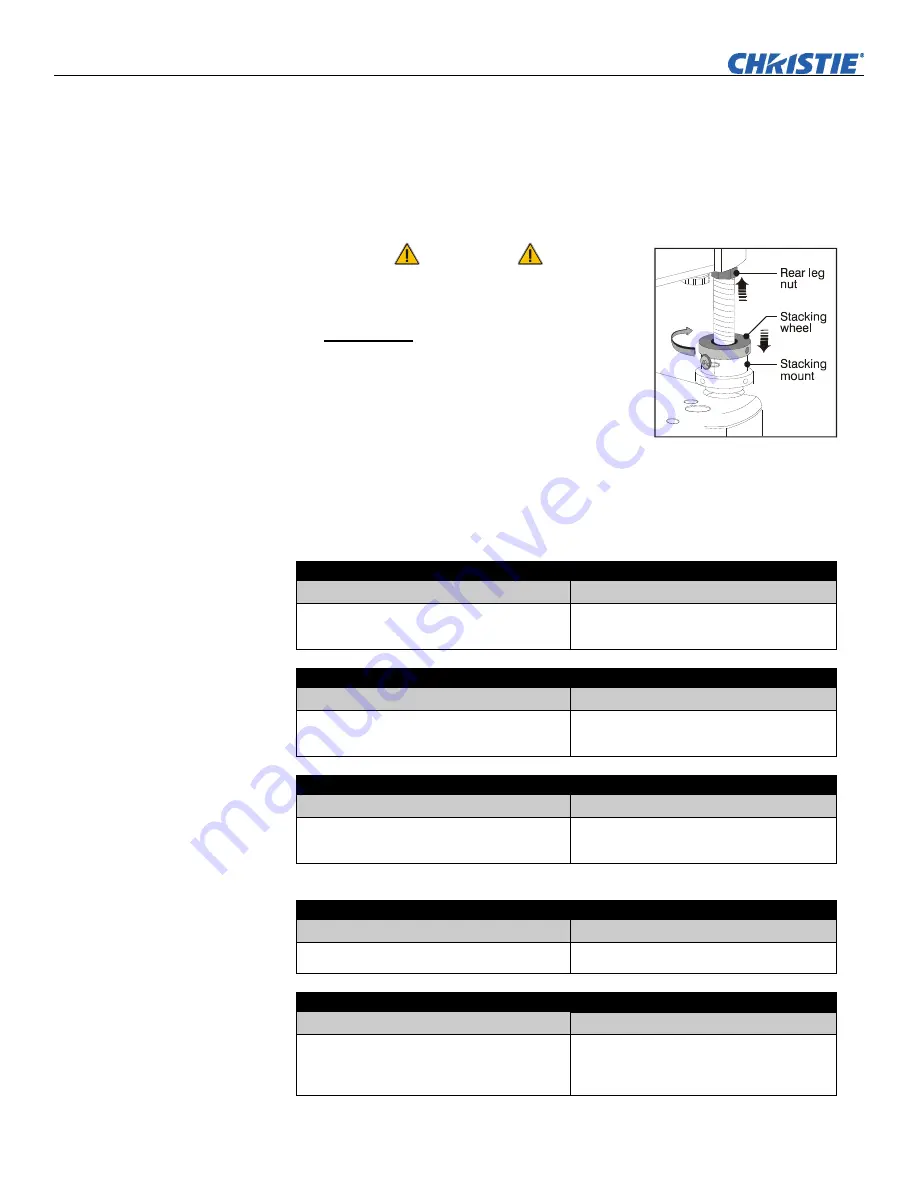
Secure all stacking wheels and leg nuts
WARNING
Critical Safety Procedure.
•
Turn all three stacking wheels until they are
firmly secure
against the rest of the stacking
mount (Figure 2.16).
•
Secure both two rear leg nuts against the
bottom of the projector.
Repeat steps 1 to 7 for a third projector
Choose the installation type that suits your needs: front or rear screen, floor mount or
inverted mount.
Front Screen, Floor Mount Installation
ADVANTAGES
CONSIDERATIONS
•
Easy to set up
•
Can be moved or changed quickly
•
Easy to access
•
Shares floor space with audience
Front Screen, Inverted Mount (ceiling) Installation
ADVANTAGES
CONSIDERATIONS
•
Does not take up audience space
•
Projector is unobtrusive
•
Projector cannot be accidentally moved
•
Installation is more permanent
•
It is more difficult to access the projector
Rear Screen, Floor Mount Installation
ADVANTAGES
CONSIDERATIONS
•
Projector is completely hidden
•
Projector is easily accessed
•
Usually good ambient light rejection
•
Requires separate room
•
Requires rear projection screen
Rear Screen, Inverted Mount (ceiling) Installation
ADVANTAGES
CONSIDERATIONS
•
Projector is completely hidden
•
Usually good ambient light rejection
•
Requires separate room
•
Installation cost is usually higher
Rear Screen, Floor Mount with Mirror
ADVANTAGES
CONSIDERATIONS
•
Projector is completely hidden
•
Usually good ambient light rejection
•
Requires less space behind screen than
other rear screen installations
•
Requires separate room
•
Installation cost is usually higher
STEP
6
STEP
7
Figure 2.16. Secure All
Hardware
STEP
8
Installation Type


