16
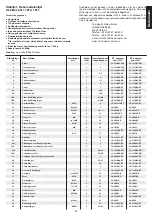
Step 4:
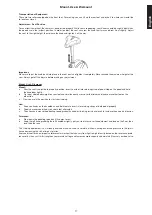
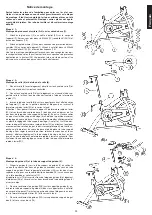
Attach the pedals (9L+9R) at pedal crank (24).
1. Screw the right pedal (9R) into the locator in the right-hand side (as
seen in operation) for the pedal crank (24R) (Note! the screw direction is
clockwise).
2. Screw the left pedal (9L) into the locator in the left-hand side (as seen
in operation) for the pedal crank (24L).
(Note! the screw direction is anti-clockwise).
3. Put the bottle holder (19) at the main frame (1), fix it with two screws
(17) and washers (20) and insert the drink bottle (21) into the bottle holder
(19).
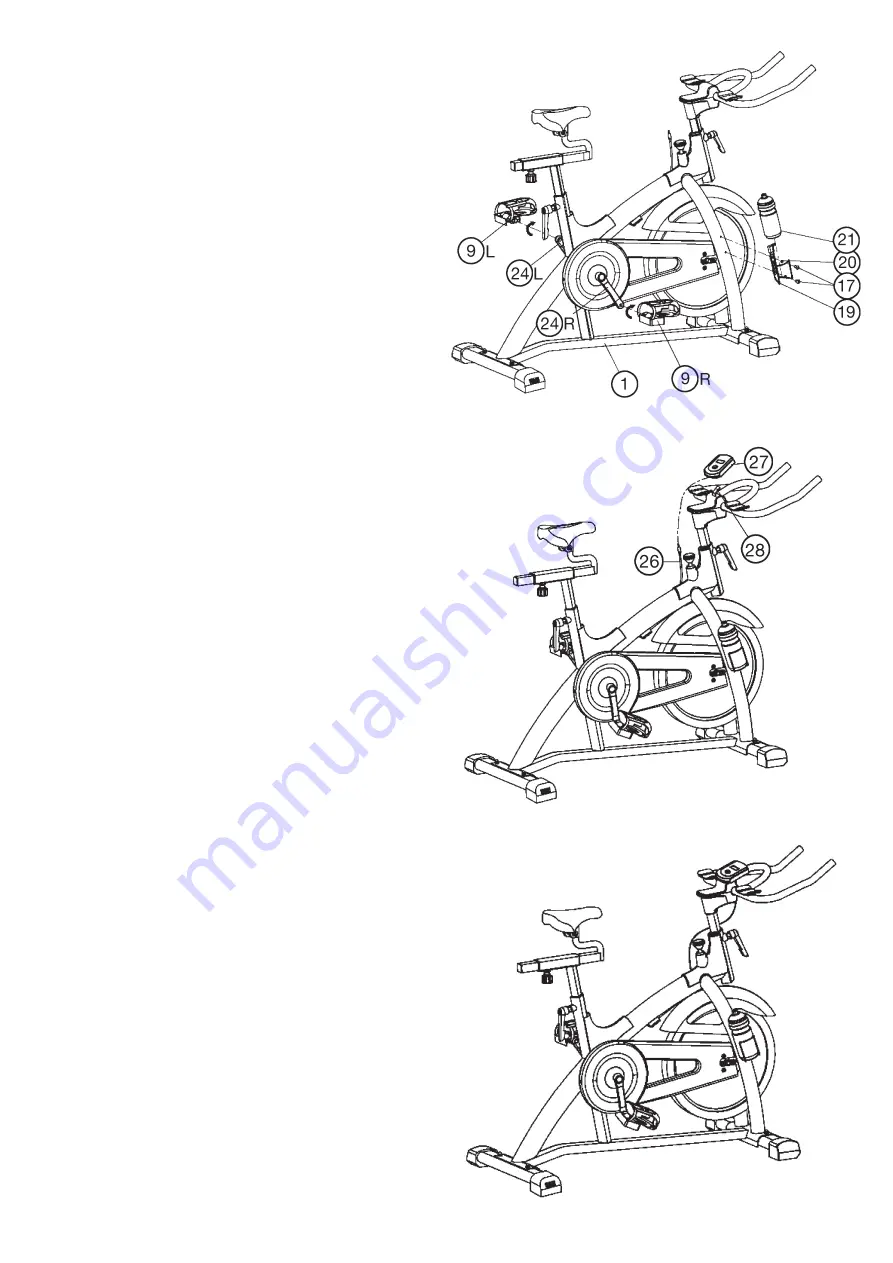
Step 6:
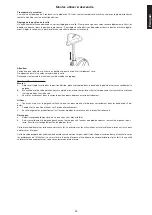
Checks
1. Check the correct installation and function of all screwed and plug
connections.
Installation is thereby complete.
2. When everything is in order, familiarize yourself with the machine at a
low resistance setting and make your individual adjustments.
Note:
Please keep the tool set and the instructions in a safe place as these may
be required for repairs or spare parts orders becoming necessary later.
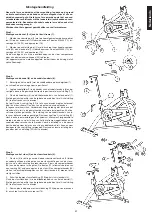
Step 5:
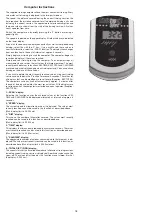
Attach the computer (27) at handlebar (5).
1. Take the computer (27) that has been supplied out of the packaging
and insert the batteries (Type “AA”-1.5 V pen cells) by watching for the right
polarity on the back of the computer (27). (Batteries for the computer are
not included in this item. Please buy them at your located market.)
2. Push the plug of the sensor cable (26) into the associated socket of the
computer (27).
3. Place the computer (27) onto the computer holder (28).
Summary of Contents for 1310
Page 3: ...3 Deutsch ...
Page 4: ...4 ...


