Manual Operation
3-63
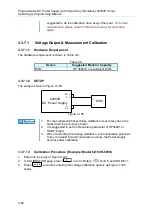
3.3.7.2.2
SETUP
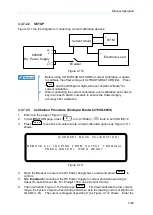
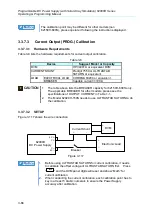
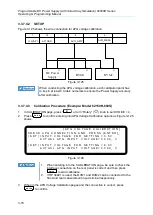
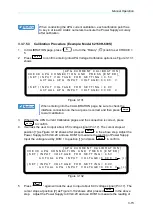
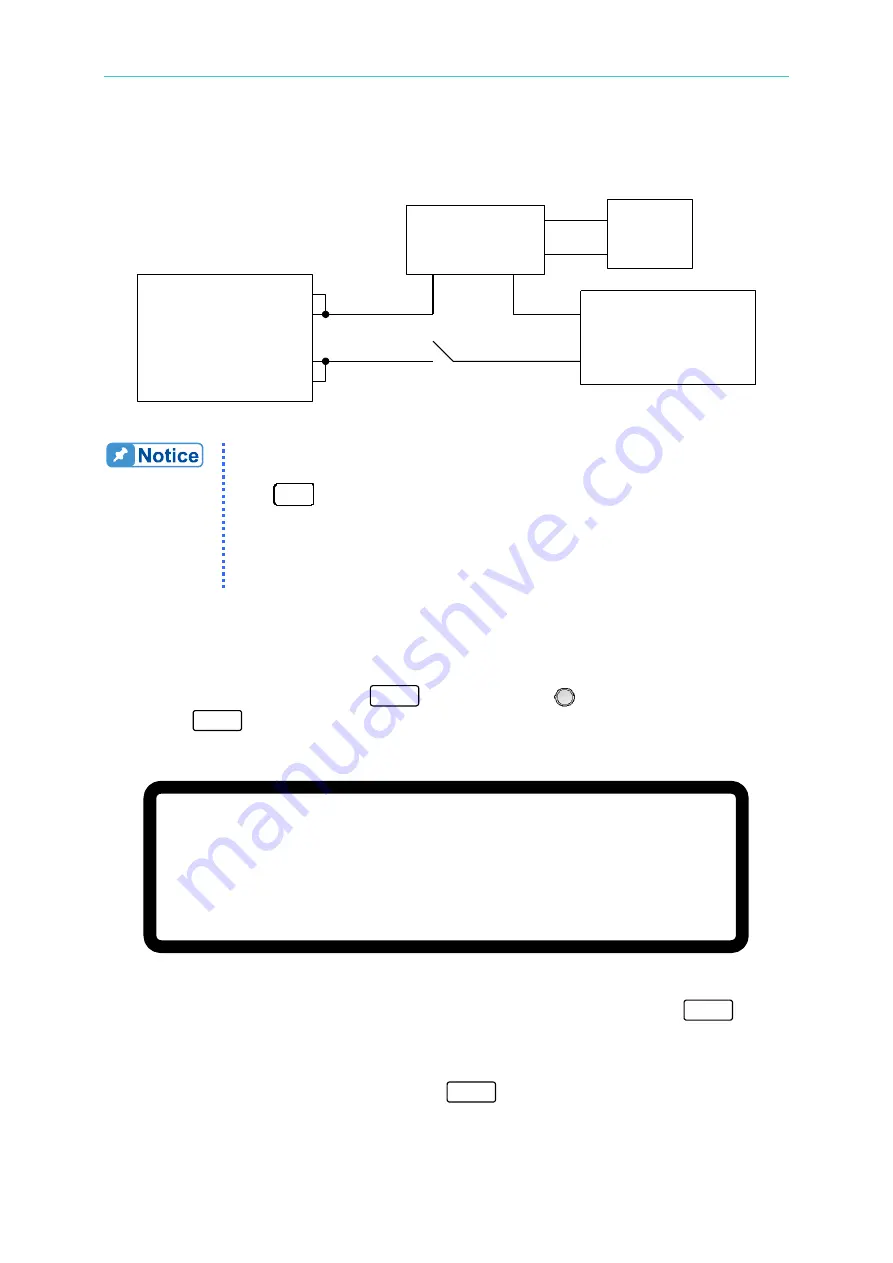
Figure 3-110 is the diagram for connecting current calibration devices.
62000H
DC Power Supply
v
v
DVM
sv
sv
Current Shunt
Electronic Load
Breaker
Figure 3-110
1.
Before using ULTRASTAB SATURN for current calibration, it needs
to calibrate the offset voltage of ULTRASTAB SATURN first. Press
“
Null
” and the DVM panel digits will reset and show “Math” for
current calibration.
2.
When conducting the current calibration, each calibration point has to
key in at least 5 Arabic numerals to ensure the Power Supply
accuracy after calibration.
3.3.7.2.3
Calibration Procedure (Example: Model 62150H-600S)
1.
Enter into the page of Figure 3-101.
2.
In CALIBRATION page, press “
2
” or turn “Rotary” (
) knob to set CHOICE=2.
3.
Press “
ENTER
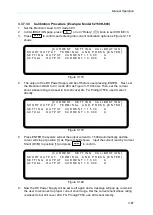
” to confirm and entering into current calibration options as Figure 3-111
shows.
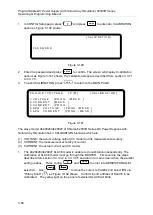
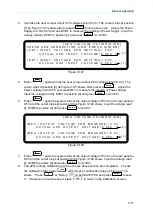
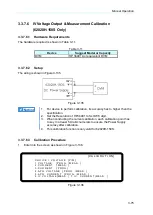
[ C U R R E N T M E A S C A L I B R A T I O N ]
R E M O V E A L L L O A D I N G F R O M O U T P U T T E R M I N A L
P R E S S [ E N T E R ] W H E N R E A D Y
Figure 3-111
4.
Open the Breaker to ensure the DC Power Supply has no load and press “
ENTER
” to
confirm.
5.
It is important
to reconnect the DC Power Supply to current shunt whose rating is
closest to but still cover 2A. For Prodigit 7550, use 2A shunt directly.
6.
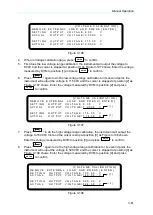
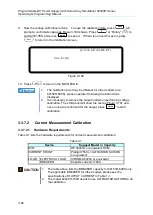
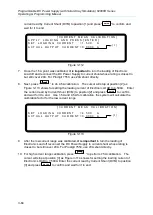
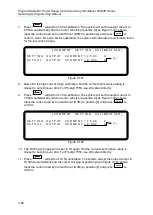
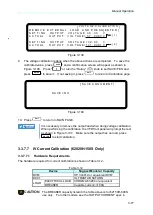
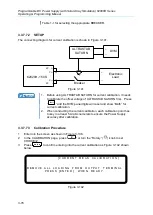
Then it will show Figure 3-112
and press “
ENTER
”. First it will calibrate the low current
range, the system outputs a fixed voltage and then sets the loading current of Electronic
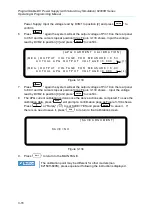
LOAD to 1.5A. The cursor is stopped at position [1] as Figure 3-112 shows. Enter the

