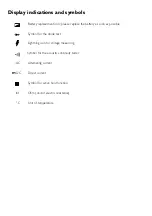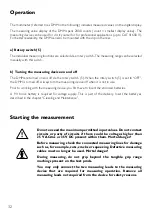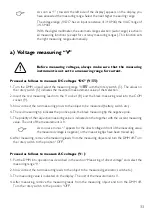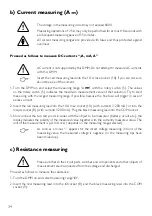
37
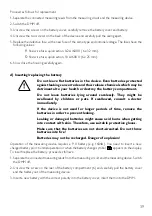
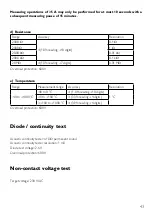
g) temperature measuring
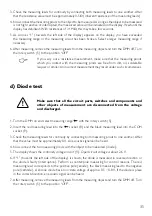
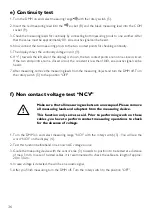
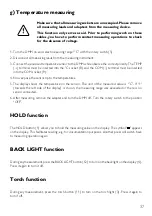
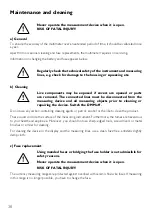
make sure that all measuring sockets are unoccupied. Please remove
all measuring leads and adapters from the measuring device.
this function only serves as aid. Prior to performing work on these
cables, you have to perform contact measuring operations to check
for the absence of voltage.
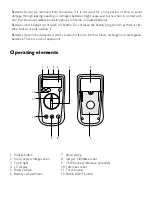
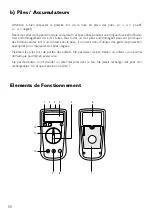
1. Turn the DMM on and select measuring range “°C” with the rotary switch (5).
2. Disconnect all measuring leads from the measuring instrument.
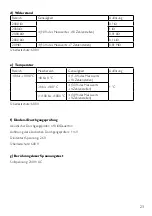
3. Connect the enclosed temperature sensor to the DMM while observe the correct polarity. The TEMP
(+) terminal must be inserted into the °C socket (8) and the COM (-) terminal must be inserted
into the COM socket (9).
4. Now expose the sensor tip to the temperatures.
5. The display shows the temperature on the sensor. The unit of the measured value is “°C”. If “1”
(towards the left side of the display) is shown, the measuring range was exceeded or there is no
sensor connected.
6. After measuring, remove the adapter and turn the DMM off. Turn the rotary switch to the position
“OFF”.
HOlD function
The HOLD button (1) allows you to hold the measuring value on the display. The symbol “ ” appears
on the display. This facilitates reading, e.g. for documentation purposes. Another press will switch back
to measuring operation again.
BaCK ligHt function
During any measurement, press the BACK LIGHT button (12) to turn on the back light on the display (4).
Press it again to turn it off.
torch function
During any measurement, press the torch button (11) to turn on the torch light (3). Press it again to
turn if off.
Summary of Contents for 11 1406
Page 87: ...87...

