90 Furniture Wizard CPT-8061 Wireless Scanner Use and Installation v10
5.4 Furniture Wizard Firmware Update Procedures
To upload firmware updates (provided by Furniture Wizard Software) to each
wireless scanner, perform each of the following tasks:
1.
Step 6 in Section 4.2.1 (Preparing CPT-8061) provides instructions on how to
connect the Charging and Communications cradle to the serial port of the PC
from which the Scan-IT interface software will be loaded. If you have not already
performed each of the tasks outlined in Step 6, they must be completed at this time.
The PC sends the interface software on to each communications cradle via this serial
connection. The cradle in turn “transmits” the software to the wireless scanner via an
Infrared laser light emitted from a red window located in the large slot at the top of the
cradle, to another red window located on the bottom of the scanner unit.
2.
Place the CPT-8061 scanner facing forward into the large slot located at the top of the
Charging and Communications cradle. The metal contacts located on the bottom of the
scanner unit must make firm connection with the metal prongs located in the large
slot at the top of the cradle. Leave the nylon hand cord (attached to the lower left
corner of the scanner) hanging out the left side of the cradle.
3.
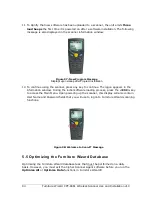
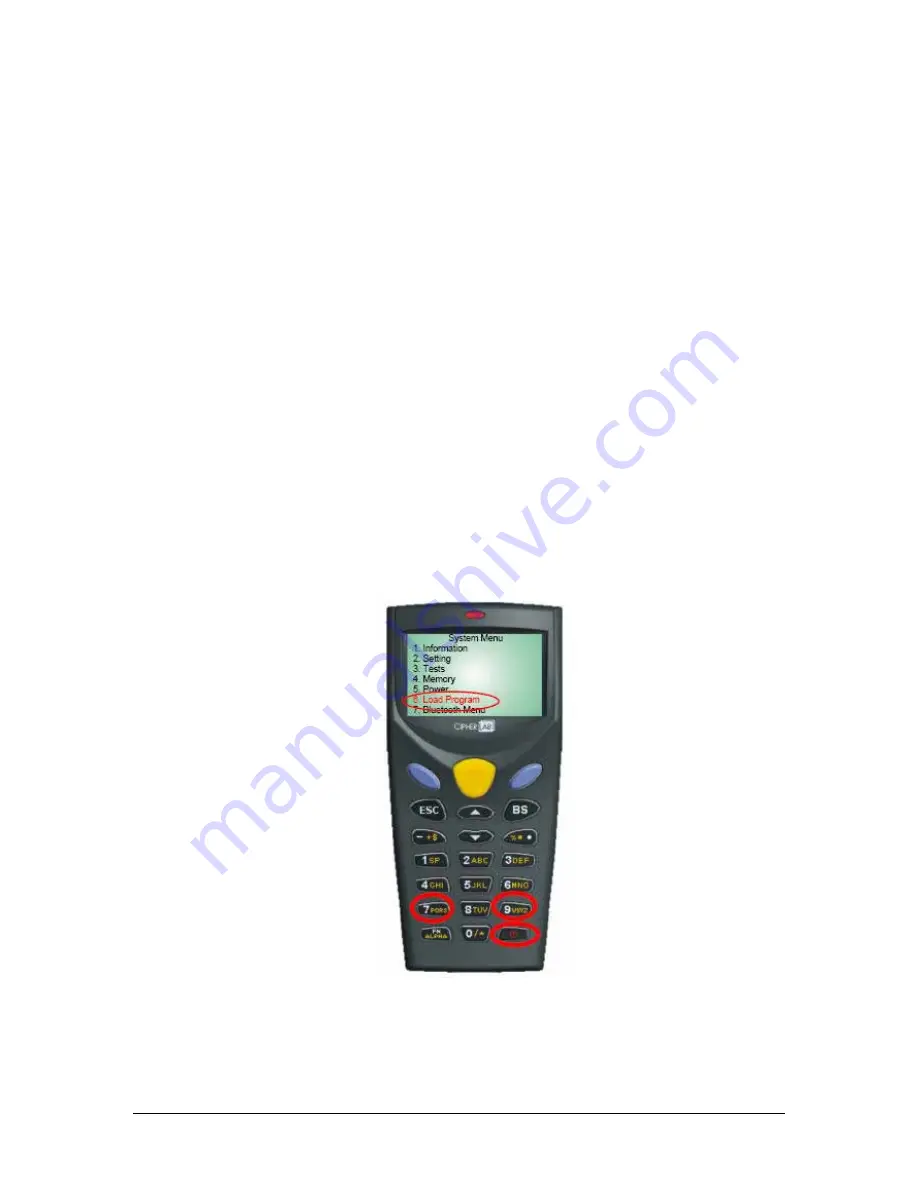
To access the proper scanner menu to start the software upload process,
simultaneously press the <7> and <9> keys on the scanner, then press the
<Power>
key in the lower right front corner of the scanner. When the System Menu
appears, press <6> (Load Program).
Figure 90: Accessing Wireless Scanner Main Menu
Simultaneously Press <7> + <9>, then
<Power>


