– 16 –
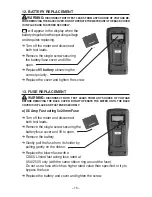
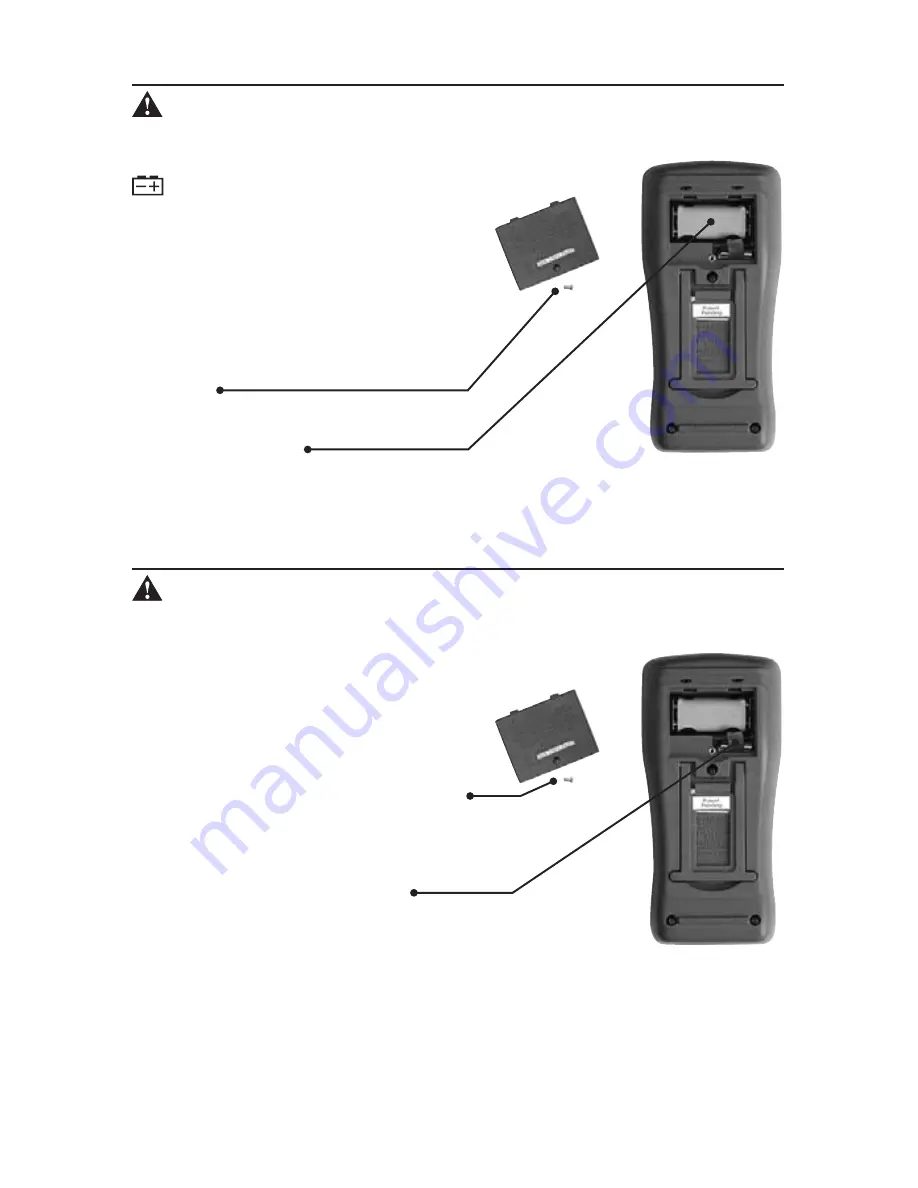
12. BATTERY REPLACEMENT
WARNING:
DISCONNECT BOTH TEST LEADS FROM ANY SOURCE OF VOLTAGE BE-
FORE REMOVING THE BACK COVER. DO NOT OPERATE THE METER UNTIL THE BACK COVER
IS IN PLACE AND FASTENED SECURELY.
will appear in the display when the
battery drops below the operating voltage
and requires replacing.
➔
Turn off the meter and disconnect
both test leads.
➔
Remove the single screw securing
the battery/fuse cover and lift to
open.
➔
Replace
9V battery
observing the
correct polarity.
➔
Replace the cover and tighten the screw.
13. FUSE REPLACEMENT
WARNING:
DISCONNECT BOTH TEST LEADS FROM ANY SOURCE OF VOLTAGE
BEFORE REMOVING THE BACK COVER. DO NOT OPERATE THE METER UNTIL THE BACK
COVER IS IN PLACE AND FASTENED SECURELY.
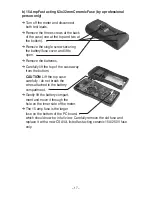
a) 0.5 Amp Fast acting 5x20mm Fuse
➔
Turn off the meter and disconnect
both test leads.
➔
Remove the single screw securing the
battery/fuse cover and lift to open.
➔
Remove the battery.
➔
Gently pull the fuse from its holder by
pulling gently on the ribbon.
➔
Replace the blown fuse with a
CSA/UL listed fast acting fuse rated at
0.5A/250V only (with the same ribbon ring around the fuse).
Do not use a fuse which has higher rated value than specified or try to
bypass the fuse.
➔
Replace the battery and cover and tighten the screw.

