Cirris Systems | Installing Easy-Wire Software 6
Starting the Software
1.
Double-click the software icon to start the software. If prompted, restart you computer before starting
the software.
2.
For easy-wire, make sure you select the appropriate tester type in the User Login window. If you
have chosen the wrong tester type you can change by going to System Setup Options in Utilities.
If you have updated an existing installation
, the software should open the main menu and allow
you to access your previous data.
Make sure the main menu is displayed and any converted files are present.
3. If the User Login Box appears, click
OK
.
Note:
If you’ve updated an existing installation, the user name and password should still be the same.
4.
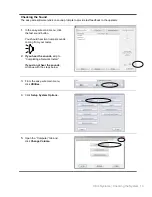
Verify that everything is working by completing “Checking the System” on page 11.
Updating the Server Configuration
Share the Cirris folder with those who have read/write permissions. Default folder location:
Windows XP:
C:\Documents and Settings\All Users\Shared Documents\Cirris.
Vista, Windows 7, Windows 8:
C:\Users\Public\Public Documents\Cirris.
Note:
If you have any problems with installing or updating your server software complete the following
before contacting Cirris for support:
1. At the server, click
Start, All Programs, Cirris Systems Corporation, Easy-Wire Server, Update Easy-
Wire Cirris Server Configuration.
2.
You will see the “Updating Configuration” message. After a moment this message will disappear.
The server configuration is now complete.

