50
Cisco 6100 Thermal Upgrade Kit Installation Procedures
78-10158-01
Installing the Cisco 6100 Thermal Upgrade Kit
Step 4
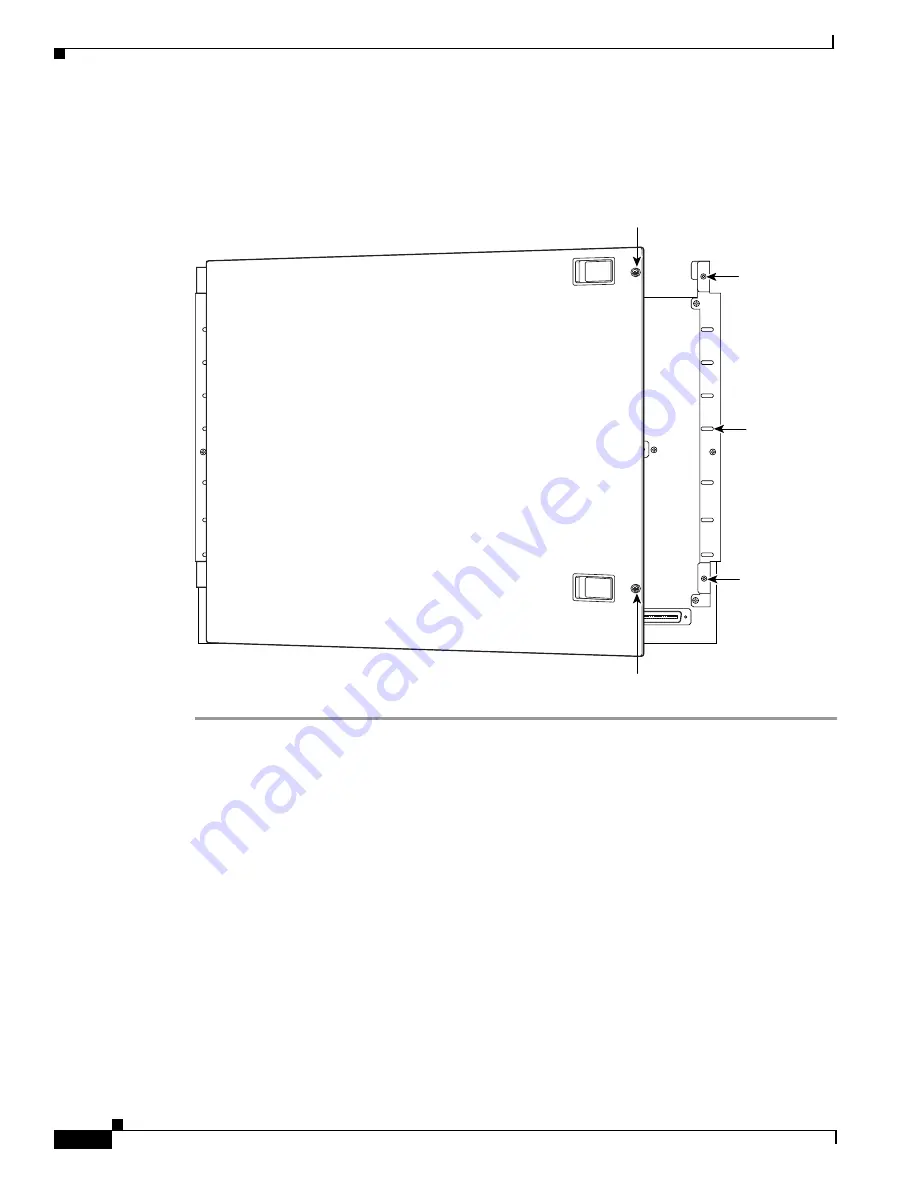
Align the two thumbscrews located on the rear door with two thumbscrew fasteners on the bracket (see
Figure 33). Tighten the thumbscrews to secure the rear door.
Figure 33
Securing the Rear Door with Two Thumbscrews
Run the Connection Test Procedures
To verify that the system is connected and running properly, follow the connection test procedures in
the Cisco 6100 with NI-1 Direct Connect Installation Guide.
26389
P17
P15
E2A
VISUAL
AUDIBLE
FA
N
ALARM
MIN
MAJ
CRIT
AC
O
MIN
MAJ
CRIT
AC
O
MIN
MAJ
CRIT
ANALOG TEST I/F
RING
TIP
P18
-48V_B
-48R
TN
-48V_A
-48R
TN
P13
MODEM
POOL
A
OUT
J45
J48
P3
P9
J39
J42
MODEM
POOL
B
OUT
J46
J43
J44
J41
J40
J47
J49
Thumbscrew
Thumbscrew
Thumbscrew
fastener
Bracket loops
for cable
tie wraps
Thumbscrew
fastener


