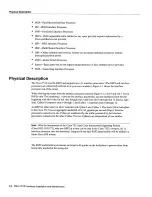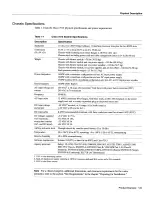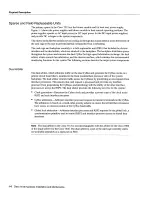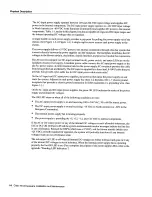
Physical
Description
The
RSP2
and
interface
processors
slide
into
the processor
slots
in the rear
of the router
see
Figure
1-1
and
connect
directly
to
the
backplane
there
are
no
internal
cables
to
connect
Spring-loaded
ejector
levers
help
to
ensure
that
processor
module
is
either
connected
to
the
backplane
or
fully
disconnected
from
it
but the captive
installation
screws
on
each
processor
module
are
the best
way
to
ensure
it
is
completely
secured
to
the
backplane
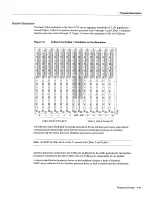
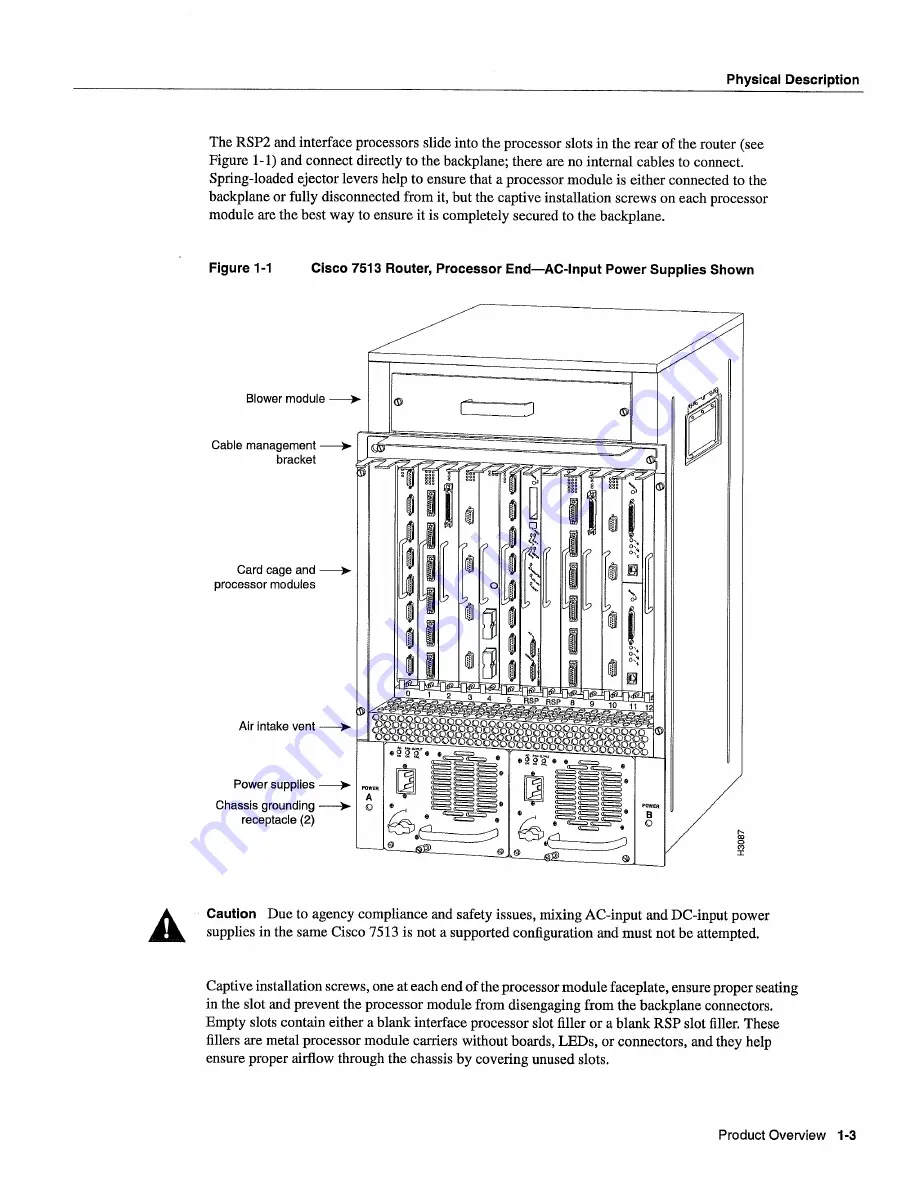
Figure
1-1
Cisco 7513
Router
Processor
EndAC-Input
Power
Supplies
Shown
Blower module
Cable
management
bracket
Card cage
and
processor
modules
Air intake
vent
Power
supplies
Chassis
grounding
receptacle
Caution
Due
to
agency compliance
and
safety
issues
mixing AC-input and DC-input power
supplies
in
the
same
Cisco
7513
is
not
supported
configuration
and must
not
be
attempted
Captive
installation
screws
one
at
each
end
of the processor
module
faceplate
ensure
proper
seating
in
the
slot
and
prevent
the
processor
module
from
disengaging
from
the backplane
connectors
Empty
slots
contain
either
blank
interface
processor
slot
filler
or
blank
RSP
slot
filler
These
fillers
are metal processor
module
carriers
without
boards
LEDs
or connectors
and
they
help
ensure
proper
airflow
through
the chassis
by
covering
unused
slots
___
ii
Product
Overview
1-3
Summary of Contents for 7513 Series
Page 1: ......
Page 11: ...Cisco 7513 Hardware Installation and Maintenance ...
Page 121: ...Site Log 2 56 Cisco 7513 Hardware Installation and Maintenance ...
Page 162: ...Troubleshooting the Processor Subsystem 4 10 Cisco 7513 Hardware Installation and Maintenance ...
Page 266: ...Interface Processor LEDs B 16 Cisco 7513 Hardware Installation and Maintenance ...
Page 270: ...C 4 Cisco 7513 Hardware Installation and Maintenance ...
Page 288: ...18 Cisco 7513 Hardware Installation and Maintenance ...


