


If pairing succeeds, the screen reverts to the Wireless Microphones Menu, and the message
Mic X Paired
Successfully!
displays.
If pairing times out or fails, the status is updated and you can cancel or retry.
Step 5
Press
Cancel
to revert to the Wireless Microphones Menu.
Step 6
Press
Retry
to start the pairing process again.
Related Topics
Unpair Wireless Microphone, on page 12
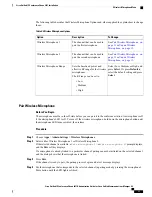
Unpair Wireless Microphone
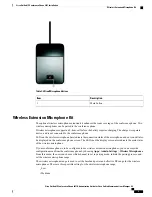
If you need to connect a wired microphone to the conference station, any wireless microphones must be
unpaired first. You can also use this procedure to unpair a microphone that is no longer in use.
This option is not available if the microphone is connected. To enable the unpair command, place the
wireless microphone in its charger or turn it off.
Note
Procedure
Step 1
Choose
Applications
>
Admin Settings
>
Wireless Microphones
.
Step 2
Select either Wireless Microphone 1 or Wireless Microphone 2.
If the selected channel is paired, the
Unpair
softkey displays.
Step 3
Press
Unpair
.
A verification prompt with the options to Cancel or
Unpair
displays.
Step 4
Press
Unpair
to continue to unpair the microphone.
The microphone channel's registration information in the base deletes. If you view the microphone channel's
status in phone info menu, the status value and RFID are empty.
Step 5
Press return to revert to the wireless microphones menu and stop the process.
Related Topics
Pair Wireless Microphone, on page 11
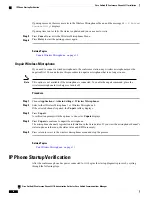
IP Phone Startup Verification
After the conference phone has power connected to it, it begins the startup diagnostic process by cycling
through the following steps.
Cisco Unified IP Conference Phone 8831 Administration Guide for Cisco Unified Communications Manager
9.0
12
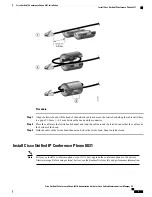
Cisco Unified IP Conference Phone 8831 Installation
IP Phone Startup Verification