1-3
Cisco Aironet 1810 Series OfficeExtend Access Point User Guide
Chapter 1 Installing and Configuring the Access Point
Configuring the Wireless LAN Controller IP Address on the Access Point
The AP connects to the controller and downloads the current software image. Allow 5 minutes for the
device to download and reboot with the new code and configuration.
Note
The AP restarts when any change is applied on local the GUI. For example, changing the settings
for the personal SSID causes interruption to the corporate SSID. It recovers only after the AP
rejoins the controller.
Note
You do not need to configure any SSIDs for your AP to connect to your company network. The
access point receives the company SSID when it connects to the company network by way of the
Internet. If you have problems connecting to your company network, contact your IT
administrator. You can configure your local SSID WLAN for other devices. See the
“Configuring
Radio Channels on the Access Point” section on page 1-4
.
Note
Cisco Aironet 1810 Series OfficeExtend access points are designed to work behind a router or
other gateway device that is using network address translation (NAT). NAT allows a device, such
as a home router or gateway, to act as an agent between the Internet (public) and a personal
network (private), thereby enabling an entire group of computers to be represented by a single
IP address. There is not limit to the number of Cisco Aironet 1810 Series OfficeExtend access
points that can be deployed behind a single NAT device.
Configuring the Wireless LAN Controller IP Address on the
Access Point
Follow these steps to configure the IP address of the Wireless LAN Controller on your Cisco Aironet
1810 Series OfficeExtend access point.
Step 1
Obtain the IP address of your Wireless LAN controller from your company’s IT professional.
Step 2
Access the 1810 Series OfficeExtend access point GUI as described in
“Accessing the GUI” section on
page 2-1
.
Step 3
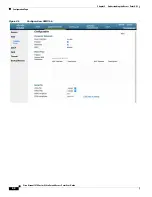
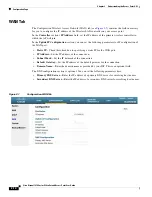
Choose
Configuration > WAN
tab.
Step 4
Enter the IP address of the primary controller in the
Controller IP Address
field.
Step 5
Leave the Static IP check box unchecked to allow the WAN IP address to be assigned by DHCP.
Step 6
Click
Apply
to commit your changes.
A verification screen is displayed.


