17-17
Cisco ASA Series Firewall CLI Configuration Guide
Chapter 17 ASA CX Module
Configure the ASA CX Module
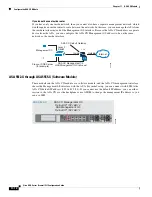
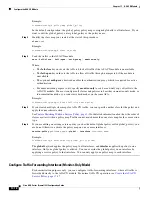
Another option for demonstration purposes is to configure a traffic-forwarding interface instead of a
service policy in monitor-only mode. The traffic-forwarding interface sends all traffic directly to the
ASA CX module, bypassing the ASA.
•
Create the ASA CX Service Policy, page 17-17
•
Configure Traffic-Forwarding Interfaces (Monitor-Only Mode), page 17-18
Create the ASA CX Service Policy
You redirect traffic to the ASA CX module by creating a service policy that identifies specific traffic.
Note
ASA CX redirection is bidirectional. Thus, if you configure the service policy for one interface, and
there is a connection between hosts on that interface and an interface for which redirection is not
configured, then all traffic between these hosts is sent to the ASA CX module, including traffic
originating on the non-ASA CX interface. However, the ASA only performs the authentication proxy on
the interface to which the service policy is applied, because authentication proxy is applied only to
ingress traffic.
Before You Begin
•
If you enable the authentication proxy on the ASA using this procedure, be sure to also configure a
directory realm for authentication on the ASA CX module. See the ASA CX user guide for more
information.
•
If you have an active service policy redirecting traffic to an IPS module (that you replaced with the
ASA CX), you must remove that policy before you configure the ASA CX service policy.
•
Be sure to configure both the ASA policy and the ASA CX to have matching modes: both in
monitor-only mode, or both in normal inline mode.
•
In multiple context mode, perform this procedure within each security context.
•
When using PRSM in multiple device mode, you can configure the ASA policy for sending traffic
to the ASA CX module within PRSM, instead of using ASDM or the ASA CLI as explained below.
However, PRSM has some limitations when configuring the ASA service policy; see the ASA CX
user guide for more information.
Procedure
Step 1
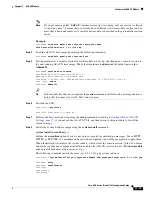
Create an L3/L4 class map to identify the traffic that you want to send to the module.
class-map
name
match
parameter
Example:
hostname(config)# class-map cx_class
hostname(config-cmap)# match access-list cx_traffic
If you want to send multiple traffic classes to the module, you can create multiple class maps for use in
the security policy.
For information on matching statements, see
Identify Traffic (Layer 3/4 Class Maps), page 1-13
Step 2
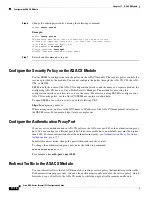
Add or edit a policy map that sets the actions to take with the class map traffic.
policy-map
name
Summary of Contents for ASA 5512-X
Page 5: ...P A R T 1 Service Policies and Access Control ...
Page 6: ......
Page 51: ...P A R T 2 Network Address Translation ...
Page 52: ......
Page 127: ...P A R T 3 Application Inspection ...
Page 128: ......
Page 255: ...P A R T 4 Connection Settings and Quality of Service ...
Page 256: ......
Page 303: ...P A R T 5 Advanced Network Protection ...
Page 304: ......
Page 339: ...P A R T 6 ASA Modules ...
Page 340: ......


