During installation, maintenance, and/or removal, wear grounding wrist straps to avoid ESD damage to
the components. Failure to do so could result in damage to sensitive electronic components and potentially
void your warranty.
Caution
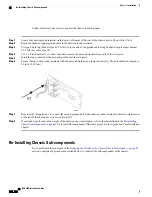
Step 1
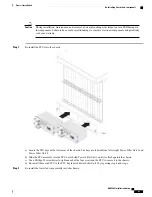
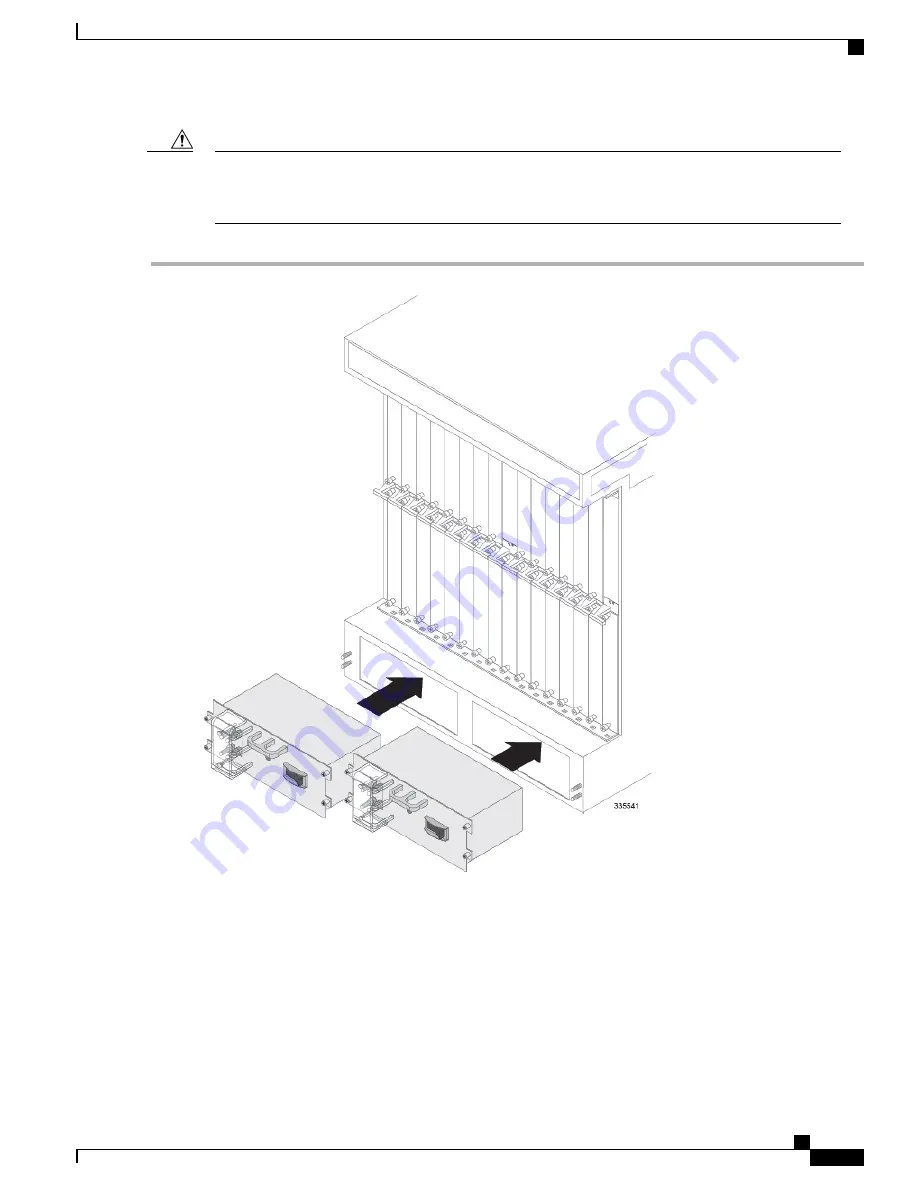
Re-install the PFUs into the chassis.
a) Locate the PFU bays at the lower-rear of the chassis. The bays are labeled from left to right Power Filter Unit 1 and
Power Filter Unit 2.
b) Slide the PFU assembly into the PFU bay labeled Power Filter Unit 1 until it is flush against the chassis.
c) Use a Phillips #2 screwdriver to tighten each of the four screws on the PFU to secure it to the chassis.
d) Re-install the second PFU in the PFU bay labeled Power Filter Unit 2 by repeating step b and step c.
Step 2
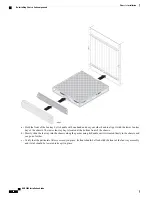
Re-install the lower fan tray assembly into the chassis.
ASR 5000 Installation Guide
63
Chassis Installation
Re-Installing Chassis Sub-components
Summary of Contents for ASR 5000
Page 16: ...ASR 5000 Installation Guide xvi About this Guide Contacting Customer Support ...
Page 64: ...ASR 5000 Installation Guide 48 Installation Procedure Overview Laser Notice ...
Page 100: ...ASR 5000 Installation Guide 84 Line Card Installation Installing the XGLC ...
Page 122: ...ASR 5000 Installation Guide 106 Cabling the Fast Ethernet 10 100 Line Card FLC2 Interfaces ...
Page 206: ...ASR 5000 Installation Guide 190 Removing and Installing SMC PC Cards Removing PC Cards ...
Page 212: ...ASR 5000 Installation Guide 196 Replacing the Chassis Air Filter Installing the Air Filter ...
Page 220: ...ASR 5000 Installation Guide 204 Replacing a Power Filter Unit What to do with the Failed PFU ...
Page 266: ...ASR 5000 Installation Guide 250 Safety Electrical and EMC Certifications Korean EMC ...
Page 270: ...ASR 5000 Installation Guide 254 Environmental Specifications Chassis Air Flow ...


