background image

4

Notice to Installers

The servicing instructions in this notice are for use by qualified service personnel only. To reduce the risk of electric shock

, do not perform any servicing other than that 

contained in the operating instructions, unless you are qualified to do so.

20080814_Installer800

Note to System Installer

For this apparatus, the cable shield/screen shall be grounded as close as practical to the point of entry of the cable into 

the building.For products sold in the US and Canada, this reminder is provided to call the system installer's attention to 

Article 800-93 and Article 800-100 of the NEC (or Canadian Electrical Code Part 1), which provides guidelines for proper 

grounding of the cable shield.

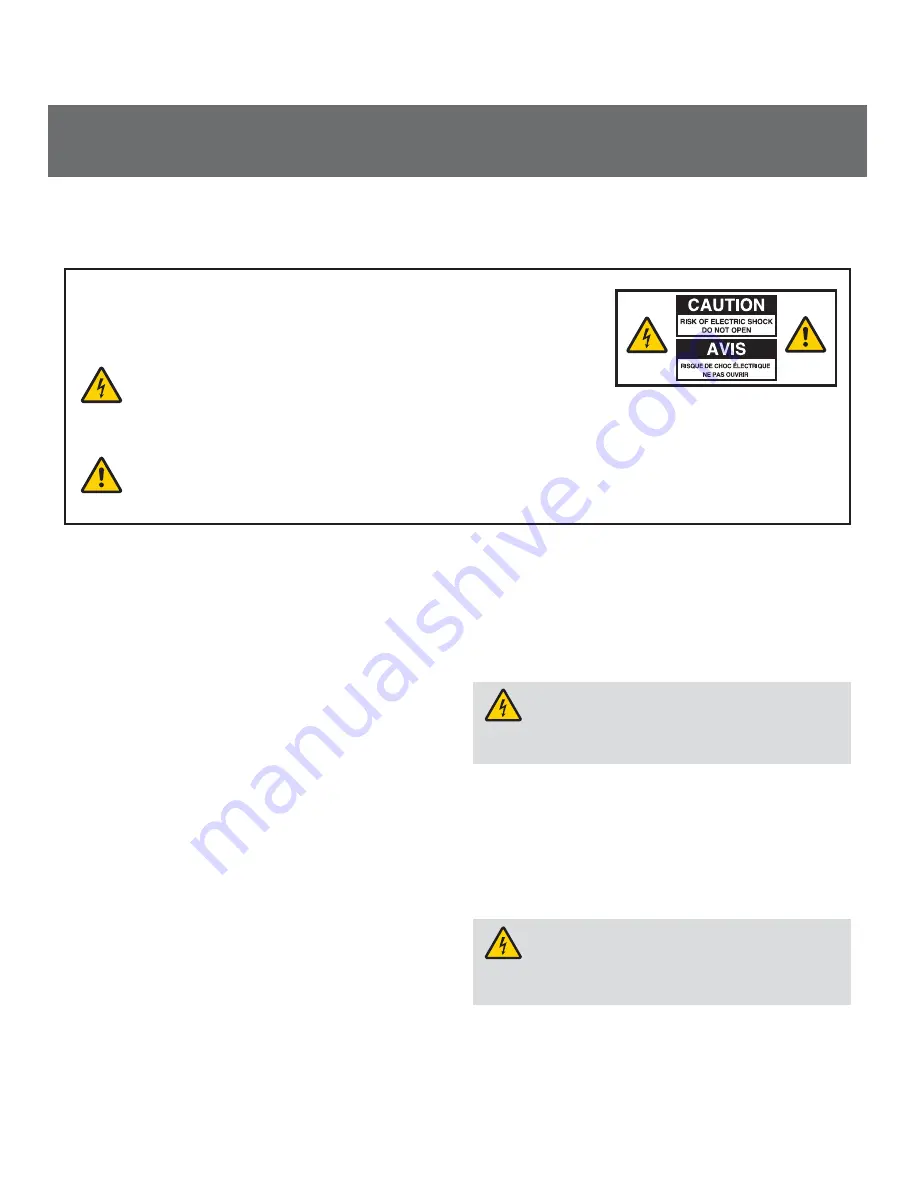
This symbol is intended to alert you that uninsulated voltage within this product may have sufficient 

magnitude to cause electric shock. Therefore, it is dangerous to make any kind of contact with any inside 

part of this product.
Ce symbole a pour but d’alerter toute personne qu’un contact avec une pièce interne de ce produit, sous 

tension et non isolée, pourrait être suffisant pour provoquer un choc électrique. Il est donc dangereux d’être en 

contact avec toute pièce interne de ce produit.

This symbol is intended to alert you of the presence of important operating and maintenance (servicing) 

instructions in the literature accompanying this product.  
Ce symbole a pour but de vous avertir qu’une documentation importante sur le fonctionnement et l’entretien

accompagne ce produit.

CAUTION:

 To reduce the risk of electric shock, do 

not remove cover (or back). No user-serviceable 

parts inside. Refer servicing to qualified service 

personnel.

WARNING

TO PREVENT FIRE OR ELECTRIC SHOCK, DO NOT 

EXPOSE THIS UNIT TO RAIN OR MOISTURE.

  1)  Read these instructions.
  2)  Keep these instructions.
  3)  Heed all warnings.
  4)  Follow all instructions.
  5)  Do not use this apparatus near water.
  6)  Clean only with dry cloth.
  7)  Do  not  block  any  ventilation  openings.  Install  in 

accordance with the manufacturer’s instructions.

  8)  Do  not  install  near  any  heat  sources  such  as 

radiators, heat registers, stoves, or other apparatus 

(including amplifiers) that produce heat.

  9)  Do not defeat the safety purpose of the polarized or 

grounding-type plug. A polarized plug has two blades 

with  one  wider  than  the  other.  A  grounding-type 

plug has two blades and a third grounding prong. 

The wide blade or the third prong are provided for 

your  safety.  If  the  provided  plug  does  not  fit  into 

your outlet, consult an electrician for replacement 

of the obsolete outlet.

 10)  Prot ect  the  power  cord  from  being  walked  on 

or  pinched  particularly  at  plugs,  convenience 

receptacles, and the point where they exit from the 

apparatus.

 11)  Only use attachments/accessories specified by the 

manufacturer.

 12)  Unplug  this  apparatus  during  lightning  storms  or 

when unused for long periods of time.

Power Source Warning

A label on this product indicates the correct power source for this product. Operate 

this product only from an electrical outlet with the voltage and frequency indicated 

on the product label. If you are uncertain of the type of power supply to your home 

or business, consult your service provider or your local power company.
The AC inlet on the unit must remain accessible and operable at all times.

Ground the Product

WARNING:  Avoid  electric  shock  and  fire  hazard!  If  this  product 

connects to cable wiring, be sure the cable system is grounded (earthed). 

Grounding  provides  some  protection  against  voltage  surges  and  built-up 

static charges.

Protect the Product from Lightning

In addition to disconnecting the AC power from the wall outlet, disconnect the 

signal inputs.

Verify the Power Source from the On/Off Power Light

When the on/off power light is not illuminated, the apparatus may still be connected 

to  the  power  source.  The  light  may  go  out  when  the  apparatus  is  turned  off, 

regardless of whether it is still plugged into an AC power source. 

Eliminate AC Mains Overloads

WARNING: Avoid electric shock and fire hazard! Do not overload 

AC mains, outlets, extension cords, or integral convenience receptacles. 

For products that require battery power or other power sources to operate 

them, refer to the operating instructions for those products.

IMPORTANT SAFETY INSTRUCTIONS

Summary of Contents for AT&T 3G MicroCel

Page 1: ...User Manual AT T 3G MicroCell ...

Page 2: ...Speed Internet with Gateway or Modem and Wi Fi Router 9 Option B High Speed Internet with Modem Attached to Computer 10 Option C Priority Mode Configuration 11 Step 3 3G Status Confirmation 12 Step 4 Final Confirmation 13 What s Next 13 Troubleshooting 14 Hardware Problems 14 Performance Issues 15 Things to Know 16 Frequently Asked Questions FAQs 16 FCC Compliance 19 Radiation Exposure Statements ...

Page 3: ...manufacturer s instructions 8 Do not install near any heat sources such as radiators heat registers stoves or other apparatus including amplifiers that produce heat 9 Donotdefeatthesafetypurposeofthepolarizedor grounding typeplug Apolarizedplughastwoblades with one wider than the other A grounding type plug has two blades and a third grounding prong The wide blade or the third prong are provided f...

Page 4: ...ou open the cover your warranty will be void This product contains no user serviceable parts WARNING This device has anti tampering technology Attempts to open the enclosure by unqualified personnel may render the device inoperable Check Product Safety Upon completion of any service or repairs to this product the service technician must perform safety checks to determine that this product is in pr...

Page 5: ... or appe ars to be dama ged conta ct AT T Custo mer Supp ort at 1 888 334 3787 and enter PIN 8834 6 for assist ance Let s get started Start Here AT T 3G MicroCell TM Getting Started Guide Congr atula tions on the purch ase of your new AT T 3G Micro Cell TM The3GMicro Cellprovid esvoice anddataservic etoAT T 3G wirele ssphon esanddevic eswithin yourhome orsmall busin essenviro nmen t The3GMicro Cel...

Page 6: ...ower or Internet access In the event of a service disruption you won t be able to use E911 service with your wireless device unless you have access to the AT T wireless network It may take several minutes after power resumes for your device to be fully functional If you move your MicroCellto anewaddress itwillbenecessarytofollowtheoriginalinstallationinstructionsandregisterthenewaddress with TruVi...

Page 7: ...ure helps deliver this functionality Step 2 Configuration and Powering Up Place your MicroCell within 3 feet of a window if possible Make sure your MicroCell is at least 1 foot away from your gateway or modem and Wi Fi router Refer to FAQ 1 3 on page 16 for additional details on product placement Step 1 Activation Write down your 3G MicroCell s serial number as you will need it for online activati...

Page 8: ...r current internet equipment Wait 1 minute then turn on power to your Internet equipment in the following order a Gateway or Modem b Wi Fi Router if you have one c 3G MicroCell Do this last connect one end of the AC Power Adapter to the port labeled Power on the 3G MicroCell and connect the other end to an AC outlet Option A High Speed Internet with Gateway or Modem and Wi Fi Router Ethernet Cable...

Page 9: ...mputer on the 3G MicroCell 2 Take the yellow Ethernet cable that came with the 3G MicroCell and connect one end to the yellow port labeled Ethernet on the 3G MicroCell and the other end to the Ethernet port on your modem 3 First turn off power to your current internet equipment Wait 1 minute then turn on power to your Internet equipment in the following order a Modem b 3G MicroCell Do this last co...

Page 10: ...e yellow Ethernet cable that came with your 3G MicroCell and connect one end to the yellow port labeled Ethernet on the 3G MicroCell and the other end to the Ethernet port on your modem 3 First turn off power to your current internet equipment Wait one minute then turn on power to your Internet equipment in the following order a Modem b 3G MicroCell Connect one end of the AC Power Adapter to the c...

Page 11: ...or will be solid green or flashing green during data transfer Wait 90 minutes You have completed your part Relax and give your 3G MicroCell time to complete system configuration and 3G service activation Do not turn off power or disconnect Note The GPS and 3G status indicators will start flashing green within 10 minutes 3G Status Indicator Still Flashing after 90 Minutes Try these steps in this or...

Page 12: ...er that you entered during online activation Congratulations You have successfully setup and activated your 3G MicroCell Power cycling your 3G handset turn off on may be required if AT T MicroCell or AT T M Cell does not display on your 3G handset screen See FAQ 1 9 on page 17 for more information What s Next You can visit the 3G MicroCell website at att com 3GMicroCell anytime for further trouble...

Page 13: ...ence specified for your configuration option See Step 2 Configuration and Powering Up on page 8 Computer The Computer status indicator is off Normal for those with Option A configuration no Ethernet connection to the Computer port on the 3G MicroCell For those with Option B or C configurations a computer or router is connected by Ethernet cable to the Computer port check that cables are firmly con...

Page 14: ...f these measures fail contact TruVistaCustomer Support at 1 800 768 1212 The 3G status indicator is red and flashing Faults are present on the 3G MicroCell that impact service Contact TruVistaCustomer Support at 1 800 768 1212 Performance Issues n e h T f I The computer network performance declines Traffic across the 3G MicroCell is too heavy Large wireless data and video file downloads may impact...

Page 15: ...coverage area Depending on the signal strength of the AT T cell tower the time for your handset to switch to the 3G MicroCell can vary It may take seconds or up to five minutes from the time you enter the 3G MicroCell coverage area Connecting to the 3G MicroCell doesn t always mean unlimited calling You can purchase AT T Unlimited MicroCell Calling for an individual line or your whole account If y...

Page 16: ...3 feet of the window to help with the GPS signal acquisition If you continue having problems establishing a GPS lock contact TruVistaCustomer Support at 1 800 768 1212 1 8 MyComputerstatusindicatoronmy3GMicroCellisnotlightingup isthatOK If you set up your 3G MicroCell according to configuration Option A the Computer status indicator will not light up If you set up your 3G MicroCell according to co...

Page 17: ...efer to Option C on page 11 2 4 CanImovemy3GMicroCelltoadifferentstreetorapartmentaddress If you move your 3G MicroCell you MUST update the 3G MicroCell s address To update your address information visit or call your local TruVista office Remember the street and or apartment address you provide in your activation will be sent to local emergency responders so this information must be kept current N...

Page 18: ...a 30044 USA Telephone 770 236 1077 Canada EMI Regulation This Class B digital apparatus complies with Canadian ICES 003 CetappareilnumériquedelaclassBestconformeàlanormeNMB 003duCanada This device complies with RSS 132 and RS S 133 of the Industry Canada Rules Operation is subject to the following two conditions This device may not cause harmful interference This device must accept any interferenc...

Page 19: ...ted to the defect Limitations and Exclusions This warranty does not apply to any cost incurred for removal or reinstallation or to any product or part thereof which has suffered through normal wear and tear alteration improper installation physical abuse misuse neglectoraccident NordoesitcoverdefectscausedbyshipmenttoanAT Tservicecenter orrepairorserviceof the product by anyone other than an AT T ...

Reviews: