6-4
Cisco 1900 Series Hardware Installation
OL-19084-02
Chapter 6 Configuring the Router
Performing the Initial Configuration on the Router
Performing the Initial Configuration on the Router
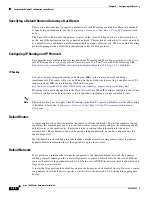
Use the following tools to perform the initial configuration on the router:
•
“Using the Cisco Setup Command Facility” section on page 6-4
•
“Using Cisco Configuration Professional Express” section on page 6-8
•
“Using the Cisco CLI—Manual Configuration” section on page 6-9
Using the Cisco Setup Command Facility
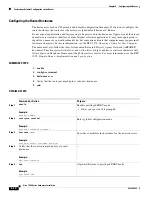
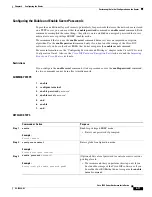
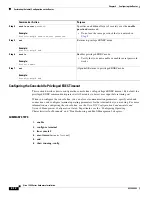
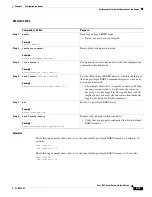
The setup command facility prompts you to enter the information that is needed to configure a router
quickly. The facility steps you through a initial configuration, including LAN and WAN interfaces. For
more general information about the setup command facility, see the following document:
Cisco IOS Configuration Fundamentals Configuration Guide
, Release 12.4, Part 2: Cisco IOS User
Interfaces:Using AutoInstall and Setup
http://www.cisco.com/en/US/docs/ios/fundamentals/configuration/guide/12_4/cf_12_4_book.html
This section explains how to configure a hostname for the router, set passwords, and configure an
interface for communication with the management network.
Note
The messages that are displayed will vary based on your router model, the installed interface modules,
and the software image. The following example and the user entries (in
bold
) are shown as examples
only.
Note
If you make a mistake while using the setup command facility, you can exit and run the setup command
facility again. Press
Ctrl-C
, and enter the
setup
command in privileged EXEC mode (
Router#
).
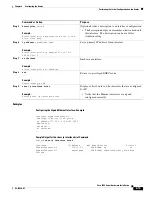
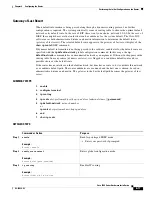
Step 1
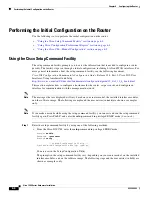
Enter the setup command facility by using one of the following methods:
•
From the Cisco IOS CLI, enter the
setup
command in privileged EXEC mode:
Router>
enable
Password:
<password>
Router#
setup
--- System Configuration Dialog ---
Continue with configuration dialog? [yes/no]:
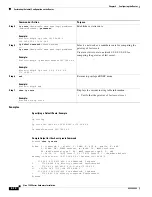
You are now in the Setup Configuration Utility.
The prompts in the setup command facility vary; depending on your router model, on the installed
interface modules, and on the software image. The following steps and the user entries (in bold) are
shown as examples only.

