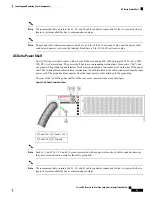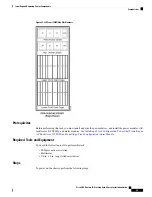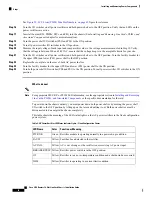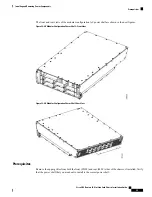
Figure 24: Fixed Configuration Alarm Module
LED display
3
External alarm connector
1
Alarm LEDs
2
Prerequisites
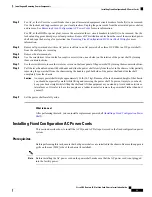
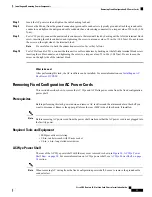
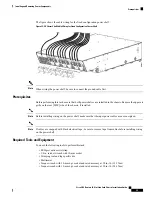
Before performing this task, remove the upper grille on the front (PLIM) side of the chassis, if installed.
Required Tools and Equipment
• ESD-preventive wrist strap
• 6-in long number 1 Phillips screwdriver
• Fixed configuration alarm module (Cisco product number CRS-16-ALARM=)
Steps
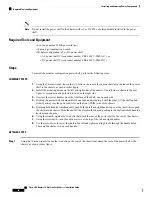
To install a fixed configuration alarm module, perform the following steps:
SUMMARY STEPS
1.
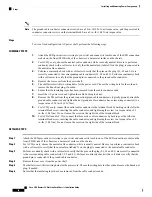
Attach the ESD-preventive wrist strap to your wrist and connect its leash to one of the ESD connection
sockets on the front (PLIM) side of the chassis or a bare metal surface on the chassis.
2.
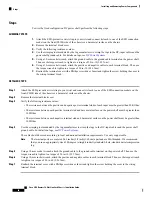
Using two hands to support and guide the alarm module, slide it into the far right bay on the power supply
shelf until the connector on the back of the alarm module makes contact with the connector on the backplane
of the shelf. Verify that the guide pin on the chassis front panel is correctly aligned with the hole on the
front of the alarm module.
Cisco CRS Routers 16-Slot Line Card Chassis Installation Guide
46
Installing and Removing Power Components
Prerequisites


