Step 6
Set the fan tray carefully aside.
Step 7
To install the replacement fan tray, using two hands to support the fan tray, position it in front of the fan tray bay so
that the fan tray connector that is on the back of the fan tray lip is aligned with the connector mounted on the front of
the fan tray bay (on the rear [MSC] side of the chassis).
Because of the weight of the fan tray, approximately 44 lb (20 kg), you should be especially careful while
removing the fan tray from the chassis. To prevent injury, keep your back straight and lift with your legs, not
your back. Avoid sudden twists or lateral moves. It is safer to use two people to remove the fan tray rather
than a single person.
Caution
Step 8
Slide the fan tray into the fan tray bay. Stop when the fan tray makes contact with the chassis connector in the back of
the fan tray bay.
To prevent damage to the chassis connector, do not use excessive force when inserting a fan tray into its bay.
Caution
Step 9
Firmly push on the fan tray handle to seat the fan tray connector in the chassis connector. When completely seated, the
fan tray faceplate flanges meet the front (PLIM) side of the chassis.
All electrical and control line connections are made automatically when the connectors mate.
Note
Step 10
Tighten the two captive screws on the fan tray faceplate.
What to do next
After performing this task, close the doors (if installed) and re-install the upper grille or lower chassis cosmetic
bezel on the rear (MSC) side of the chassis, as necessary. For more information, see
Installing the Default
Rear (MSC) Side Cosmetic Components and Installing the Optional Rear (MSC) Side Cosmetic Components
section in the
Installing and Removing Exterior Cosmetic Components
chapter.
Replacing the Air Filter
This section describes how to replace the air filter in the LCC. For further information, see
Air Circulation Components, on page 99
.
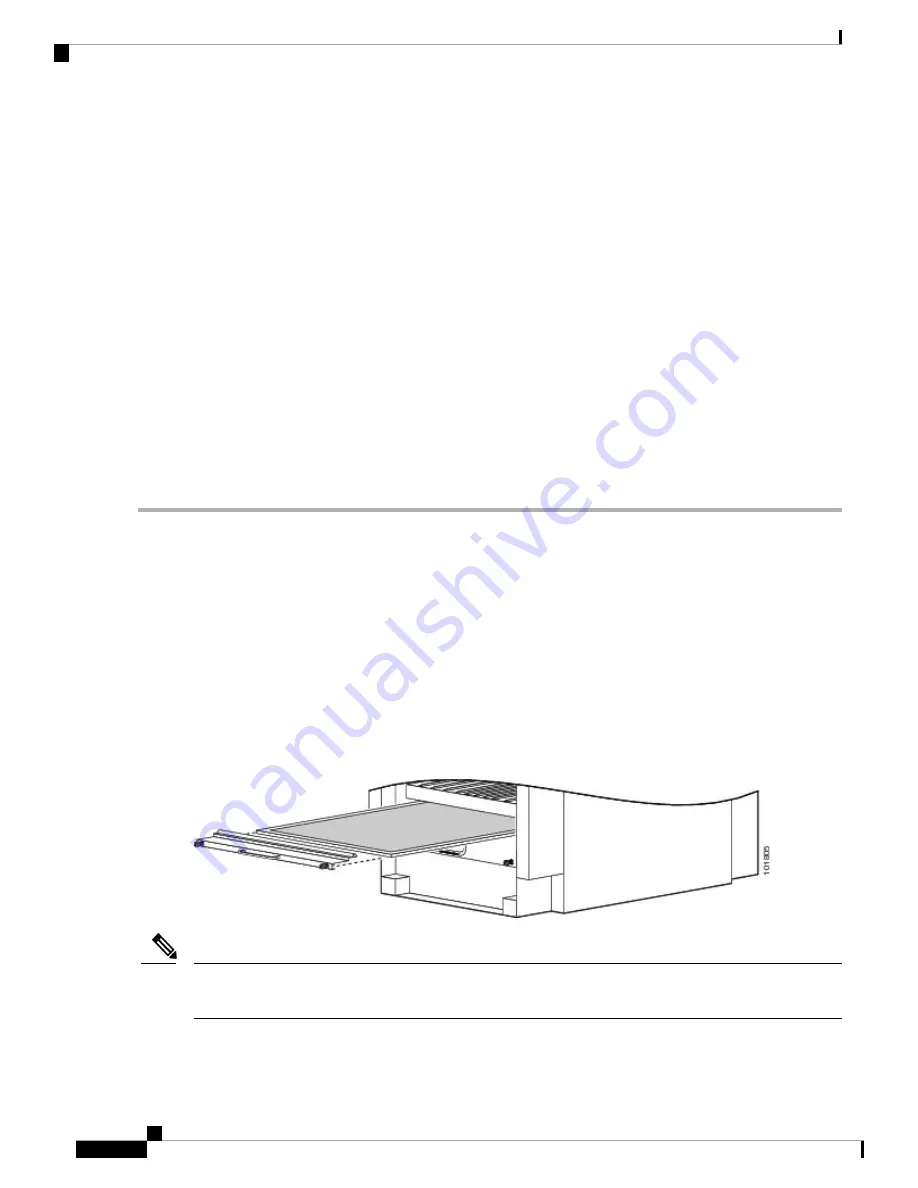
Figure 53: Air Filter
A lattice of wire exists on both sides of the filter material with an arrow denoting airflow direction and a pair
of sheet metal straps on the downstream side of the filter assembly.
Note
Cisco CRS Routers 16-Slot Line Card Chassis Installation Guide
102
Installing and Removing Air Circulation Components
Replacing the Air Filter

