Power supply modules are hot swappable. You can remove and replace power supply modules while the
system is running.
Step 1
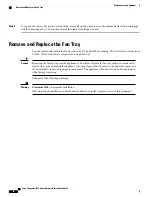
Unplug the power supply cable before removing the power supply module. You cannot disengage the power supply
module latch without first removing the cable.
Step 2
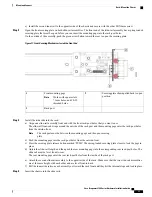
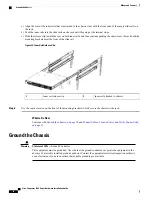
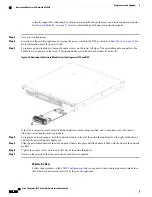
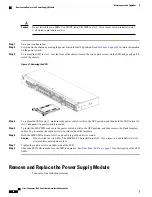
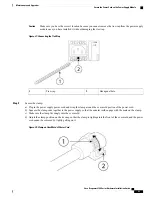
To remove a power supply module, face the back of the chassis and grasp the handle.
Step 3
Press the latch found on the middle of the power supply to disengage the power supply.
Step 4
Place your other hand under the power supply module to support it while you slide it out of the chassis.
Figure 22: Removing the Power Supply Module
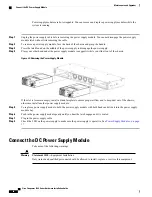
If the slot is to remain empty, install a blank faceplate to ensure proper airflow and to keep dust out of the chassis;
otherwise, install another power supply module.
Step 5
To replace a power supply module, hold the power supply module with both hands and slide it into the power supply
module bay.
Step 6
Push in the power supply module gently until you hear the latch engage and it is seated.
Step 7
Plug in the power supply cable.
Step 8
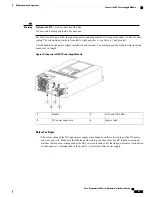
Check the LED on the power supply to make sure the power supply is operative. See
Power Supply Modules, on page
17
Connect the DC Power Supply Module
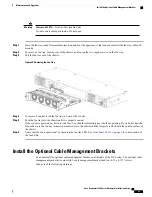
Take note of the following warnings:
Statement 1030
—
Equipment Installation
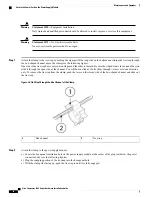
Only trained and qualified personnel should be allowed to install, replace, or service this equipment.
Warning
Cisco Firepower 2100 Series Hardware Installation Guide
48
Maintenance and Upgrades
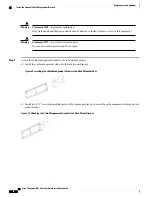
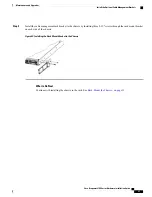
Connect the DC Power Supply Module

