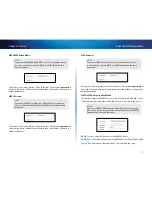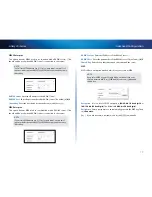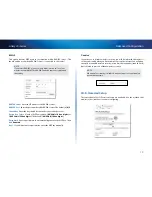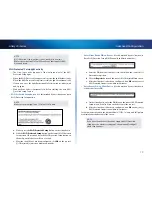
background image

4

Product Overview

Linksys X-Series

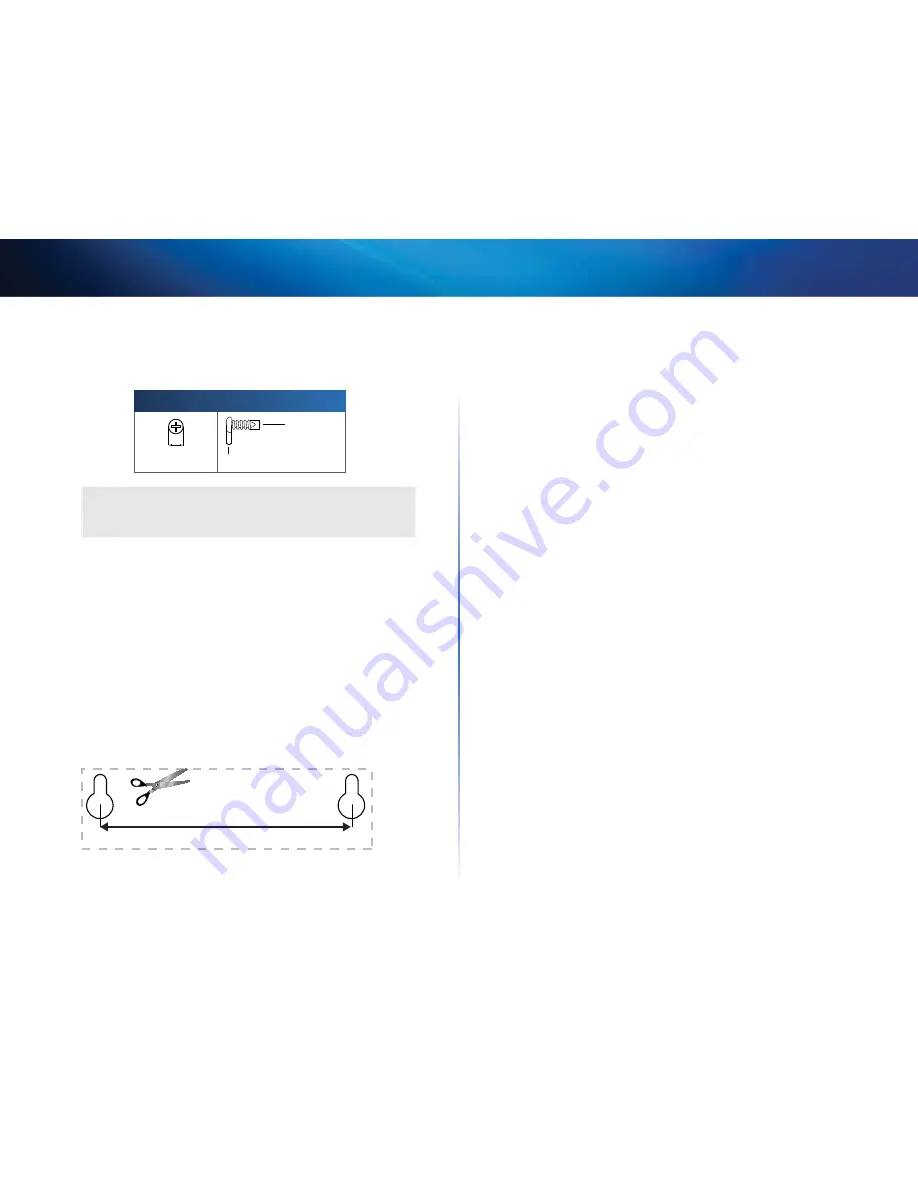
Wall-mounting placement

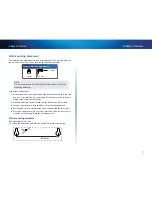
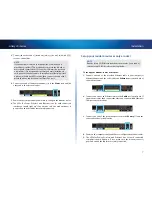
The router has two wall-mount slots on its bottom panel . The distance between 

the slots is 82,5 mm . Two screws are needed to mount the router .

Suggested Mounting Hardware

3-5 mm

7-8 mm

1 .5-2 mm

NOTE

Cisco is not responsible for damages incurred by unsecured wall-

mounting hardware .

Follow these instructions:

1. 

Determine where you want to mount the router . Make sure that the wall 

you use is smooth, flat, dry, and sturdy . Also make sure the location is 

within reach of an electrical outlet .

2. 

Drill two holes into the wall . Make sure the holes are 82,5 mm apart .

3. 

Insert a screw into each hole and leave 3 mm of its head exposed .

4. 

Position the router so the wall-mount slots line up with the two screws .

5. 

Place  the  wall-mount  slots  over  the  screws  and  slide  the  router  down 

until the screws fit snugly into the wall-mount slots .

Wall-mounting template

Print this page at 100% size .  

Cut along the dotted line, and place on the wall to drill precise spacing .

82,5 mm

Summary of Contents for Linksys X-Series

Page 1: ...User Guide Linksys X Series Wireless Router with ADSL2 Modem ...

Page 2: ...co Connect How to access Cisco Connect 8 Main Menu 8 Main Menu Computers and Devices 9 Main Menu Parental Controls 9 Main Menu Guest Access 9 Main Menu Router Settings 9 Advanced Configuration How to access the browser based utility 10 How to use the browser based utility 11 Setup Basic Setup 11 ADSL mode 11 Ethernet mode 12 Manual setup 14 Wi Fi Protected Setup 17 Wireless Guest Access 18 Guest A...

Page 3: ...ablishing the Internet connection Lights up red when the modem router cannot obtain an IP address Power Lights up green when the modem router is powered on Whenthemodemroutergoesthroughitsself diagnosticmodeduring every boot up the LED flashes When the diagnostic is complete the LED is continuously lit Lights up red when an error occurs Back DSL port Connects to the ADSL line Cable port To use the...

Page 4: ... router Make sure that the wall you use is smooth flat dry and sturdy Also make sure the location is within reach of an electrical outlet 2 Drill two holes into the wall Make sure the holes are 75 6 mm apart 3 Insert a screw into each hole and leave 3 mm of its head exposed 4 Position the router so the wall mount slots line up with the two screws 5 Place the wall mount slots over the screws and sl...

Page 5: ...ion Lights up red when the modem router cannot obtain an IP address Power Lights up green when the modem router is powered on Whenthemodemroutergoesthroughitsself diagnosticmodeduring every boot up the LED flashes When the diagnostic is complete the LED is continuously lit Lights up red when an error occurs Back DSL port Connects to the ADSL line Cable port To use the modem router as only a router...

Page 6: ... router Make sure that the wall you use is smooth flat dry and sturdy Also make sure the location is within reach of an electrical outlet 2 Drill two holes into the wall Make sure the holes are 82 5 mm apart 3 Insert a screw into each hole and leave 3 mm of its head exposed 4 Position the router so the wall mount slots line up with the two screws 5 Place the wall mount slots over the screws and sl...

Page 7: ... icon For Mac double click the CD icon on your desktop then double click the Setup icon 3 Read the license terms select the checkbox then click Next 4 At the How will you be using your X1000 X3500 screen click Modem router or Router only then click Next Modem router Use the X1000 X3500 as both a DSL modem and a router If you have a DSL Internet service provider this option provides Internet access...

Page 8: ...CD ROM to install the modem router If you cannot run the Setup CD ROM refer to the steps below NOTE If you are setting up your modem router in New Zealand see NOTE FOR USERS IN NEW ZEALAND on page 8 Connect your modem router To connect your modem router X1000 ports shown 1 Power down all your network devices including your computer s and the modem router If you currently use a modem disconnect it ...

Page 9: ...for each connected computer should light up If not make sure the modem router is powered on and the cables are securely connected Set up your modem router as only a router NOTE Run the Setup CD ROM to install the modem router If you cannot run the Setup CD ROM refer to the steps below To set up your modem router as a router 1 Connect one end of the provided Ethernet cable to your computer s Ethern...

Page 10: ...u 6 Enter your User Name and Password details from your ISP 7 Click Save Settings How to use Cisco Connect Cisco Connect provides an easy way to manage your router and network You can connect computers or devices to your router give Internet access to guests in your home and change the router s settings How to access Cisco Connect Windows Go to Start All Programs Cisco Connect Mac Go to Go Applica...

Page 11: ... by guest 2 Open a web browser 3 On the login screen enter the password of your guest network Then click Login 4 To disable Guest Access or change settings click Change Then follow the on screen instructions Main Menu Router Settings Use this option to personalize the router s settings 1 To change settings click Change The Router settings screen appears Personalize Router name The name of the rout...

Page 12: ...ess LAN IP address WAN and Computer IP address WAN stands for Wide Area Network such as the Internet IP stands for Internet Protocol LAN stands for Local Area Network Advanced settings To access settings for advanced users click this option Then follow the on screen instructions Advanced Configuration After setting up the router with the setup software located on the CD ROM the router will be read...

Page 13: ...el tab names For example Setup Basic Setup is the screen accessed via the Setup top level tab and its Basic Setup lower level tab If you change any settings on a screen you must click Save Settings to apply your changes or click Cancel Changes to clear your changes These controls are located at the bottom of each screen NOTE To learn more about any field click Help on the right side of the screen ...

Page 14: ...oA IPoA IP over ATM uses a fixed IP address RFC 2516 PPPoE Some DSL based ISPs use PPPoE Point to Point Protocol over Ethernet to establish Internet connections If you are using PPPoE your IP address is provided automatically RFC 2364 PPPoA Some DSL based ISPs use PPPoA Point to Point Protocol over ATM to establish Internet connections If using PPPoA your IP address is provided automatically Netwo...

Page 15: ...to connect to the Internet then select Specify an IP Address and configure the options below Connect on Demand or Keep Alive The Connect on Demand and Keep Alive options let you choose whether the router connects to the Internet only as needed useful if your ISP charges for connect time or if the router should always be connected Select the appropriate option L2TP Layer 2 Tunneling Protocol L2TP i...

Page 16: ... in your network select Disabled NOTE If you are not sure which mode to use keep the default Mixed Network Name SSID The Service Set Identifier SSID is the network name shared by all devices in a wireless network It is case sensitive and must not exceed 32 keyboard characters The default is Cisco followed by the last 5 digits of the router s serial number which is found on the bottom of the router...

Page 17: ... the router s serial number which is found on the bottom of the router If you used the setup software for installation then the default Network Name is changed to an easy to remember name NOTE If you restore the router s factory default settings by pressing the Reset button or using the Administration Factory Defaults screen the Network Name will return to its default value and all devices on your...

Page 18: ...to a unique passphrase WPA Personal NOTE If you select WPA Personal as your Security Mode each device in your wireless network MUST use WPA Personal and the same passphrase Passphrase Enter a passphrase of 8 63 characters The default is password If you used the setup software for installation then the default is changed to a unique passphrase WPA2 WPA Enterprise Mixed Mode This option features WPA...

Page 19: ...server is connected to the router NOTE If you select WPA Enterprise as your Security Mode each device in your wireless network MUST use WPA Enterprise and the same shared key RADIUS Server Enter the IP address of the RADIUS server RADIUS Port Enter the port number of the RADIUS server The default is 1812 Shared Key Enter the key shared between the router and the server WEP WEP is a basic encryptio...

Page 20: ... bit 10 hex digits or 104 128 bit 26 hex digits The default is 40 64 bit 10 hex digits Passphrase Enter a passphrase to automatically generate the WEP key Then click Generate Key 1 If you did not enter a passphrase enter the WEP key manually Disabled If you choose to disable wireless security you will be informed that wireless security is disabled when you first attempt to access the Internet You ...

Page 21: ... button on the back panel of the router for one second c After the client device has been configured click OK on the router s Wi Fi Protected Setup screen within two minutes Enter Client Device PIN on Router Use this method if your client device has a Wi Fi Protected Setup PIN Personal Identification Number a Enter the PIN from the client device in the field on the router s Wi Fi Protected Setup s...

Page 22: ...etup software for installation then the default is changed to a unique password Change Click this option to change the Guest Password The Change Guest Password screen appears Change Guest Password Enteranewguestnetworkpassword Enterapasswordof4 32characters Then click Change to save the new password and return to the Guest Access screen TotalGuestsAllowed By default 5 guests are allowed Internet a...

Page 23: ...s and cannot connect Refer to Windows Help and change your Internet Protocol TCP IP Properties to Obtain an IP address automatically The computer cannot connect wirelessly to the network Make sure the wireless network name or SSID is the same on both the computer and the device If you have enabled wireless security then make sure the same security method and key are used by both the computer and t...

Page 24: ...4 Write down the username and password that are displayed To help protect your password you can copy it to the Clipboard by clicking Copy password 5 Click OK When you try to log into the browser based utility your password does not work Your wireless security password also serves as the browser based utility s login password To see this password 1 Open Cisco Connect 2 On the main menu click Router...

Page 25: ...l Dimensions 180 x 34 x 167 mm 7 09 x 1 34 x 6 58 Weight 287 g 10 1 oz Power 12VDC 1A Operating Temperature 0 to 40 C 32 to 104 F Storage Temperature 20 to 70 C 4 to 158 F Operating Humidity 10 to 85 Noncondensing Storage Humidity 5 to 90 Noncondensing NOTES For regulatory warranty and safety information see the CD that came with your modem router or go to Linksys com support Specifications are su...

Page 26: ...S and HFS Environmental Dimensions 215 x 40 x 200 mm 8 5 x 1 6 x 7 9 Weight 451 g 15 9 oz Power 12VDC 1 5A Operating Temperature 0 to 40 C 32 to 104 F Storage Temperature 20 to 70 C 4 to 158 F Operating Humidity 10 to 85 Noncondensing Storage Humidity 5 to 90 Noncondensing NOTES For regulatory warranty and safety information see the CD that came with your modem router or go to Linksys com support ...

Page 27: ... States and other countries A listing of Cisco s trademarks can be found at www cisco com go trademarks All other trademarks mentioned in this document are the property of their respective owners 2012 Cisco and or its affiliates All rights reserved Visit linksys com support for award winning 24 7 technical support 3425 01613B ...

Reviews: