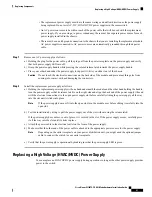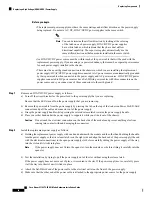
c) Grasp the power supply handle while pressing the release latch towards the power supply handle.
d) Place your other hand under the power supply to support it while you slide it out of the chassis.
Do not touch the electrical connections on the back side of the module and prevent anything else from
coming into contact with and damaging the connectors.
Caution
Step 2
Install the replacement power supply as follows:
a) Holding the replacement power supply with one hand underneath the module and the other hand holding the handle,
turn the power supply so that its release latch is on the right side and align the back end of the power supply (the end
with the electrical connections) to the open power supply slot before carefully sliding the power supply all the way
into the slot until it clicks into place.
If the power supply does not fit into the open slot, turn the module over before sliding it carefully into the
open slot.
Note
b) Test the installation by trying to pull the power supply out of the slot without using the release latch.
If the power supply does not move out of place, it is secured in the slot. If the power supply moves, carefully press
it all the way into the slot until it clicks in place.
c) Attach the power connector block end of the power cable to the electrical outlet on the front of the power supply.
d) Turn on the circuit breaker for the power source.
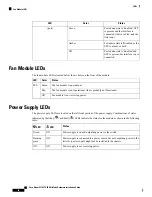
e) Verify that the power supply is operational by making sure that the power supply LED is green.
Cisco Nexus 93108TC-FX ACI Mode Hardware Installation Guide
44
Replacing Components
Replacing a DC Power Supply


