Managing the System
Network Services
Cisco Small Business NSS300 Series Smart Storage Administration Guide
162
3
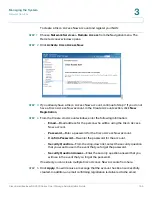
STEP 3
You are prompted to download a Java applet. Click
Run
to continue. The NAS
login window displays.
STEP 4
From the NAS login window, enter the NAS device username and password with
administrator privilege to access the NAS GUI.
Previewing or Modifying the Remote Access Settings
To preview or modify the remote access settings:
STEP 1
www.ciscoaccessnow.com
and login using your Cisco
Access Now account email address and password. From the
My Devices
window,
the NAS devices that you have registered are displayed.
STEP 2
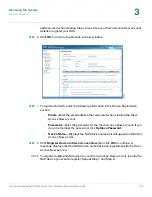
From the drop-down list, you can modify the device display by selecting one of
the following options:
•
Show only mine
—Display NAS devices registered to you.
•
Show only my friends
—Display NAS devices that you share with your
friends who also have accounts with Cisco Access Now.
•
Show mine and friends
—Display your registered NAS devices and the
shared NAS devices with friends who have accounts with Cisco Access
Now.
STEP 3
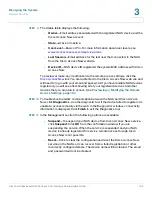
Click
Hide inactive devices
to hide any NAS devices that may be powered off,
offline, or deactivated from the Cisco Access Now service.
STEP 4
Click the NAS device name to launch the NAS GUI the same as if you were
accessing the NAS locally. You are prompted to download a Java applet. Click
Run
to continue. The NAS login window displays. From the NAS login window,
enter the NAS device username and password.
STEP 5
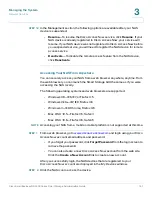
To share a NAS device, click
Share
.
NOTE
You can only share with email addresses that have signed up for Cisco Access Now
accounts.
a. In Friends Email, enter the Cisco Access Now email address for the person you
would like to invite and share the NAS access.
b. Click
Share
. The email address is added to the Current Sharing table and the
access privilege is shown. The person with the newly added email address
can now log into
www.ciscoaccessnow.com
and view the list of shared NAS
devices.


