Getting Started
Mapping a Network Drive
Cisco Small Business NSS300 Series Smart Storage Administration Guide
33
2
This is the default static IP address if DHCP is not enabled. If the NAS device does
not have a static IP address and if the device is not able to receive an IP address
via DHCP, it will default to 192.168.1.50. If the DHCP server on your network is
enabled, as soon as the DHCP server responds, the NAS device will accept an IP
address even if the default static IP address is assigned.
NOTE
If your operating system is Linux, refer to the LCD display on the front panel of the
NAS device and configure the IP address to match the network. The LCD display is
located on the NSS324 and NSS326.
STEP 4
Follow the prompts to complete the configuration.
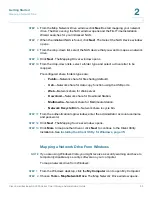
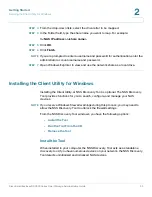
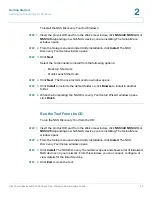
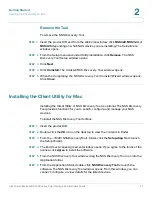
Mapping a Network Drive
You can map a network drive either by using the Setup Wizard or from Windows.
Mapping a Network Drive from the Setup Wizard
NOTE
Skip steps 1-5 if you are already on the
Map Network Drive
window in the Setup
Wizard.
To map a network drive from the Setup Wizard:
STEP 1
Insert the product CD and from the
Welcome
window, click
NSS322
,
NSS324
,
or
NSS326
depending on which NAS device you are installing. The
Setup Menu
window opens.
STEP 2
Under First Time Installation, click
Setup
. The
First Time Installation Wizard
window opens.
STEP 3
Click
Next
to launch the wizard. The
End-User License Agreement
window
opens.
STEP 4
To accept the End-User License Agreement, check the
I accept this agreement
check box and click
Next
. The
Hardware Installation Guide
window opens.
STEP 5
Click
Skip
until you reach the
Map Network Drive
window.

