600W DC-Input Power Supply Replacement Instructions 7
Power Supply Replacement
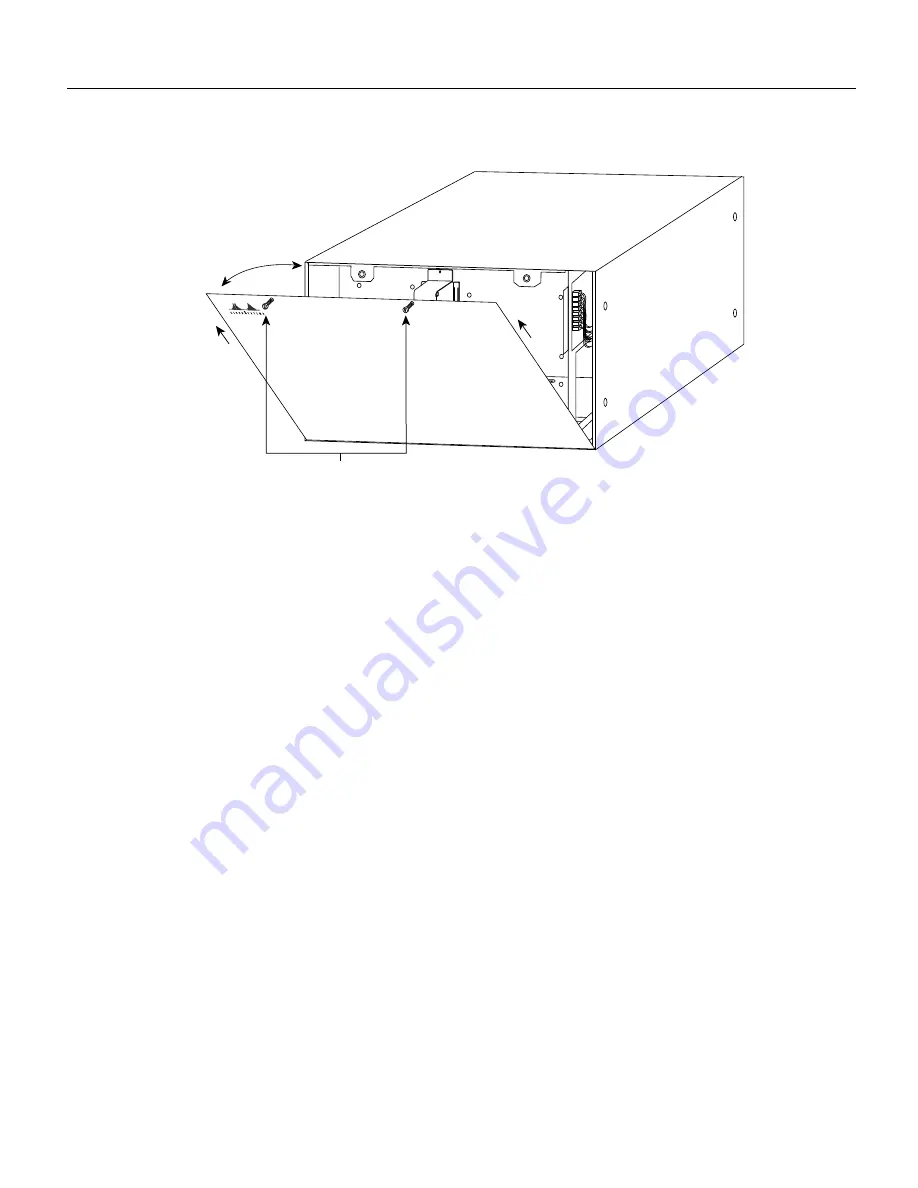
Figure 3
Removing and Replacing the Chassis Cover Panel
Step 3
Pull the top of the panel out about three inches, then grasp the sides of the panel and pull it
up and away from the chassis.
Step 4
To replace the cover panel, hold the sides of the panel with both hands and tilt the top of
the panel back slightly (toward you).
Step 5
Slide the guide tabs into the slots in the bottom edge of the chassis. (See Figure 3.)
Step 6
Using the guides as a pivot point, push the top half of the panel back toward the chassis
opening until the panel is flush with the edges of the chassis.
Step 7
Hold the top front of the panel in place, if necessary, while you tighten the two captive
slotted screws with a 3/16-inch, flat-blade screwdriver.
The chassis cover panel removal and replacement procedure is now complete.
H2920
Captive screws


