C H A P T E R
4
Installing the Cisco R42612 Rack
This chapter contains the following sections:
•
Securing the Cisco R-Series Rack to the Floor, on page 27
•
Joining Cisco R-Series Racks Together, on page 29
•
Installing Devices in the Rack, on page 32
•
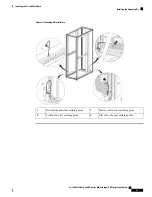
Installing the Grounding Kit, on page 32
Securing the Cisco R-Series Rack to the Floor
For information about how to unpack and place the Cisco R42612 rack, see
Unpacking a Cisco R-Series Rack,
. Once the rack is off the pallet, roll it to the desired location. To ensure that you have enough
room at the intended location, see the footprint diagram,
Space and Clearances, on page 7
.
Complete the following steps to lower the leveling feet and install the front stabilizer bracket:
Procedure
Step 1
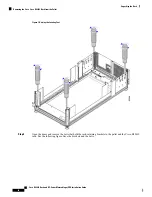
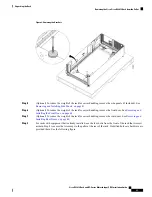
Use a flat-blade screwdriver to lower each of the leveling feet so that they touch the floor. The rack casters
support the weight of the rack, while the leveling feet prevent the rack from rolling.
Unless you are moving the Cisco R42612 rack, the leveling feet should always be extended.
Caution
Step 2
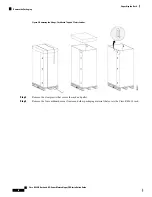
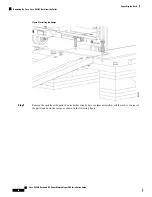
Remove the stabilizer plate from the bottom floor of the rack.
Step 3
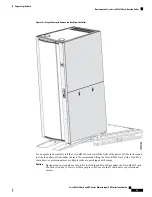
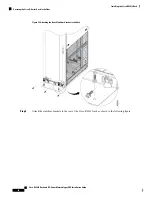
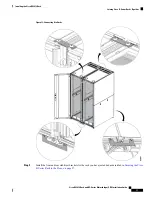
Attach the stabilizer plate to the front of the rack as shown in the following figure.
Cisco R42612 Rack and RP-Series Metered Input PDU Installation Guide
27

