Chapter 5
Configuration Using the Web-based Utility
44
24/48-Port 10/100 + 4-Port Gigabit Smart Switch with Resilient Clustering Technology and PoE
not displayed). You use this table to edit or delete existing
user names and/or passwords, as described below.
Create a new user name
Make sure no entry is selected in the Local Users Table. If
one is selected, click
Cancel
. Enter the new user name in
the
User Name
field, and the password in the
Password
and
Confirm Password
fields. Then click
Add to List
to add a
new entry to the Local Users Table.
Change a password
Highlight the associated user name in the Local Users
Table. The
User Name
,
Password
, and
Confirm Password
fields will then be populated for editing. Enter the new
password in the
Password
field, then enter it again in the
Confirm Password
Field. Then click
Update
to save the
changes to the Local Users Table.
Change a user name
Highlight the user name in the Local Users Table. The
User
Name
,
Password
, and
Confirm Password
fields will then be
populated for editing. Modify the user name in the
User
Name
field, then click
Update
to update the entry in the
Local Users Table.
Delete a user name
Select the user name from the table, then click
Delete
.
If you accidentally select the wrong entry in the table, click
Cancel
to unselect the highlighted user name.
Click
Save Settings
to save the changes, or
Cancel
Changes
to cancel the changes.
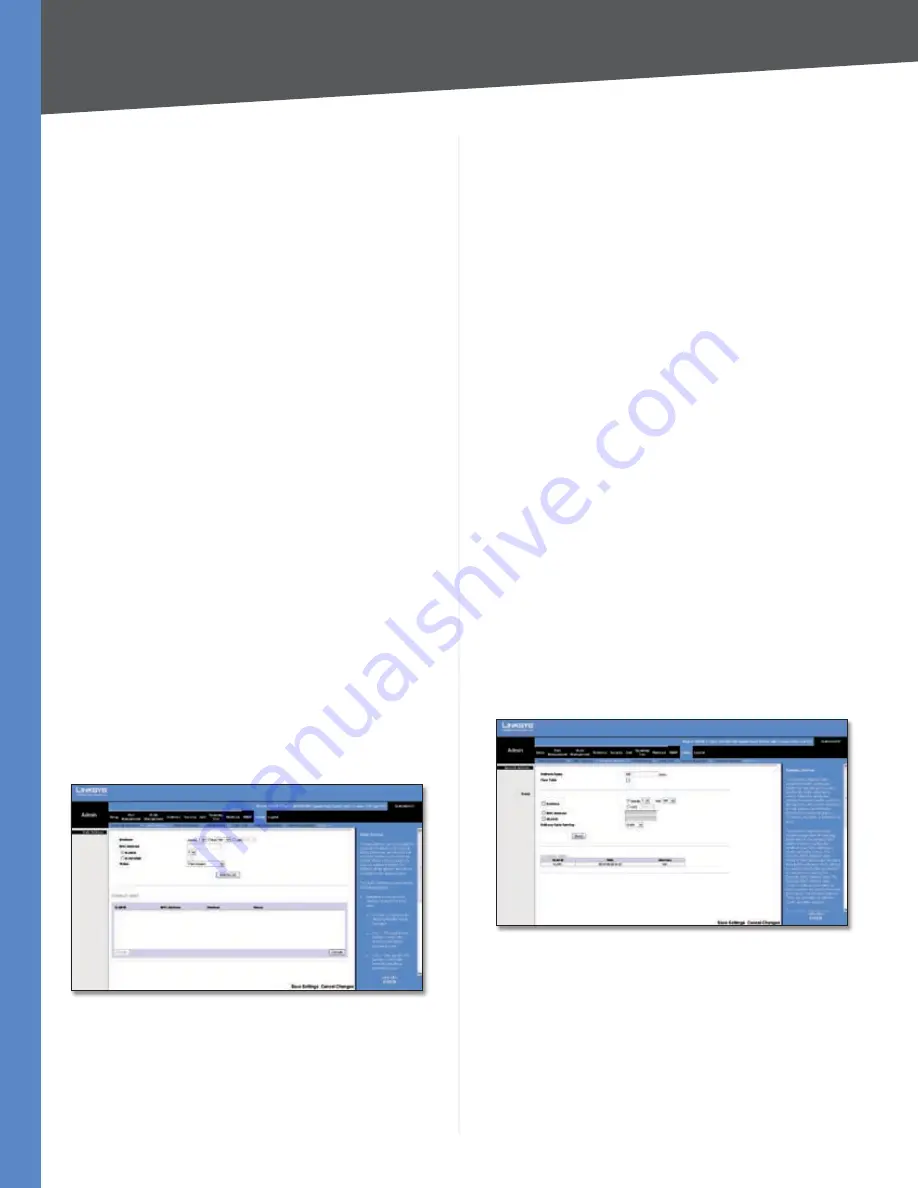
Admin > Static Address
Admin > Static Address
The
Static Address
screen lets you assign a static address to
a specific Switch interface. A static address is bound to its
assigned interface and cannot be moved. If a static address
is seen on an interface to which it is not assigned, the
address is ignored and is not written to the address table.
A list of all static addresses on the Switch appears at the
bottom of the screen. The top part of the screen contains
the following fields for creating static address entries:
Interface
The interface that is associated with the static
address. Select
Port
or
LAG
, then select the desired
interface from the accompanying drop-down menu.
MAC Address
This is the physical address that is being
mapped to the specified interface.
VLAN ID
The VLAN ID number (
1
-
404
) of the configured
VLAN that is associated with the specified interface. If you
use this field the
VLAN Name
field is disabled.
VLAN Name
The name of the VLAN associated with the
specified interface. If you use this field, the
VLAN ID
field
is disabled.
Status
The static address type. The possible values are::
Permanent
(Default) Keep the entry permanently.
Delete on Reset
Delete the entry when the Switch is
reset.
Delete on Timeout
Delete the entry when a timeout
occurs. The default timeout period is 300 seconds.
Secure
The entry is defined for locked ports.
After you have entered the information listed above, click
Add to List
. The static address will then appear in the list
of static addresses. To delete a static MAC address from
the list, select the entry in the list, then click
Delete
.
Admin > Dynamic Address
Admin > Dynamic Address
The
Dynamic Address
screen lets you query the Dynamic
Address Table to find specific dynamic MAC addresses, or
display MAC addresses associated with a specific interface
or VLAN. Query criteria include interface type, MAC
address, VLAN, and table sort key. You can also set the
Dynamic MAC Address Table’s address aging parameter or
clear the table.
•
•
•
•


