Chapter 8
Taking Actions
8-12 CallConnector Operator
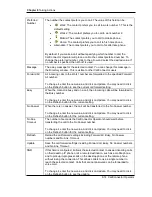
To Edit a Message
Step 1
Click on the arrow next to Insert Message or press the shortcut key. A
drop-down menu, which may contain a list of predefined messages, will
be displayed.
Step 2
Select Edit… or press the shortcut key. The Stored Messages dialog will
show.
Step 3
Double-click on the title and the message fields to edit the text.
Step 4
Click OK or press Enter to save the message.
To Delete a Message
Step 1
Click on the arrow next to Insert Message or press the shortcut key. A
drop-down menu, which may contain a list of predefined messages, will
be displayed.
Step 2
Select Edit… or press the shortcut key. The Stored Messages dialog will
show.
Step 3
On this dialog, select a message entry to delete.
Step 4
Click on the Remove button or press the shortcut key.
Step 5
Click OK or press Enter to save the change.
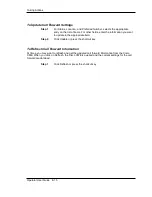
To Insert a Message into the Message Box
Step 1
Click on the arrow next to Insert Message or press the shortcut key. A
drop-down menu, which may contain a list of predefined messages, will
be displayed.
Step 2
Select the title of the message you want to use. The selected message
will be appended to the message box.
Handling Calls
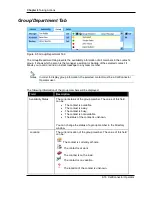
For each directory contact, there are six buttons for the contact’s telephone numbers: Call Work,
Call Work2, Call Mobile, Call Home, Call Alternate # and Send To Voice Mail. The Actions tab
allows you to make calls to any of these numbers if they are configured in the directory. You can
also pickup, transfer and conference calls to these numbers.
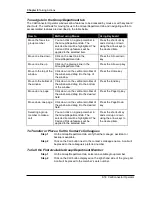
To Make a Call
You need a number configured in the directory in order to make a call. If a number is not
available, then the button is grayed out.
Step 1
Locate the contact in the directory.
Step 2
Click on the desired telephone number button for that contact. A call will
be placed to the selected number. If you are on a call, a transfer to that
number will be setup.


