Firewall
Access Rules
Cisco RV220W Administration Guide
67
4
•
To edit a rule, check the box and then click
Edit Rule
. Then enter the settings
on the
Add/Edit Access Rule Configuration
page. See
Adding and Editing
Access Rules, page 67
.
•
To delete a rule, check one or more boxes and then click
Delete
. To select all
rules, check the box in the heading row. When the confirmation message
appears, click
OK
to continue with the deletion, or otherwise click
Cancel
.
•
To enable a rule, check the box and then click
Enable
. To select all rules,
check the box in the heading row.
•
To disable a rule, check the box and then click
Disable
. To select all rules,
check the box in the heading row.
•
To reorder the rules, click
Reorder
. Then change the priorities on the
Access
Rules Table (Priorities)
page. See
Changing Access Rule Priorities,
page 71
.
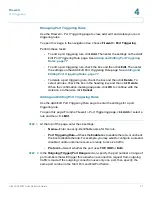
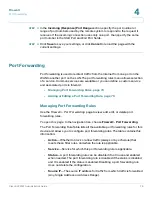
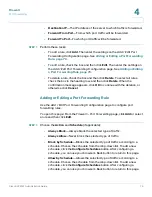
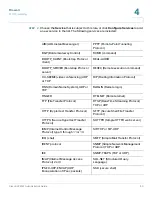
Adding and Editing Access Rules
Use the
Add/Edit Access Rule Configuration
page to configure an Access Rule
for a specified type of inbound or outbound traffic.
NOTE
If you want to configure an access rule that is automatically activated or
deactivated for specified days and times, click
Firewall > Advanced Settings >
Schedules
to configure a schedule. Then return to this page to add the rule.
To open this page:
From the
Firewall > Access Rules
page, click
Add Rule
or
select a rule and then click
Edit
.
STEP 1
For all types of rules, enter these settings:
•
Connection Type—
Choose the traffic flow that is covered by this rule:
-
Inbound WAN (Internet) to LAN (Local Network)
—Traffic from the
Internet (WAN) to your network (LAN)
-
Outbound LAN (Local Network) to WAN (Internet)
—Traffic from your
network (LAN) to the Internet (WAN)
•
Action—
Choose one of the following actions:
-
Always Block
—Always block the selected type of traffic.
-
Always Allow
—Never block the selected type of traffic.

