Configuring the Cisco WAP4410N Wireless-N Access Point
Setup
WAP4410N Wireless-N Access Point with Power Over Internet Administration Guide
25
6
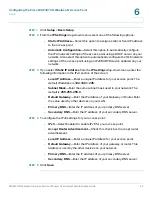
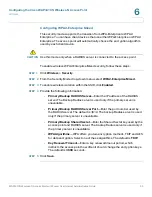
STEP 1
Click
Setup
>
Basic Setup
.
STEP 2
From the
IP Settings
drop-down menu, select one of the following options:
•
Static IP Address—
Select this option to assign a static or fixed IP address
to the access point.
•
Automatic Configuration—
Select this option to automatically configure
the IPv4 network settings of the access point using a DHCP server on your
network. Also select this option to automatically configure the IPv6 network
settings of the access point using an IPv6 RADVD device enabled on your
network.
STEP 3
If you select
Static IP Address
from the
IP Settings
drop-down menu, enter the
following information in the IPv4 section of the screen:
•
Local IP Address
—Enter a unique IP address for your access point. The
default IP address is
192.168.1.245
.
•
Subnet Mask
—Enter the same subnet mask used in your network. The
default is
255.255.255.0
.
•
Default Gateway
—Enter the IP address of your Gateway or Router. Enter
the value used by other devices on your LAN.
•
Primary DNS
—Enter the IP address of your primary DNS server.
•
Secondary DNS
—Enter the IP address of your secondary DNS server.
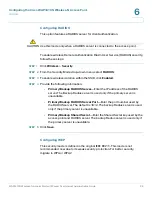
STEP 4
To configure the IPv6 settings for your access point:
•
IPv6
—Select Enabled to enable IPv6 for your access point.
•
Accept Router Advertisement
—Check this check box to accept router
advertisement.
•
Local IP Address
—Enter a unique IP address for your access point.
•
Default Gateway
—Enter the IP address of your gateway or router. This
address is used by the other devices on your network.
•
Primary DNS
—Enter the IP address of your primary DNS server.
•
Secondary DNS
—Enter the IP address of your secondary DNS server.
STEP 5
Click
Save
.

