Configuring the Cisco WAP4410N Wireless-N Access Point
Wireless
WAP4410N Wireless-N Access Point with Power Over Internet Administration Guide
29
6
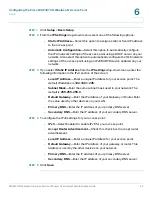
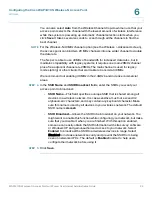
You can also select
Auto
from the Wireless Channel drop-down menu so that your
access point selects the channel with the lowest amount of wireless interference
while the system is powering up. Automatic channel selection starts when you
click
Save
. It takes several seconds to scan through all the channels to find the
best channel.
NOTE
For the Wireless-N 40MHz channel option (see the Wireless > Advanced screen),
the access point can bind two 20 MHz channels into one wider channel to double
the data rate.
The N spec is able to use 40MHz of bandwidth for increased data rates, but to
maintain compatibility with legacy systems, it requires one main 20MHz channel
plus a free adjacent channel at ±20MHz. The main channel is used for legacy
modes (a/b/g) or other clients that aren't able to transmit at 40MHz.
We recommend not enabling 40MHz in the 2.4GHz band in dense commercial
areas.
STEP 4
In the
SSID Name
and
SSID Broadcast
fields, enter the SSIDs you want your
access point to broadcast:
•
SSID Name
—This field specifies a unique SSID that is shared among all
devices in a wireless network. It is case-sensitive, must not exceed 32
alphanumeric characters, and may contain any keyboard character. Make
sure this name is used by all devices in your wireless network. The default
SSID name is
ciscosb
.
•
SSID Broadcast
—Allows the SSID to be broadcast on your network. You
might want to enable this function while configuring your network, but make
sure that you disable it when you are finished. With this option enabled,
someone can easily obtain the SSID information with site survey software
or Windows XP and gain unauthorized access to your network. Select
Enabled
to broadcast the SSID to all wireless devices in range. Select
Disabled to increase network security and prevent the SSID from being
seen on networked PCs. The default is
Enabled
in order to help users
configure their network before using it.
STEP 5
Click
Save
.

