5-3
Firepower 7000 and 8000 Series Installation Guide
Chapter 5 Setting Up Firepower Managed Devices
Performing Initial Setup on a Firepower Device Using the CLI
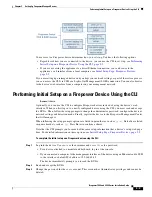
Your access to a Firepower device determines how you set it up. You have the following options:
•
Regardless of how you are connected to the device, you can use the CLI to set it up; see
Initial Setup on a Firepower Device Using the CLI, page 5-3
.
•
If you are accessing the appliance via a direct Ethernet connection, you can browse to the
appliance’s web interface from a local computer; see
Initial Setup Page: Firepower Devices,
.
If you are setting up a reimaged device and you kept your network settings as part of the restore process,
you can access the CLI via SSH or a Lights-Out Management (LOM) connection. You can also browse
to the device’s web interface from a computer on your management network.
Performing Initial Setup on a Firepower Device Using the CLI
Access:
Admin
Optionally, you can use the CLI to configure Firepower devices instead of using the device’s web
interface. When you first log in to a newly configured device using the CLI, you must read and accept
the EULA. Then, follow the setup prompts to change the administrator password, configure the device’s
network settings and detection mode. Finally, register the device to the Firepower Management Center
that will manage it.
When following the setup prompts, options are listed in parentheses, such as
(y/n)
. Defaults are listed
in square brackets, such as
[y]
. Press Enter to confirm a choice.
Note that the CLI prompts you for much of the same setup information that a device’s setup web page
does. For detailed information on these options, see
Initial Setup Page: Firepower Devices, page 5-5
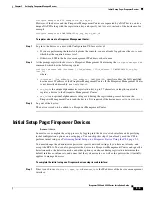
To complete the initial setup on a Firepower device using the CLI:
Step 1
Log into the device. Use
admin
as the username and
Admin123
as the password.
•
For a device attached to a monitor and keyboard, log in at the console.
•
If you connected a computer to the management interface of the device using an Ethernet cable, SSH
to the interface’s default IPv4 address: 192.168.45.45.
The device immediately prompts you to read the EULA.
Step 2
Read and accept the EULA.
Step 3
Change the password for the
admin
account. This account has Administrator privileges and cannot be
deleted.


