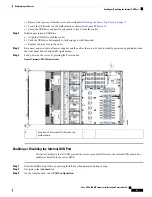
Step 1
Prepare the server for component installation:
a) Shut down and remove power from the server as described in
Shutting Down and Removing Power From the Server,
on page 35
.
b) Slide the server out the front of the rack far enough so that you can remove the top cover. You might have to detach
cables from the rear panel to provide clearance.
If you cannot safely view and access the component, remove the server from the rack.
Caution
c) Remove the top cover from the server as described in
Removing the Server Top Cover, on page 37
.
Step 2
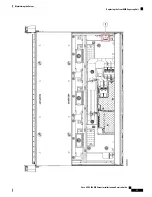
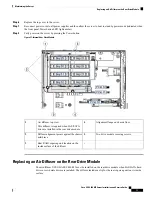
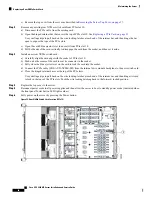
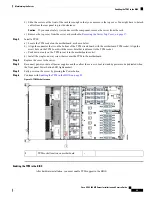
Remove the air diffuser:
a) Grasp the two top edges of the diffuser and lift straight up to free it from the grooves on the chassis mid-brace.
b) If there is a supercap unit present in the clip on the inside of the diffuser, gently pry the supercap from its clip and
set it aside. Do not disconnect the supercap cable.
Step 3
Install the new air diffuser:
a) Set the supercap unit into the clip on the inside of the air diffuser and push gently until it clicks in place and is secured.
b) Position SAS and supercap cables so that they do not interfere with the diffuser installation. Cables must route out
the rear of the diffuser.
c) Set the air diffuser in place and carefully lower it, using the grooves in the chassis mid-brace as guides. Make sure
that the diffuser alignment flange sits flat on the chassis floor and against PCIe slot 11.
Step 4
Replace the top cover to the server.
Step 5
Reconnect power cords to all power supplies and then allow the server to boot to standby power mode (indicated when
the front panel Power button LED lights amber).
Step 6
Fully power on the server by pressing the Power button.
Cisco UCS C480 M5 Server Installation and Service Guide
74
Maintaining the Server
Replacing an Air Diffuser on the Rear Drive Module

