27
Hardware Installation Guide for Cisco UCS E-Series Servers
OL-26447-03
Installing the E-Series Servers
Step 3
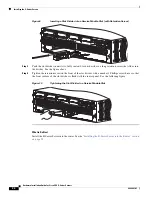
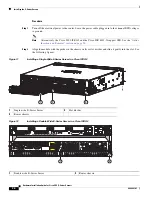
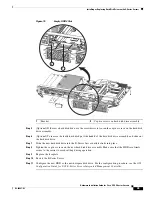
Push the module into place until you feel the module seat securely into the connector on the router
backplane. The module faceplate should contact the chassis rear panel.
Tip
When installing the E-Series Server into a Cisco ISR 4451-X, if the module does not completely
slide into the router, push the module slightly upwards, and then inward to complete the
insertion.
Step 4
Using a number 1 Phillips or flat-blade screwdriver, tighten the captive mounting screws on the module
faceplate.
Step 5
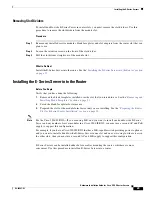
If you are installing a single-wide E-Series Server, install a blank faceplate on the other side of the slot.
See the
“Installing the Blank Faceplates” section on page 22
.
Step 6
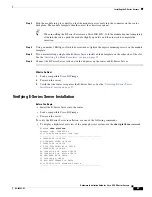
Connect the E-Series Server to the network and power up the router and E-Series Server.
What to Do Next
1.
Load a compatible Cisco IOS image.
2.
Power on the server.
3.
Verify that the router recognizes the E-Series Server. See the
“Verifying E-Series Server
Installation” section on page 27
.
Verifying E-Series Server Installation
Before You Begin
•
Install the E-Series Server into the router.
•
Load a compatible Cisco IOS image.
•
Power on the server.
To verify the E-Series Server installation, use one of the following commands:
•
To display a high-level overview of the entire physical system, use the
show platform
command:
Router#
show
platform
Chassis type: ISR4451/K9
Slot Type State Insert time (ago)
--------- ------------------- ---------------------
0 ISR4451/K9 ok 1d01h
0/0 ISR4400-4X1GE ok 1d01h
1 ISR4451/K9 ok 1d01h
1/0 UCS-E160DP-M1/K9 ok 1d01h
2 ISR4451/K9 ok 1d01h
R0 ISR4451/K9 ok, active 1d01h
F0 ISR4451/K9 ok, active 1d01h
P0 XXX-XXXX-XX ok 1d01h
P1 Unknown ps, 1d01h
P2 ACS-4450-FANASSY ok 1d01h
Slot CPLD Version Firmware Version
--------- ------------------- ---------------------


