19
Catalyst 6509-NEB Switch and Cisco OSR-7609 Router Upgrade Note
78-16162-02
Replacing the Supervisor Engine
Step 8
Using the thumb and forefinger of each hand, grasp the two ejector levers and exert a slight pressure to
the left, deflecting the module approximately 0.040 inches (1 mm) to create a small gap between the
supervisor engine's EMI gasket and the module adjacent to it. (See
Figure 16
.)
Caution
Do not exert too much pressure on the ejector levers. They will bend and be damaged.
Step 9
While pressing on the ejector levers, simultaneously close them to fully seat the supervisor engine in the
backplane connector. The ejector levers are fully closed when they are flush with the supervisor engine
faceplate. (See
Figure 17
.)
Step 10
Tighten the two captive installation screws on the supervisor engine.
Note
Make sure the ejector levers are fully closed before tightening the captive installation screws.
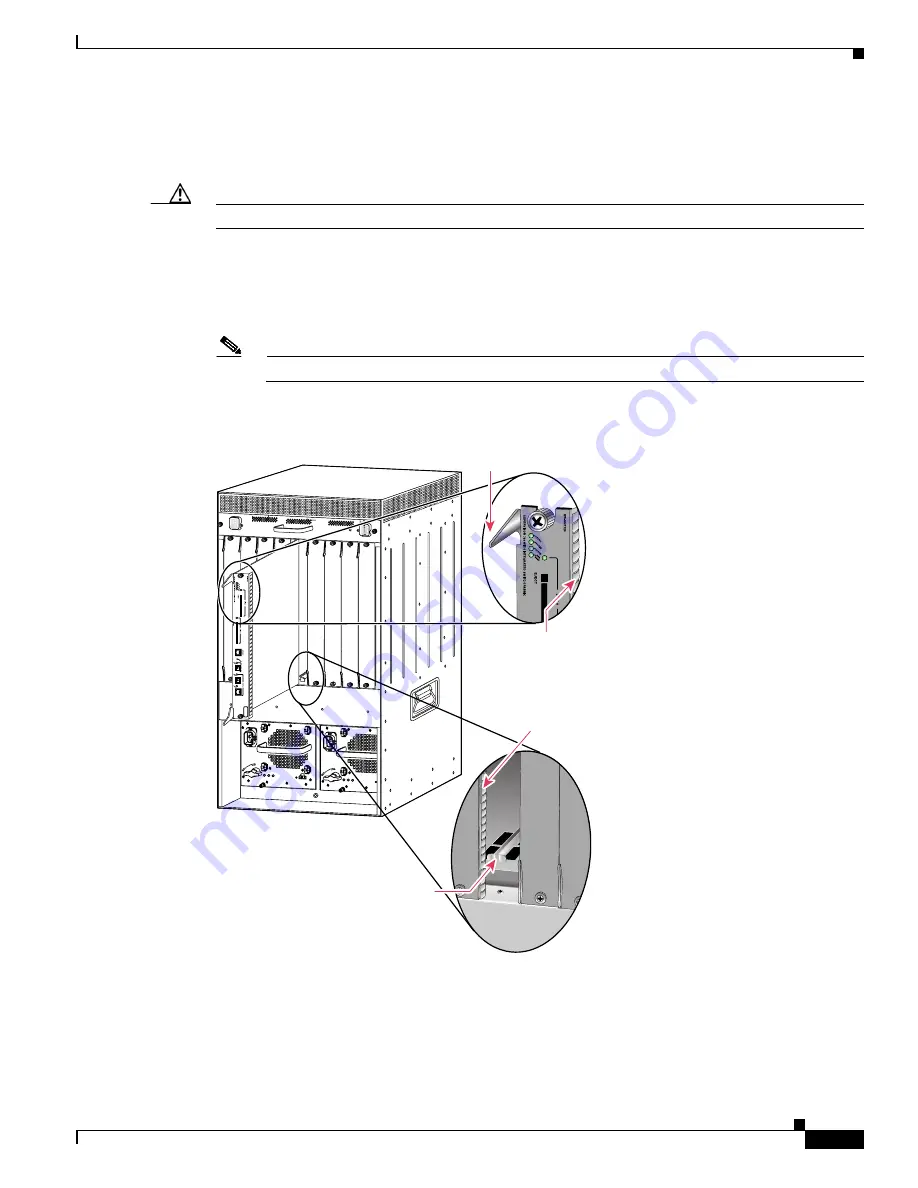
Figure 15
Positioning the Supervisor Engine in the Chassis
INPUT
OK
FAN
OK
OUTPUT
FAIL
OUTPUT 42V
42V
OK
I
IN
ST
AL
L
RU
N
O
110-120V - 15A
200-240V - 15A
60/50HZ
m
m
/
+
Ejector lever fully
extended
4
3
6
24 PO
RT 100FX
WS-X6224
EMI
gasket
EMI
gasket
105092
Insert module
between slot guides
INPUT
OK
FAN
OK
OUTPUT
FAIL
OUTPUT 42V
42V
OK
I
IN
ST
AL
L
RU
N
O
110-120V - 15A
200-240V - 15A
60/50HZ
m
m
/
+
WS-C6500-NEB-FAN2
HIGH SPEED FAN
48V INPUT 1
RTN -48VDC GND
INPOUT POWER
GOOD
48V INPUT 2
RTN -48VDC GND
INPOUT POWER
GOOD
FAN FAIL


