66 Version:
BB
Document Number: G-SIP3D-RUC
C
ONFIGURING
P
ORTICO
TVA
USING THE
C
ONSOLE
MI
I
NSTALLATION AND
C
ONFIGURATION
G
UIDE
12
AND
24 P
ORT
P
ORTICO
TVA
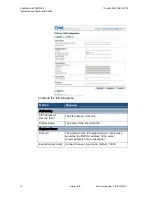
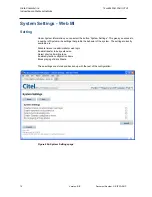
Figure 35: DNS Screen
VLAN
1.
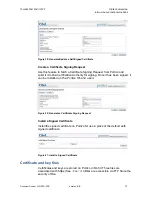
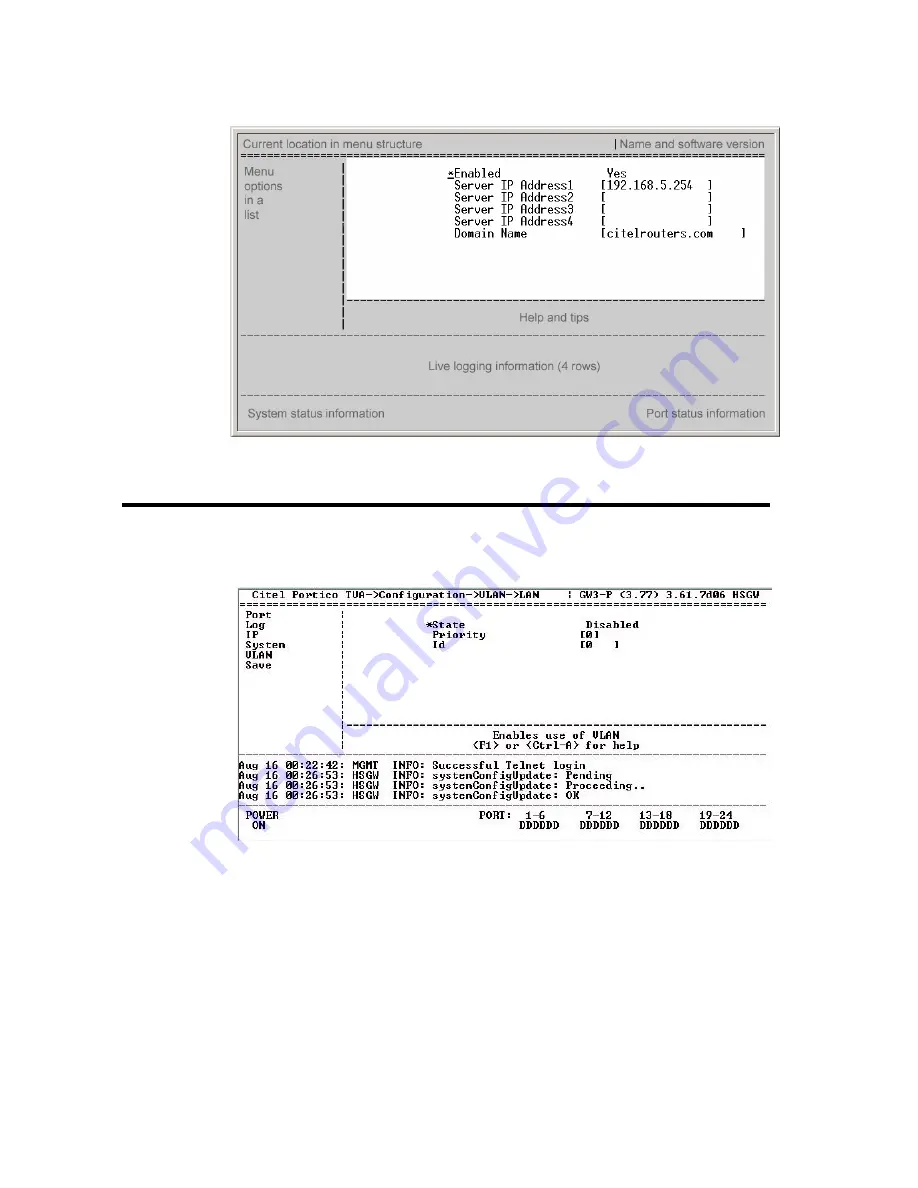
Select Configuration -> VLAN -> LAN.
Figure 36: Configure VLAN from the Console MI
a. In the
State
field, select
Enabled
or
Disabled
.
If the VLAN enable status is enabled, all outgoing Ethernet frames have a
4 byte VLAN header added to them.
2.
Set
Priority
from 0 to 7. For example, you may want to give voice a
higher priority than data.
3.
Set
Id
from 0 to 4095 to identify a VLAN.
4.
Save the changes.


