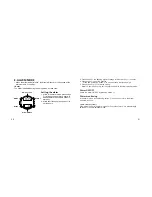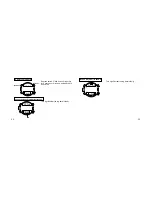
3. When in the seconds correcting state (seconds flash), press button
B
, the
flashing digits will change in the order of seconds
→
minutes
→
hour
→
month
→
date
→
year
→
12/24 hour system. Select the digit to correct.
4. Correct the flashing digit by pressing button
A
(Press and hold down button
A
to quick advance the flashing digit.)
* Press button
A
, the 12 hour/24 hour will switch alternately.
* If the watch is left in any correcting state for 3 minutes or more without chang-
ing the digits, the correcting mode is reset and the watch will automatically
return to normal time display mode.
* Pressing button
M
while in the time correcting state, will return the watch to
normal display mode. (Manual return)
* Due to the autocalendar, no correction at the end of the month is required.
b. Analog setting
Setting the Analog Time
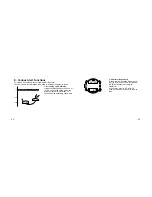
1. Unscrew the crown and pull it out to stop the second hand at “0” position.
2. Turn the crown and position the hour and minute hands 1 minute in advance
of the digital time.
3. Press the crown into place when the seconds display of digital time has just
come to 0 to start the second hand.
19
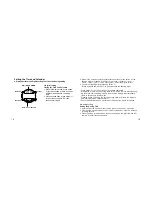
Setting the Time and Calendar
a. Always perform the Digital setting first, then the Analog setting.
a. Digital setting
Setting the Time and Calendar
1. While in the time mode, press button
B
for two seconds or more, seconds
will flash, and switch to correcting
state.
2. While seconds flash, press button
A
to reset the seconds to “00” then
seconds start again.
18
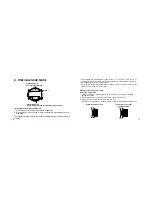
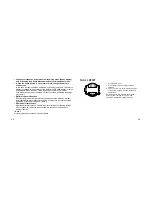
Hour, Minute, AM/PM
Button
B
Date, Day or Second
Button
M
Button
A
DIV
MAX
A
SP
SEL
RES
SET
STP
P
SEL
CA


