CBM-230/231 Service Manual
CITIZEN
5
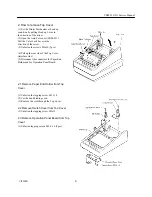
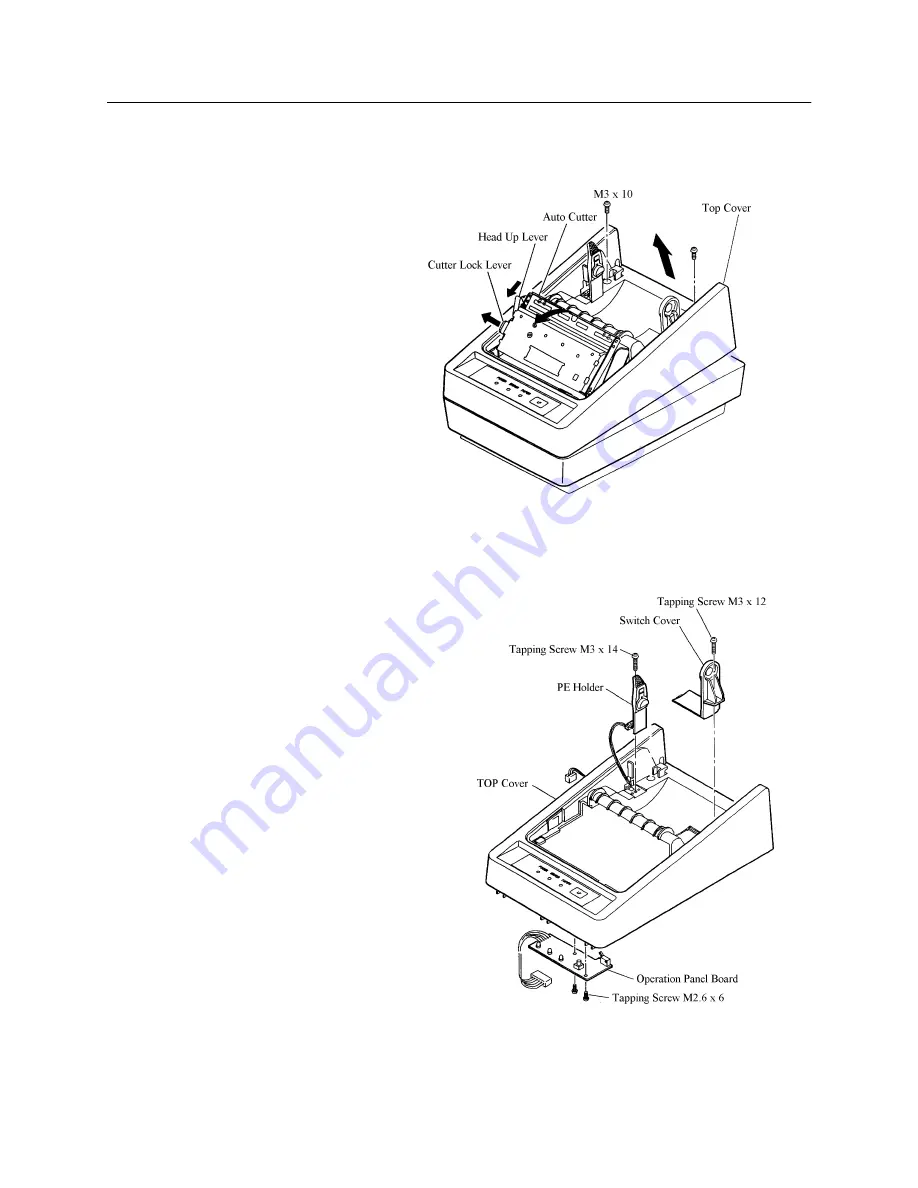
2. How to remove Top Cover
(1) Set the Printer Mechanism at head up
condition by pulling Head up Lever in
the direction of the arrow.
(2) Open the Auto Cuter unit (CBM-231)
Pull the Cuter Lock Lever in the
direction of the arrow.
(3) Unfasten the screws M3x10 (2pcs).
(4) Pull up the rear side of the Top Cover.
(interface side)
(5) Disconnect the connectors for Paper End
Holder and for Operation Panel Board.
2.1 Remove Paper End Holder from Top
Cover
(1) Unfasten the tapping screw M3 x 14.
(2) Cut the band binding cord.
(3) Remove the cord through the Top Cover.
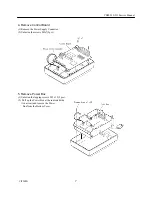
2.2 Remove Switch Cover from Top Cover
(1) Unfasten the tapping screw M3x12.
2.3 Remove Operation Panel Board from Top
Cover
(1) Unfasten tapping screws M2.6 x 6 (2pcs).
Summary of Contents for CBM-230
Page 1: ...CITIZEN Service Manual Model CBM 230 231 Japan CBM Corporation Information Systems Div ...
Page 3: ...CBM 230 231 Service Manual CITIZEN 3 1 Assembling Disassembling procedure ...
Page 9: ...CBM 230 231 Service Manual CITIZEN 9 2 Circuit Diagram ...
Page 10: ...CBM 230 231 Service Manual CITIZEN 10 Block Diagram ...
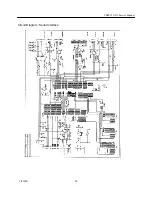
Page 11: ...CBM 230 231 Service Manual CITIZEN 11 Circuit Diagram Serial Interface ...
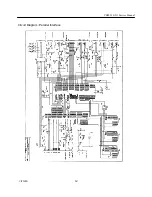
Page 12: ...CBM 230 231 Service Manual CITIZEN 12 Circuit Diagram Parallel Interface ...
Page 13: ...CBM 230 231 Service Manual CITIZEN 13 Circuit Diagram OP PCB Assy ...
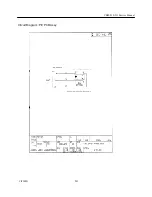
Page 14: ...CBM 230 231 Service Manual CITIZEN 14 Circuit Diagram PE PCB Assy ...
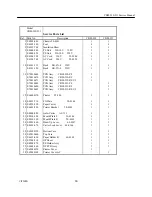
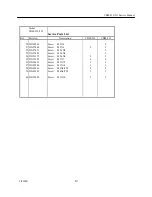
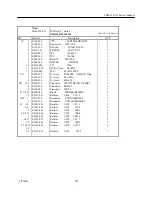
Page 15: ...CBM 230 231 Service Manual CITIZEN 15 3 Service Parts List ...
Page 18: ...CBM 230 231 Service Manual CITIZEN 18 CBM 230 231 DISASSEMBLING DRAWING ...
Page 21: ...CBM 230 231 Service Manual CITIZEN 21 ...
Page 24: ...CBM 230 231 Service Manual CITIZEN 24 ...
Page 26: ...CBM 230 231 Service Manual CITIZEN 26 ...


