— 42 —
5.
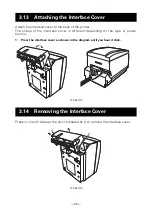
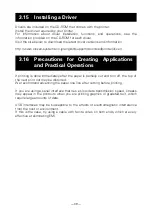
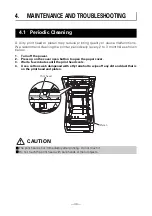
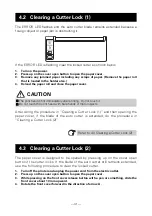
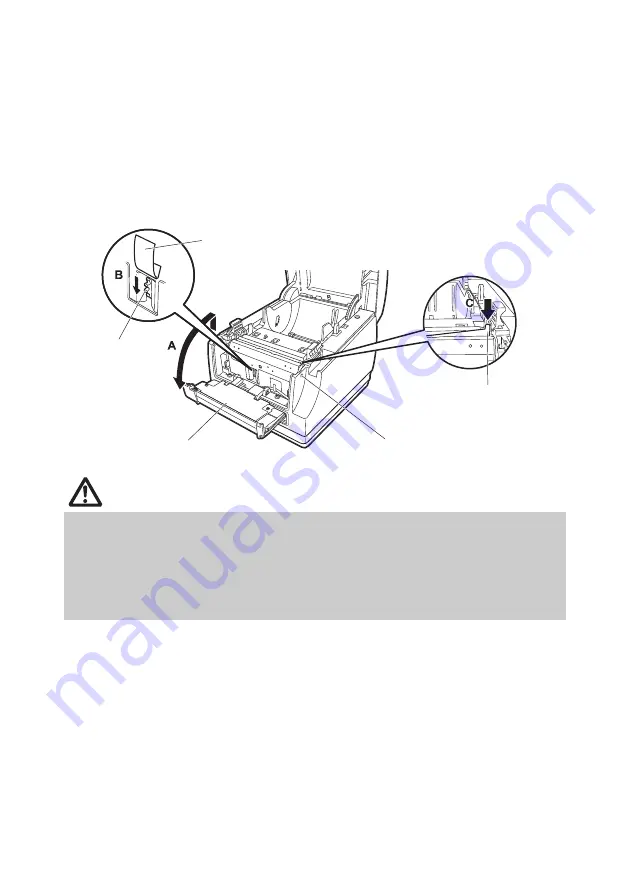
Lift the protective sheet and turn the cutter gear in the direction of arrow B to return
the auto cutter to a position where the paper cover can be opened.
Turn the cutter gear until the auto cutter blade retracts in the direction of arrow C. If
the blade of the auto cutter does not move when you turn the cutter gear in the
direction of arrow B, turn it in the other direction.
6.
Remove whatever caused the cutter to lock.
7.
Close the front cover.
Rotate the front cover in the opposite direction of arrow A, and push on the top of the
front cover until it clicks.
8.
Load a paper roll and close the paper cover.
9.
Insert the power cord plug into an electric outlet and turn the power on.
Check that the POWER LED lights.
CAUTION
Before starting to do maintenance work, be sure to turn off the printer and unplug the
power cord from the electric outlet.
Be careful not to touch the manual cutter while the front cover is open.
Be careful not to touch the opening for the auto cutter while the paper cover is open.
The print head is hot immediately after printing. Do not touch it.
Do not touch the print head with bare hands or metal objects.
If the above procedure does not retract the auto cutter, contact your Citizen Systems dealer.
Protective sheet
Front cover release button
Cutter gear
Front cover
Auto cutter blade

