15
ENGLISH
SETTING THE VIDEO
CHANNEL
For a push-button TV tuner
If CH 3 or 4 corresponding to the video channel cannot
be tuned on your TV, proceed as follows: set the VCR 3/
4 channel selector and the TV to CH 3 or 4, play back a
prerecorded tape and tune the TV to receive a sharp
colour picture from the video cassette recorder. Refer to
your TV owner's manual for details.
To view playback of a recorded tape, or to watch a
program selected by the VCR's channel selector, the
TV must be set to channel 3 or 4 (video channel).
When a TV is connected with the 75 ohm coaxial cable
only.
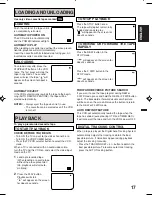
1
Press and hold 3 or 4 button on the remote control
for 3 seconds in standby mode. The TV/VCR
indicator will start to flash.
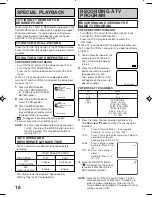
2
Turn ON the TV and set to CH 3 or 4 to correspond
with the channel selected in step 1.
3
Press the POWER button to turn on the VCR. The
power indicator will light.
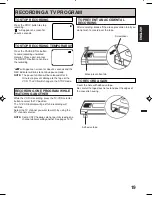
4
Press the TV/VCR selector button to select the VCR
position. The TV/VCR indicator will light.
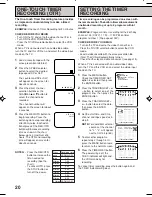
5
Select any channel to receive
a TV station in your area.
The channel number will
appear on the screen for about
4 seconds.
+0 #
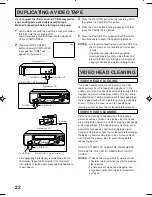
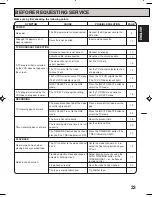
This VCR can display on the TV screen in the
English, Spanish or French languages.
CHECK BEFORE YOU BEGIN
•
Turn ON the TV and set to the video channel 3 or 4.
•
Turn ON the VCR POWER button.
•
Press the TV/VCR selector button to select the VCR
mode.
When a TV is connected with an audio/video cable,
turn the TV on and select the video input mode on the TV.
3
Press the TRACKING SET +
or – button to select the
desired language: English
(ENGLISH), Spanish
(ESPAÑOL) or French
(FRANCAIS), then press the
ENTER button.
4
Press the MENU button until the menu screen is
cleared.
〈
+/–/ENTER/MENU
〉
LANGUAGE/IDIOMA/LANGUE
ENGLISH
FRANCAIS
ESPAÑOL
1
Press the MENU button.
Press the TRACKING SET +
or – button to select the
SYSTEM SETUP option, then
press the ENTER button.
SETTING THE CLOCK
NOTES: •
After a power failure or disconnection of the
power, the timer settings will be lost. In this
case, reset the present time.
•
Press the CANCEL button to move cursor
backward for correction.
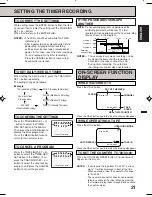
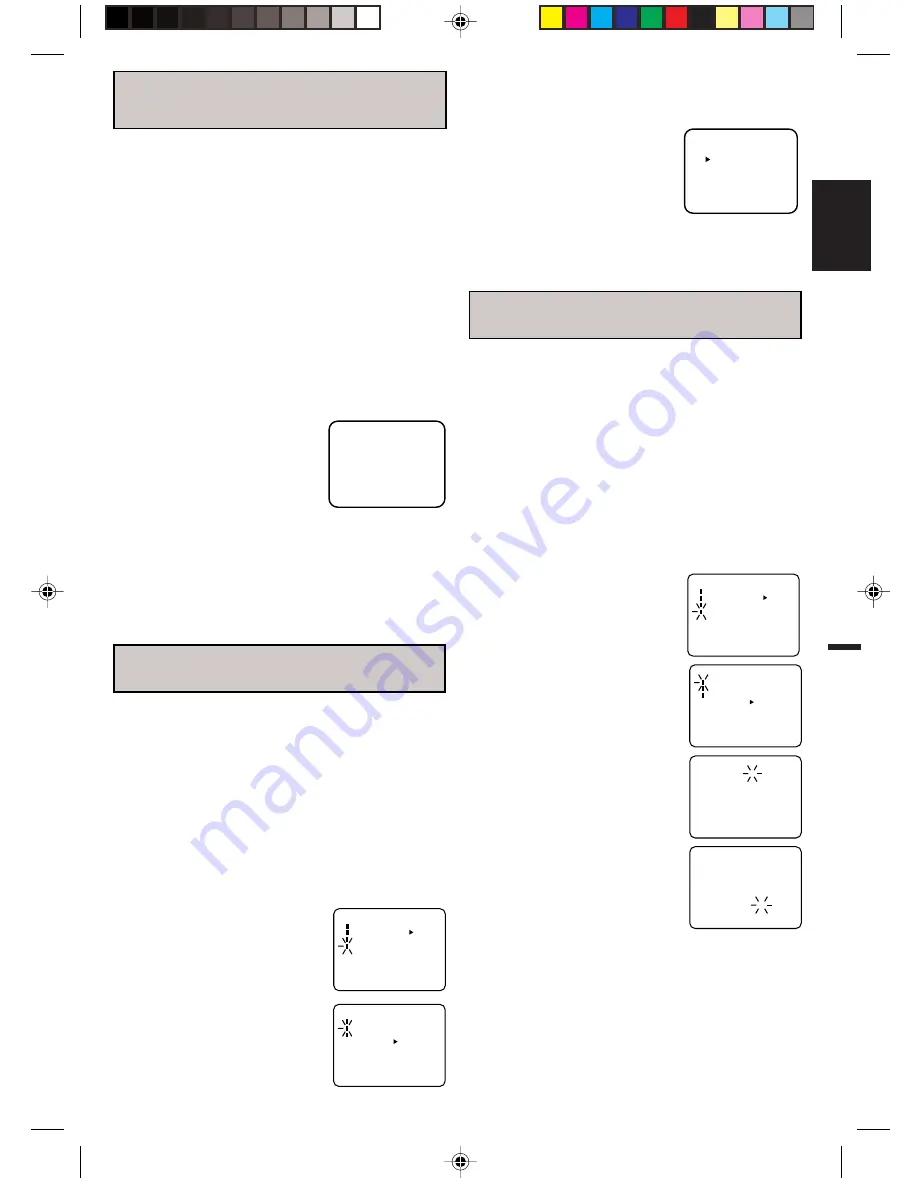
1
Press the MENU button. Press
the TRACKING SET + or –
button to select the SYSTEM
SETUP option, then press the
ENTER button.
2
Press the TRACKING SET + or
– button to select the CLOCK
SET option, then press the
ENTER button.
3
Press the TRACKING SET + or
– button to set the month, then
press the ENTER button.
4
Set the day, year and time as in
Step 2.
You must set the date and time manually for timer
recordings.
EXAMPLE:
Setting the clock to "8:30 AM" March, 26
(WED), 2003.
CHECK BEFORE YOU BEGIN
•
Turn ON the TV and set to the video channel 3 or 4.
•
Turn ON the VCR POWER button.
•
Press the TV/VCR selector button to select the VCR
mode.
When a TV is connected with an audio/video cable, turn
the TV on and select the video input mode on the TV.
LANGUAGE SELECTION
á ñ
•
The day of the week will
automatically appear when
you set the year.
á ñ
2
Press the TRACKING SET +
or – button to select the
LANGUAGE option, then
press the ENTER button.
á ñ
á ñ
•
Press and hold down the button to increase/
decrease the minute by 10.
•
After setting, the date and time will start functioning
automatically.
á ñ
á ñ
4F70301A E P14-19
22/12/04, 16:22
15
Summary of Contents for JVHS3987D
Page 26: ...MEMO...
Page 27: ......
Page 52: ...J4F70301A 03 02 U Printed in Thailand Imprim en Tha lande...


