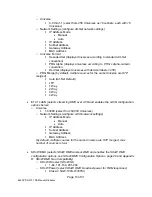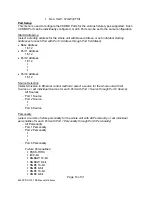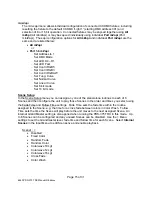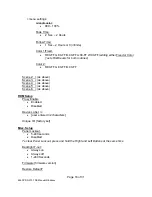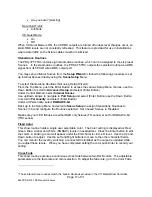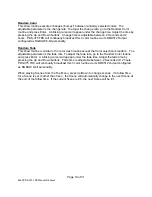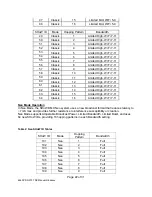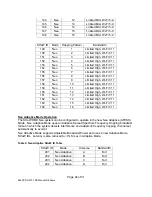
Page 11 of 31
6550 PDS-375 TRX Manual R6.docxx
to begin editing. Press Enter again to save your changes. To cancel an edit, press and hold
the Left button.
Configuring the PDS-375 TRX
Before you can use the PDS-375 TRX, you will need to configure it by selecting the input
options and output options you wish to use. You can perform a basic configuration quickly
using the Setup Wizard, or fine tune any input or output configuration settings by going directly
to the menu for that option.
Making Input and Output Connections
Power
The unit will work with 100-240VAC 50-60Hz mains power sources, and is provided with a
powerCON to NEMA 5-15P plug for connection to US household style outlets. For use with
other types of outlets, replace the plug with a suitable connector.
CKDMX Ports
Connect CKDMX fixtures in any desired arrangement; you can connect all of one type of fixture,
or mix fixtures in any combination. If you combine different types of CKDMX fixtures, you will be
able to configure each output port to match the fixture using the Port Setup Menu described
below.
DMX512 Connections
Connect a standard 5P XLR DMX Cable to the 5P XLRM DMX input. The 5P XLRF Output will
function as a standard hard-wired DMX pass-thru and is auto-terminated when no pass-thru
cable is connected.
Ethernet Connections
Connect the Ethernet source to either etherCON RJ45 Compatible Ethernet port connector.
The other EtherCON will function as a pass-thru port as long as the PDS-375 TRX is operating
in Ethernet Input mode. If power to the unit is lost this Ethernet pass-thru will not function.
SHoW DMX Operation
Confirm the Antenna is installed and extended. Configure the SHoW ID to match the SHoW ID
setting of the SHoW DMX Transmitter (sold separately) being used. See
Configuration Options page 20, and the
SHoW DMX Users Manual
for details. For SHoW
D: SHoW DMX Neo Compatibility.
USB A Port
This port is used for firmware installation and upgrades only. Firmware updates are posted on
the City Theatrical, Inc. website
To install a firmware update:
•
Download the new firmware file from the CTI Website
•
Place file in root directory of a FAT (16 or 32) formatted USB memory stick.
•
Plug stick into USB jack
•
Browse to “Misc->Firmware->Update”
•
Wait for unit to reboot with new firmware
•
Once complete, remove USB stick


