background image

Page 2 


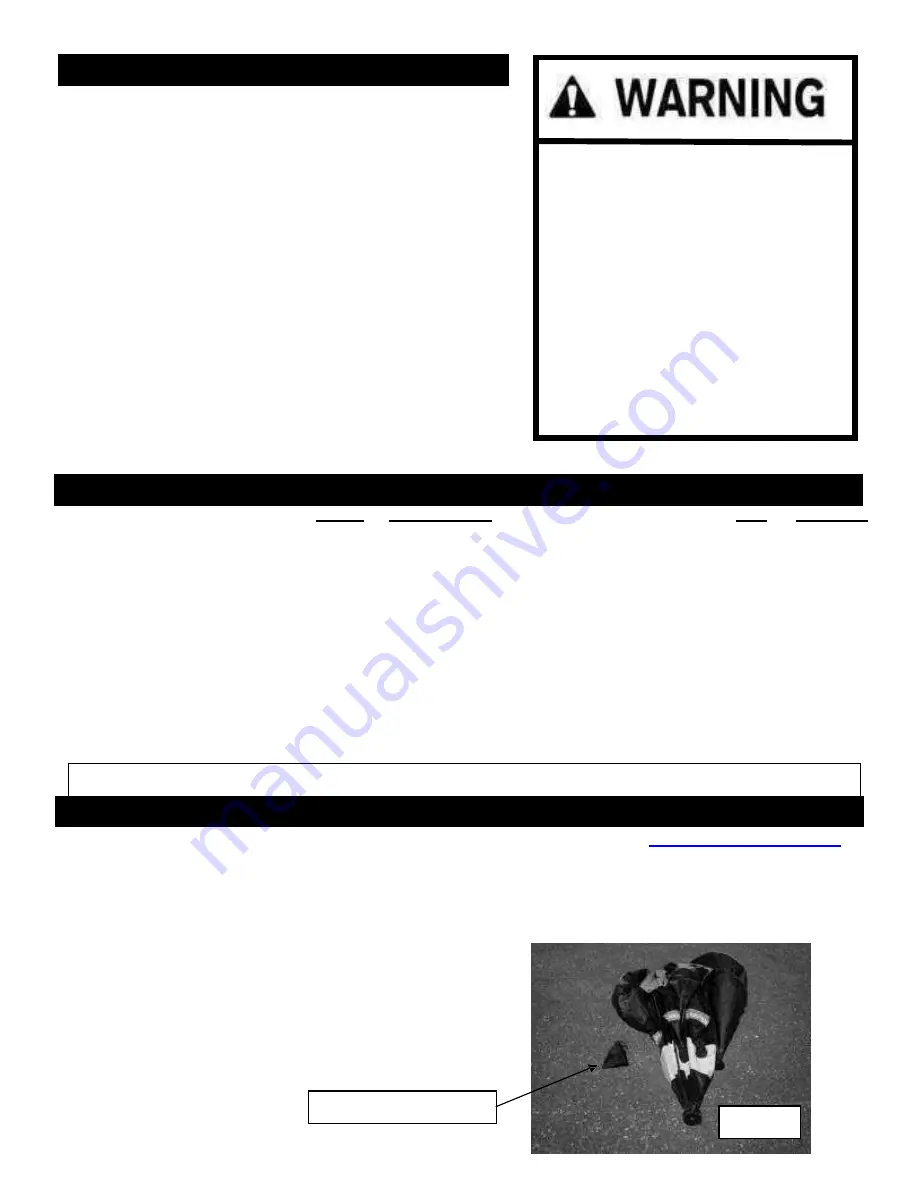
Photo 1 

Anchor  pouch 

Photo 1 


SAFETY INSTRUCTIONS 


Please fully understand and follow all safety instructions 
outlined in this booklet. Failure to do so could result in 
severe injury. 

• 

Do not use open flame heaters in your ice shelter. 
Open vents for cross  ventilation. 

• 

Tent fabric will melt when contact is made with hot 
surfaces (i.e.,  heaters). 

• 

Never leave shelter unattended when set up. 

• 

Due to the increase in traffic (snowmobiles, autos, 
etc.) on area lakes, ice fishing can be hazardous at 
night. If you choose to fish at night or in poor visibility 
conditions, be sure to take precautions with lights or 
reflectors to show drivers your whereabouts. 

•  Use external tie-downs in excessive wind (15+mph) 


PARTS LIST 


ITEM # 

DESCRIPTION 

QTY. 

PART NO. 


Customer service hours: 
9am 

– 

4

pm, (CST) Monday- 

Friday. 

customerservice@clamcorp.com 


Ice Anchors included in small carry pouch 


BEFORE  ATTEMPTING  TO USE THIS PRODUCT  ON THE ICE 

go t o  

ww w. cl a m c orp .co m 

, 

c lic k  o n  yo u r  s h e lte r  m o d e l ,  a nd  wa t ch  th e  se t - u p  vid e o  p ro vid e d .  T h en  practice 
setting up and taking down at home in the comfort of a heated area such as a garage or basement. 
Repeat several times until comfortable. This will make your on-ice set-up much  easier. 

NO TOOLS  ARE  NEEDED  FOR SET-UP  OF YOUR CLAM   SH ELT E R. 


1.  Unzip the storage bag completely and remove 
the shelter. Use care not to misplace the anchor  
& rope pouch 

(Photo 1)

. It is advised to store your  

anchors  and  pouch  in  the  storage pocket of  
your carry bag. 

Replacement parts can be ordered on-line at www.clamcorp.com. 

Death    from   asphyxiation   may   result   from   use   
of 

oxygen  depleting  heaters.    Open all 
vents for fresh  air ventilation. 

Injury or death may result from fire if tent 
fabric is exposed to open flame. 

Tent fabric is not fireproof. Fabric will burn   
extended    exposure  to open  flame.  Do not 
not 


with 
use 

open  flame  products  inside  tent.    Tent      fabric  is 
treated with fire retardant.  Application of   any  fo - 
eign  substance  may  render  the  flame  retardant  
properties  ineffective. 

Night time: exterior reflectors must be 
visible to reduce risk of collisions. 

This tent is made with flame resistant 
fabric which meets CPAI-84 specifications. 

SET-UP  INSTRUCTIONS 

HUB ASSY - Walls 

103507 

HUB ASSY - Roof 

103750 

ICE ANCHOR 

102457 

EXTERNAL ANCHOR STRAP 

104042 

HUB & POLE KIT W ALLS (4 POLES & 1 HUB) 

109077 

HUB & POLE KIT ROOF (6 POLES & 1 HUB) 

109221 

CARRY BAG 

104194 

BUCKLE ASSY W ITH STRAP 

103244 

INSTRUCTIONS/OW NER’S MANUAL 

105564 


Summary of Contents for 10944

Page 1: ...Request please use one of the following methods Email CustomerService ClamCorp com Preferred Method Call 763 231 4120 Write Customer Service Warranty Department 12135 Brockton Lane N Rogers MN 55369 Information needed to submit a warranty claim If you need to submit a warranty claim please e mail Clam s Customer Service Department at customerservice clamcorp com In your e mail please include your ...

Page 2: ...everal times until comfortable This will make your on ice set up much easier NO TOOLS ARE NEEDED FOR SET UP OF YOUR CLAM SH ELT E R 1 Unzip the storage bag completely and remove the shelter Use care not to misplace the anchor rope pouch Photo 1 It is advised to store your anchors and pouch in the storage pocket of your carrybag Replacement parts can be ordered on line at www clamcorp com Death fro...

Page 3: ... shelter so that one wall is facing upward Make sure that the tent is not twisted or overlapping any of the poles Photo 2 Do NOT force the shelter while unfolding 5 Have a person hold down the shelter while a second person goes inside the shelter and pushes the ceiling hub straight up so the ceiling pops up Photo 5 Photo 2 4 W alk around the entire shelter and pull each loop sewn onto the eyelet i...

Page 4: ...t for each anchor drilled into the ice In windy conditions screw an anchor outside the shelter several feet away from the hub on the windward side and attach a strap found in the pockets under each side panel hub from the eye bolt to the remote anchor Adjust strap so it is snug between hub and anchor This will help keep the shelter in place and the walls from collapsing If more anchors are needed ...

Page 5: ...sed photo 8 The shelter will fall to the ice on its own 4 Push the hub of the roof panel down with one hand while lifting up on one of the corners with the other hand until it collapses photo 9 5 The shelter will now be flat Lift up on one of the corners of the shelter and flip the shelter over Photo 10 Once flipped over gather the shelter together Photo 11 6 Place the folded shelter and the ice a...

Page 6: ...h lights or reflectors to show drivers your whereabouts Night time exterior reflectors must be visible to reduce risk of collisions For replacement parts frequently asked questions shelter information videos and all of your ice fishing needs visit our web site at www clamcorp com Due to Clam s continued product development Clam reservesthe right to change specifications without notice For complete...

Page 7: ...e adhesive begins to dry and becomes tacky then place the patch on the tent and they will stick together Q Is there anything can be put on outside of the tent to prevent water fromcoming through when we are using it A Customers have been known to spray or apply water repellant on the outside of the shelter that you would use for camping tents or boots Camp Dry would be an example of this type of p...

Reviews: