SET UP INSTRUCTIONS CONTINUED
Step
6
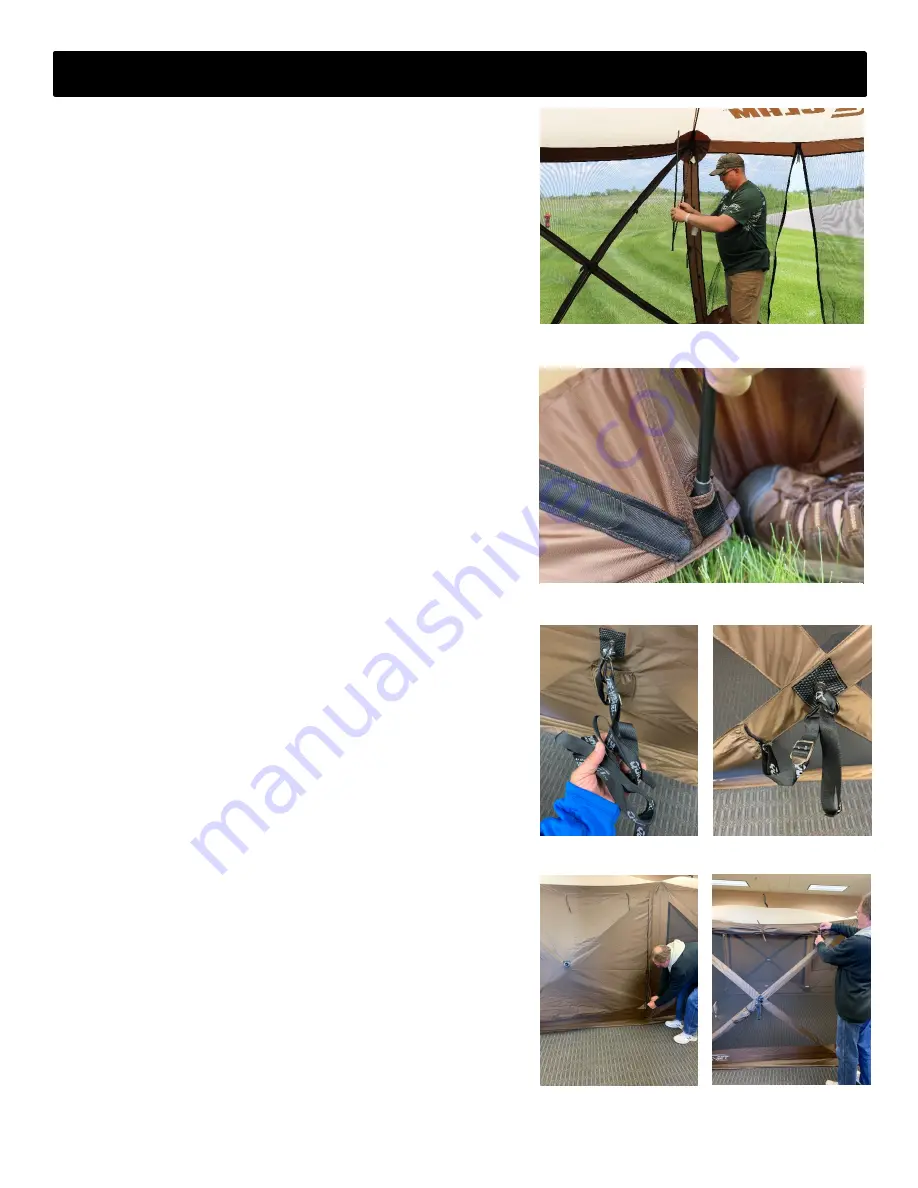
(optional): Insert the vertical rods on either
side of the screen tent’s door. Remove the Velcro
retaining loop securing the pole to the adjacent wall.
Once freed, install one end of the rod into the
other’s end to make it one long rod. Place the
bottom of the rod in the pocket located at the
bottom of the panel directly below where the rods
are mounted. Secure the rod with the Velcro loop.
Repeat on the other side. It is recommended to use
these if any wind is present. (Photos
9 and 10
)
Step
7
: Install securing stakes on the tent. The stakes
are designed to be used
with the built in external
anchor straps found in the pockets under each wall's
hub assembly
. If there is little to no wind,
only a
couple stakes should suffice. In windier conditions, a
person should stake the entire shelter down by
pushing an anchor into the ground roughly 3 feet
from the outside wall, attaching the loop end of the
strap around it, and cinching the strap snug between
the eye bolt on the hub and the stake, itself. (Anchor
straps are shown in photos 11 and 12)
Using the built in Wind Panels:
Step 1: Locate the tie strings mounted on each end
of the wind panels. Untie and let the panel fall down.
Step 2: Locate the hub strap on the center of the
wall and pull it through the grommet on the wind
panel.
Step 3: Zip down the zippers located on each side of
the wind panels. Finish with securing the Velcro tabs
on the outside of the zipper.
Step 4: To store the wind panels, simply detach the
Velcro tabs and unzip the wind panels. Roll the panel
back up and tie with tie strings.
(Photos 13 and 14)
Photo
9
Photo
10
Photo 11
Photo 12
Photo 13
Photo 14


